Balayage Try-On
Four hours in a chair and a three-figure bill is a lot to gamble on a Pinterest board. See the melt on your own root and length first.






Preview a new look
Your first look is free.
Free sample previews. Try every look on our sample faces here without registering. Your own photo needs a free account, no card: 15 credits once (a cut costs 10, a color on it 5). That covers one cut plus one color on it. No refill; further renders are paid. The optional Plus trial can be declined.


- 48,000+
- users worldwide
- 165,000+
- hairstyles tried
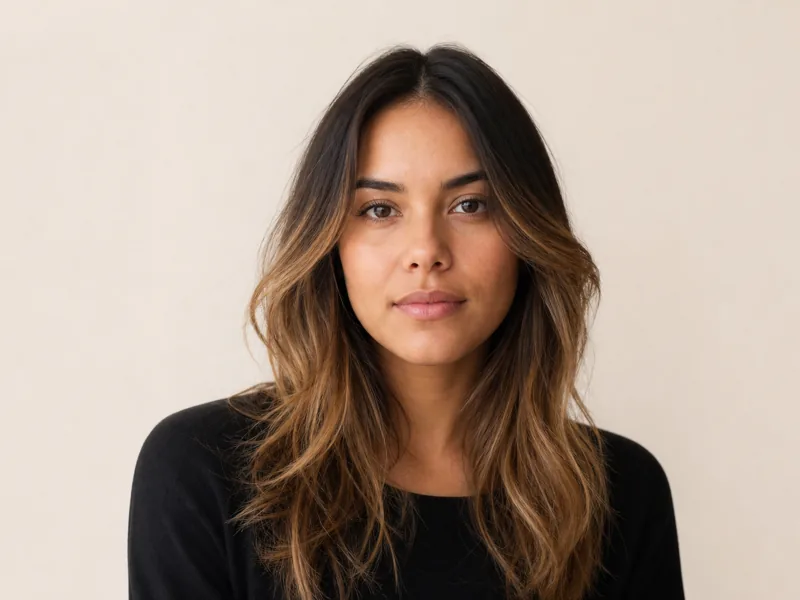
Try a hair color on a sample face
Pick a look, drag the handle to compare. Then do it with your own selfie.
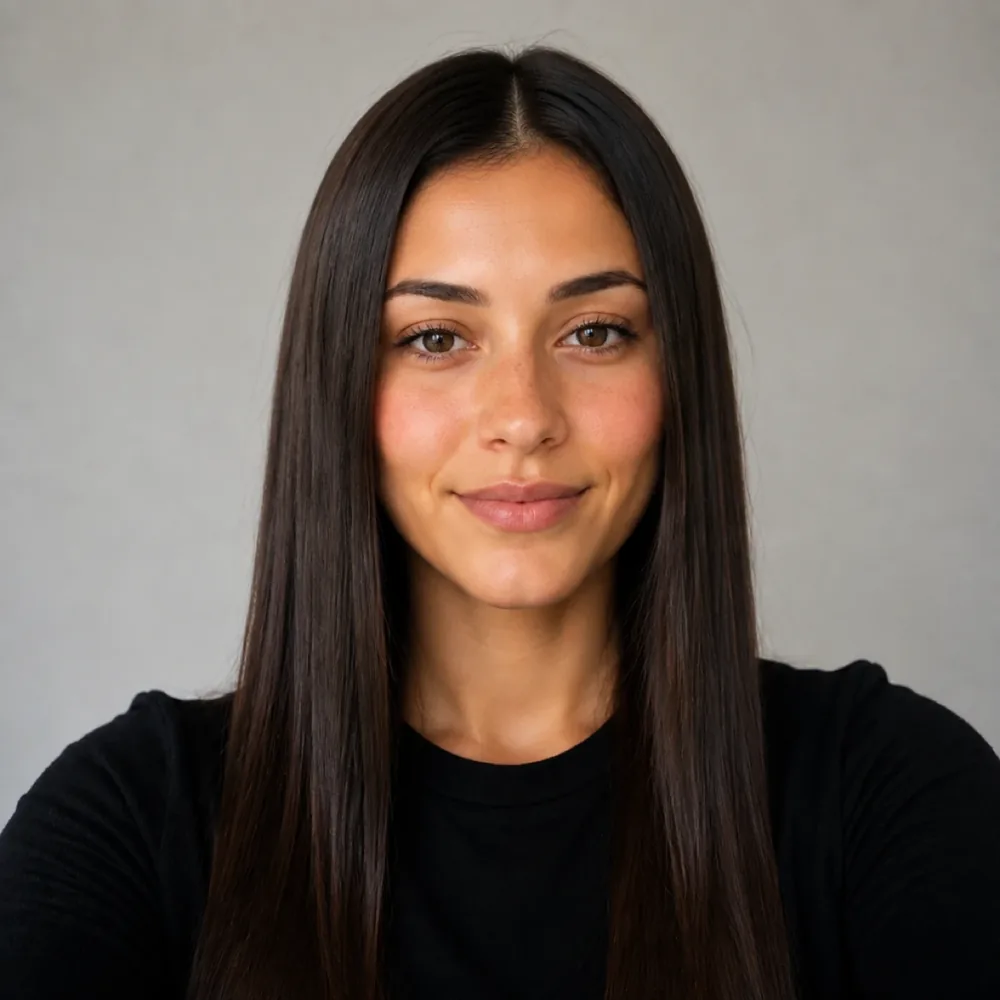

Keeping a balayage
- Back in the chair every 12 to 16 weeks.
- Color-safe shampoo, cool water.
- Wash 2 to 3 times a week.
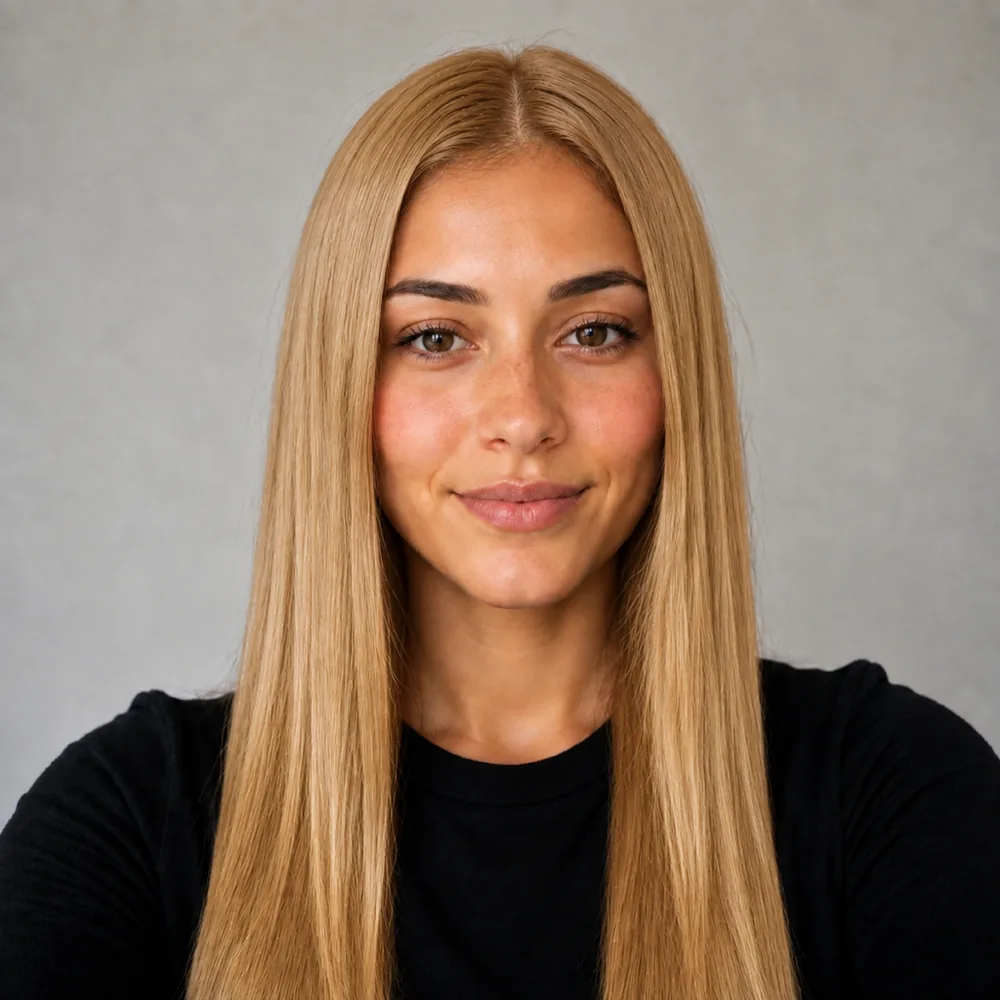
Keeping a blonde
- Back in the chair every 6 to 8 weeks.
- Purple shampoo weekly to hold the tone.
- Wash 2 to 3 times a week.
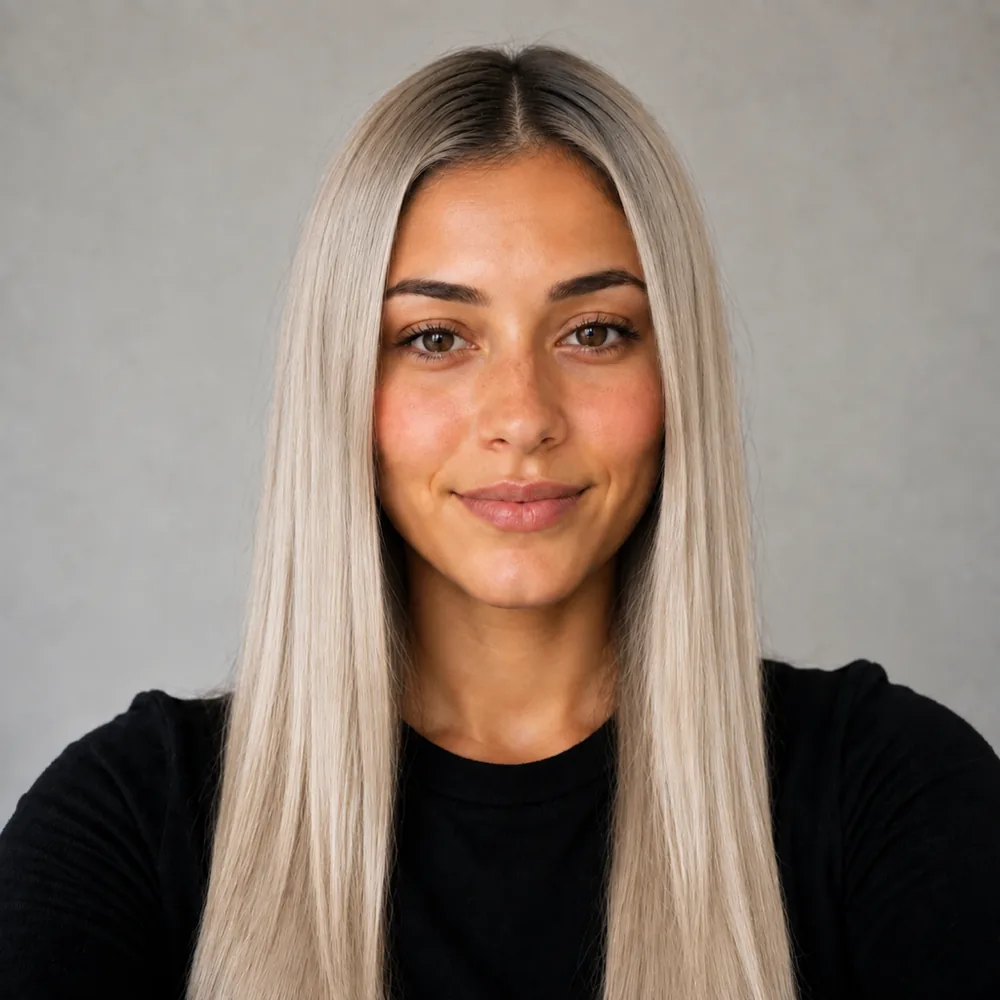
Keeping a scandi blonde
- Back in the chair every 8 to 10 weeks.
- Purple shampoo once a week, left for two minutes.
- Wash 2 times a week.
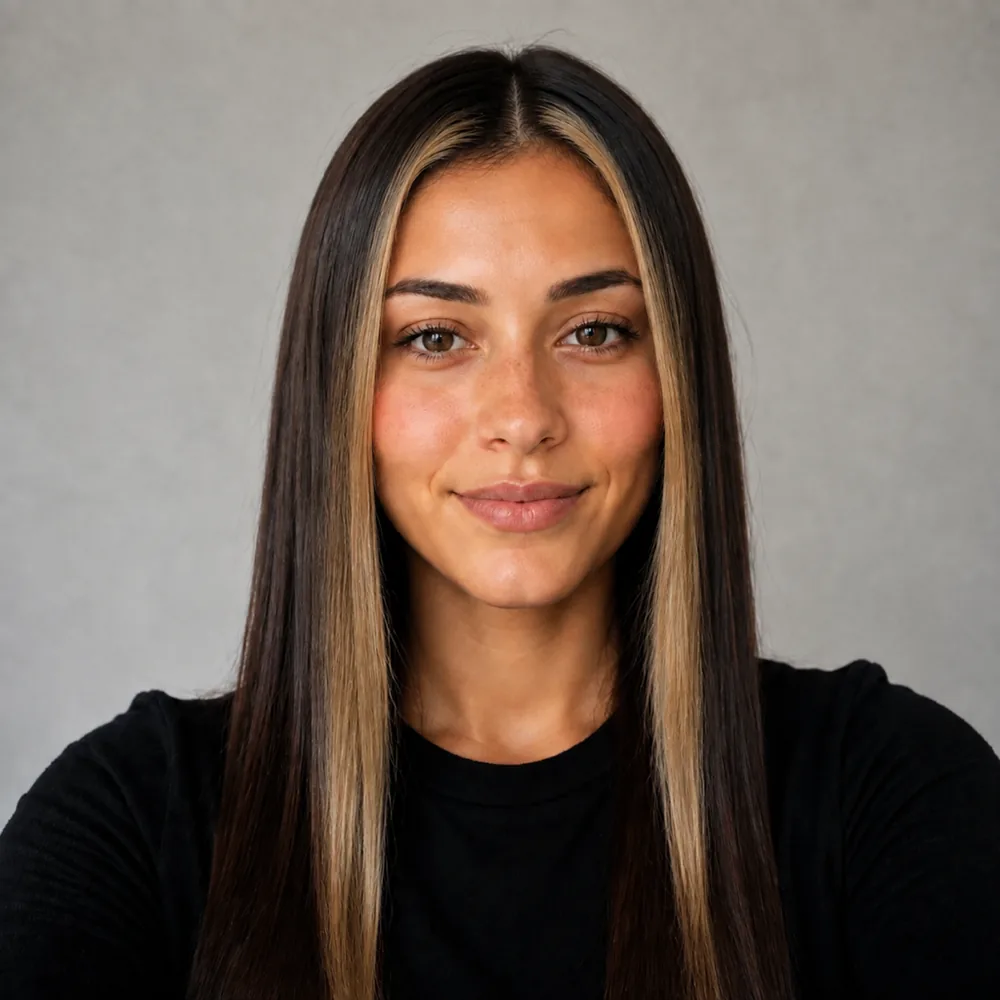
Keeping a money piece
- Back in the chair every 8 to 10 weeks.
- Purple shampoo on the front pieces only.
- Wash 2 to 3 times a week.
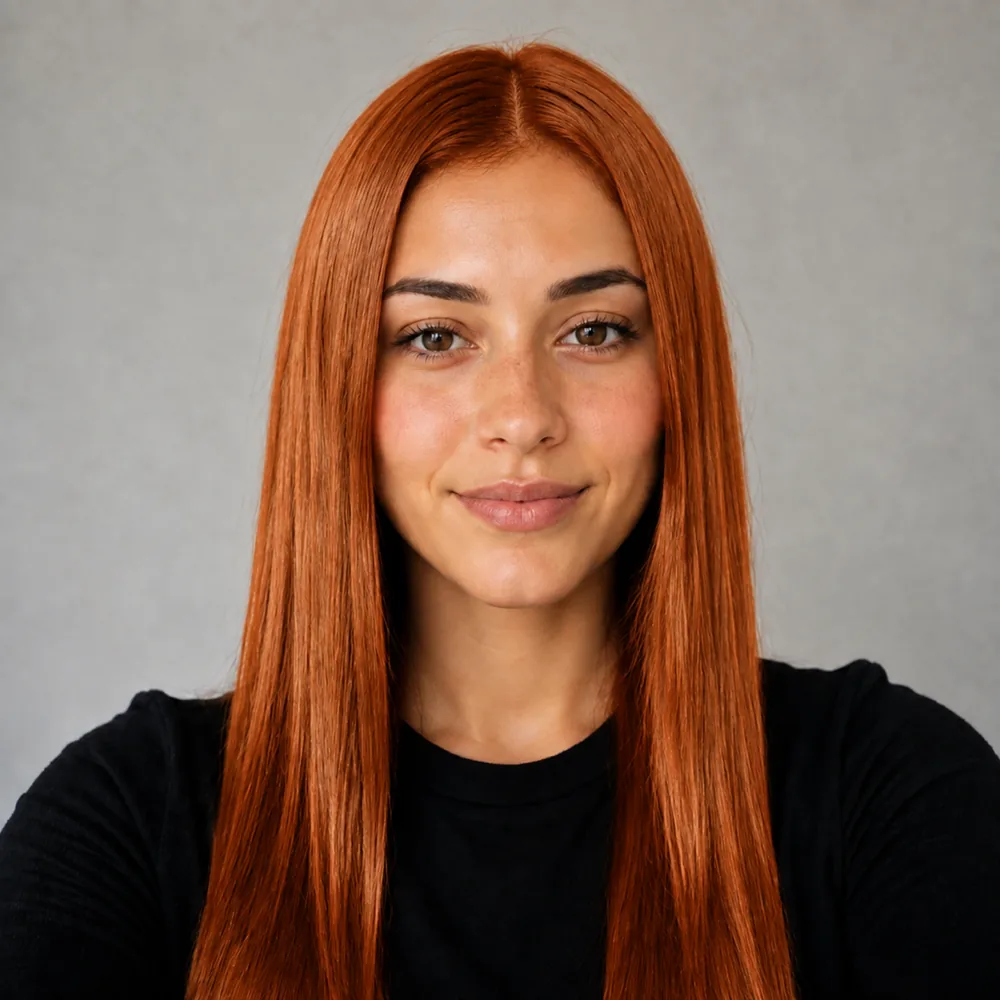
Keeping a copper
- Back in the chair every 4 to 6 weeks.
- Color-depositing conditioner every wash.
- Wash 1 to 2 times a week.
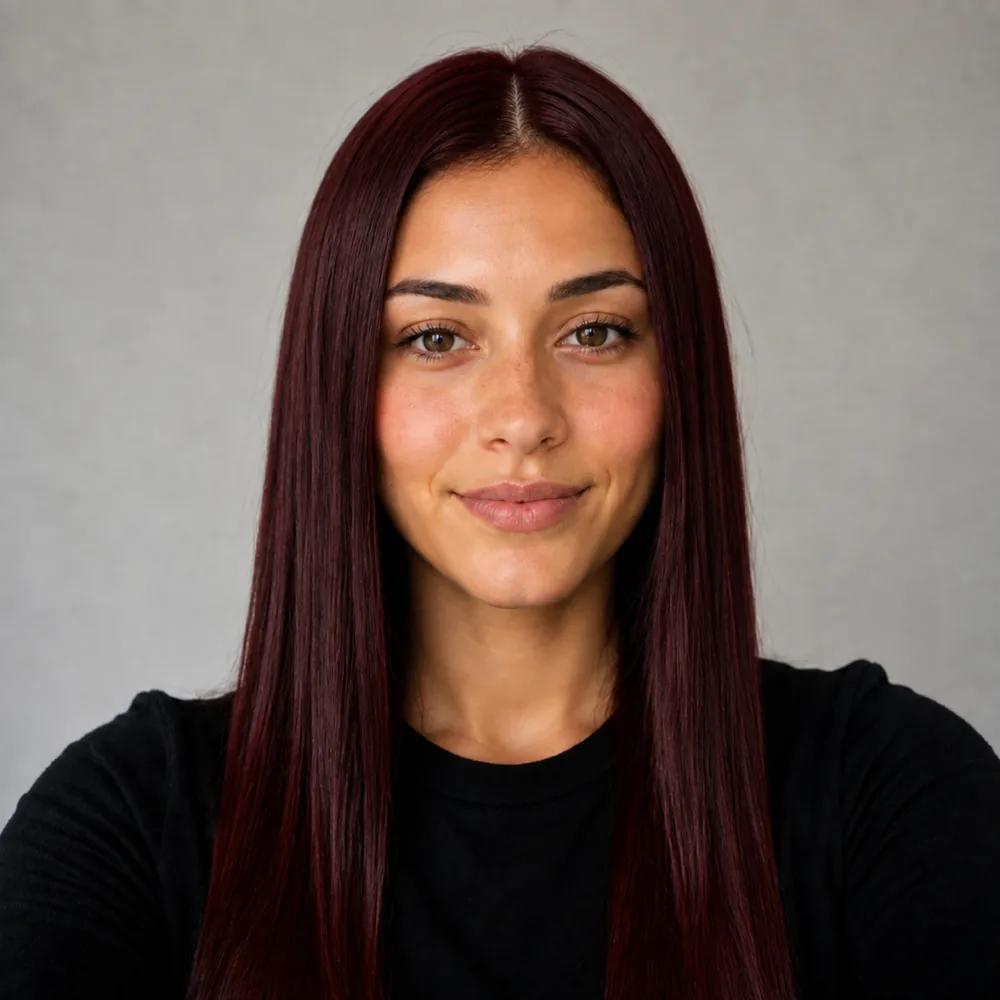
Keeping a cherry cola
- Back in the chair every 6 to 8 weeks.
- Colour-safe shampoo, cool rinse.
- Wash 2 times a week.

Keeping a old money blonde
- Back in the chair every 8 to 10 weeks.
- Colour-safe shampoo, cool rinse.
- Wash 2 to 3 times a week.
Every after is this tool's own render of a demo face, pre-generated for speed - nothing on this page renders live.
Preview a new look
Your first look is free.
Three steps
How it works
Four hours in a chair and a three-figure bill is a lot to gamble on a Pinterest board. See the melt on your own root and length first.
- 01 Your selfie
Show roots through ends
Photograph enough of the lengths to reveal the current transition. The balayage comparison needs to show where darker hair becomes lighter.
- 02120+ looks

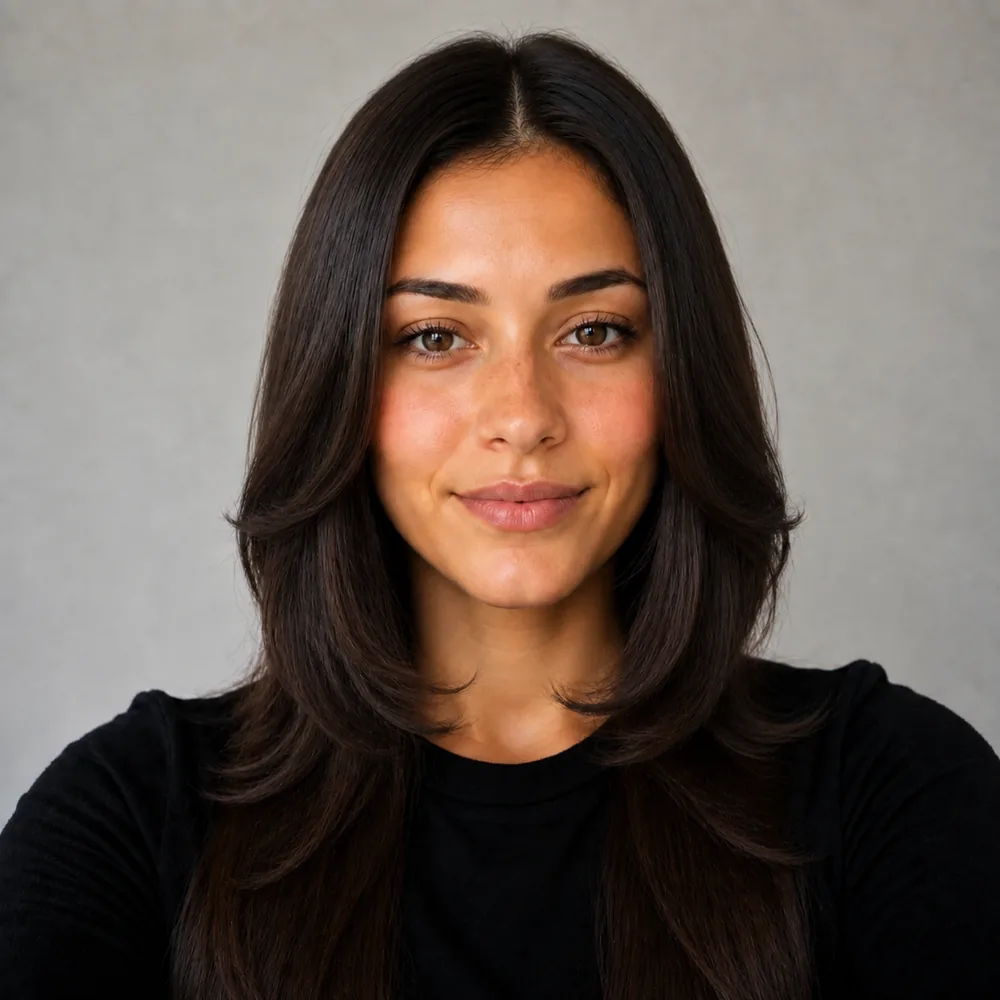


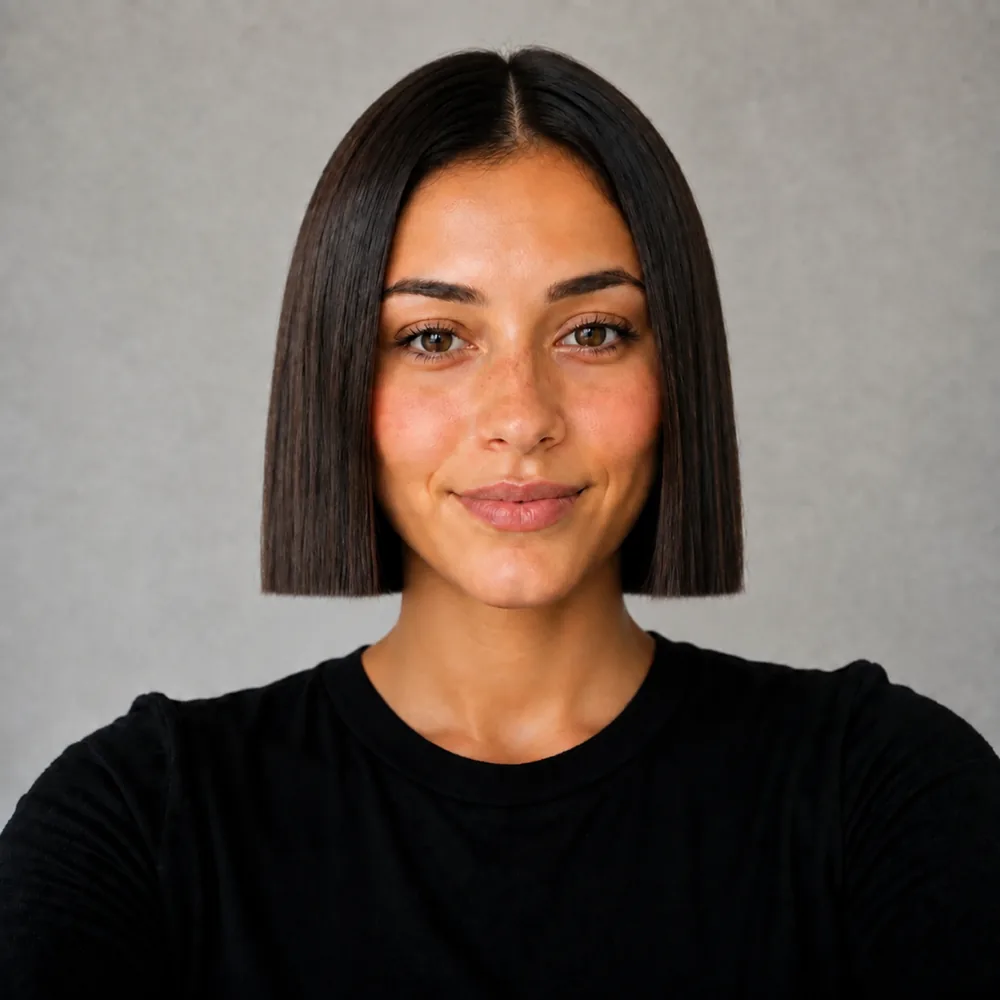



Study the placement of the ribbons
Compare how high the brightness starts and how much depth stays between lighter pieces. Check the front frame separately from the ends.
- 03 Your result
Map the blend with your colorist
Save the balayage result and point out the dark areas you want kept. Mention any planned haircut before agreeing on where the brightest lengths will sit.
The balayage decision is where brightness begins
Balayage describes a way of placing lighter areas through hair, but the appearance you are choosing is a pattern of depth and brightness. The point where the lighter sections begin can make the result look subtle or strongly contrasted. A dark root with brightness concentrated near the ends leaves a different frame from a blend that brings lighter pieces close to the face.
In the preview, follow one light section from top to bottom. Notice whether its beginning is soft and staggered or seems to form a clear horizontal change. Then look at the darker spaces between the lighter ribbons. Those spaces help the placement read as dimension rather than as a uniformly lighter head. A picture that loses them may be showing more overall brightness than you intended by the word balayage.
Tell your colorist where you want depth to remain: around the part, behind the front pieces or through the underside. Also point out the brightest endpoint you like. That is a more useful brief than naming caramel or ash alone. The tool can communicate this map of visible contrast, but it cannot specify which salon technique will produce it on your starting hair. Let the colorist choose that method after seeing the pattern and the history they have to work with.
A balayage ribbon changes when the hair moves
Many balayage references are photographed in waves because a bend exposes alternating light and dark sections. The same placement can look quieter when the hair hangs straight, or stronger when a lighter piece turns outward. If your usual style is straight, a waved preview may make the color seem more dimensional than the way you will normally display it.
Look at the front lengths individually. A bright face frame can stand out even when the rest of the blend stays restrained. If you like the gentle ends but not that bright front, make the distinction explicit at the consultation. A colorist should not have to guess whether the most noticeable ribbon in your reference is the part you came for.
Shorter lengths leave less distance for a gradual transition from root to end. A bob can still carry dimension, but the placement has to work within that smaller area. Long hair gives more visible room for dark, intermediate and light zones, though the history of the ends also matters to the real service. Tell the colorist whether a cut is planned before the color appointment. Removing several inches afterwards can remove much of the light area you selected in the preview and leave a different balance from the one you intended.
Soft regrowth does not mean a balayage needs no upkeep
A balayage chosen with depth near the roots can have a less abrupt growing boundary than a uniformly light root. That does not make the entire result maintenance-free. The tone through the lighter pieces can shift, the ends can lose their freshly styled appearance, and a new part can reveal a different arrangement of color at the front.
Use the preview to decide which part of the result you would want refreshed. You may care most about the brightness beside the face, the coolness of the light ribbons or the contrast through the ends. Those priorities can lead to different conversations about future appointments. Ask the colorist to explain what a refresh would involve for the specific placement, rather than assuming every balayage means the same schedule.
Your original lengths may already contain earlier lightening or dark color that is not obvious in the photograph. Mention it before asking for a new melt. The digital image does not test those sections or show which route will preserve the desired result. Bring both the current photo and the chosen reference, then discuss what the first appointment can reasonably aim for. Balayage try-on is most helpful when it settles the placement and tone you want while leaving the process and upkeep grounded in your actual hair.
Balayage painted onto your own root and length
Real shades
Warm caramel, toffee, honey, cool ash or soft beige. Each one lands differently against your natural base, and the toner is what separates them at the end.
The melt line
Too high and it stripes; too low and you barely see it. Move the line between dark root and lifted length until it looks like your own hair.
Regrowth
People pick this technique because the grow-out is soft. Look at where your root will sit four months in, before you book the first appointment.
Cut matters
A hand-painted melt behaves differently on long layers than on a blunt bob. Put the same shade over both shapes and see which one carries it.
Questions about the Balayage Try-On
Straight answers, no hedging.
Follow the lighter pieces upward and see where they begin. Then check the darker spaces between them. That pattern often explains whether the result feels soft, stripe-like or more uniformly bright than you intended.
Bends turn different sections toward the light and expose alternating ribbons. If you usually wear straight hair, tell the colorist so a waved reference does not become the only expectation for how the placement will appear.
Describe that distinction clearly in the brief. A bright face frame is a separate placement choice, and it may be the most noticeable part of a reference even when you mainly wanted the softer lightness lower down.
Discuss the intended final length before the placement is chosen. A shorter perimeter leaves less space for the transition, and cutting off the lightest ends afterwards can change the balance you liked in the image.
The root boundary may be softer, but the lighter areas still have a tone and appearance you may want to refresh. Ask which part of your selected result will need attention instead of assuming a universal upkeep schedule.
No. It displays a target pattern without testing the pigment already in your lengths. Tell the colorist about earlier color and lightening so they can assess a route toward the placement you chose.
Other tools to explore

Link to this tool
Free sample previews, free to link or embed. No permission needed.
https://hairstyleatlas.com/balayage-try-onExplore more try-on tools
Same selfie, a different change. Every tool below runs on the photo you already uploaded.

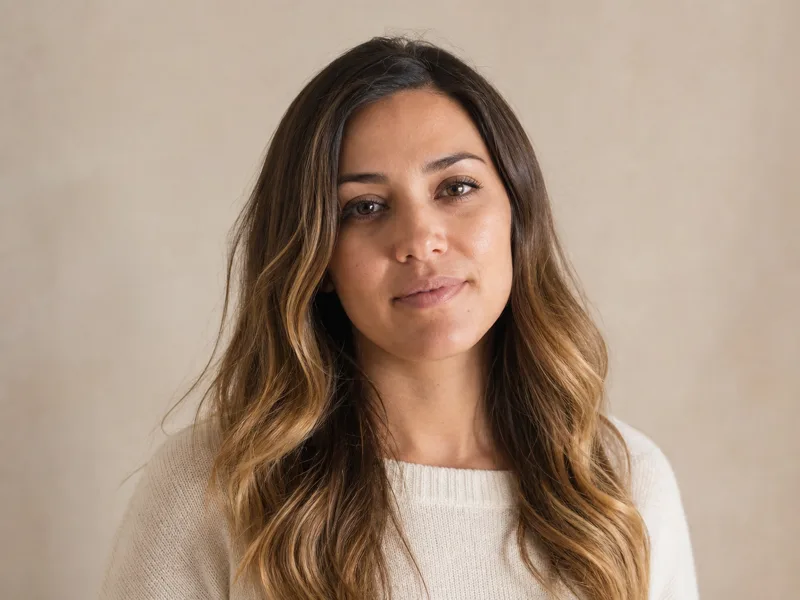
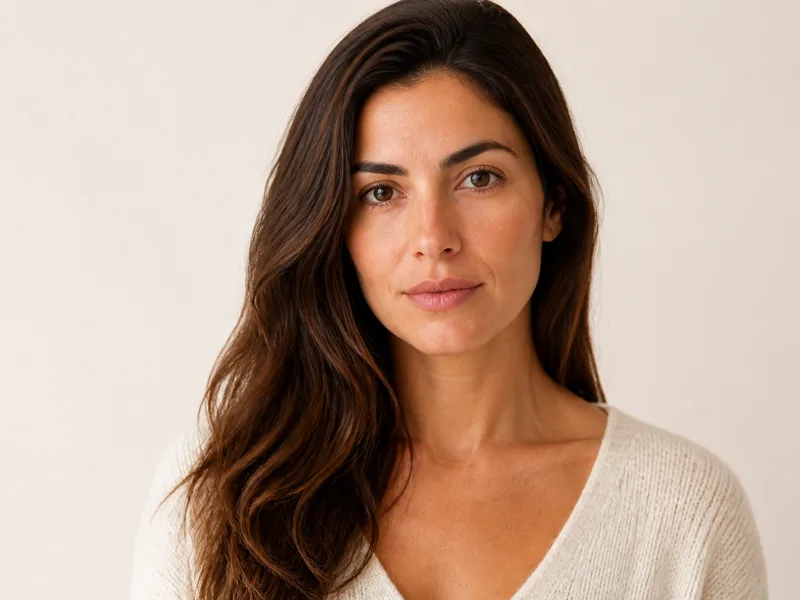
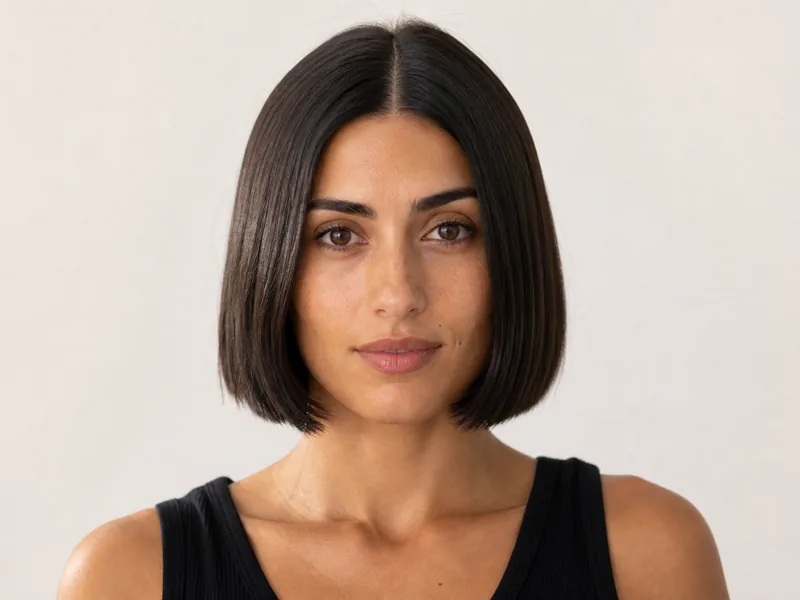
Choose where the light starts.
Keep the depth you like.
Preview the balayage placement from root to end before discussing the blend with your colorist.