Fade Haircut Simulator
Low, mid, high, skin or taper. Get the height wrong and you live with it for three weeks - compare them side by side on your own head instead.






Preview a new look
Your first look is free.
Free sample previews. Try every look on our sample faces here without registering. Your own photo needs a free account, no card: 15 credits once (a cut costs 10, a color on it 5). That covers one cut plus one color on it. No refill; further renders are paid. The optional Plus trial can be declined.



- 48,000+
- users worldwide
- 165,000+
- hairstyles tried
Try it yourself
Pick a look, drag the handle to compare. Then do it with your own selfie.


Keeping a textured fade
- Back in the chair every 3 to 4 weeks.
- Spritz salt spray through damp hair.
- Wash 3 to 4 times a week.

Keeping a edgar
- Back in the chair every 2 to 3 weeks.
- Dry the bangs forward while it is still damp.
- Wash 3 to 4 times a week.

Keeping a modern mullet
- Back in the chair every 6 to 8 weeks.
- Salt spray through the whole head while damp.
- Wash 2 to 3 times a week.

Keeping a perm
- Back in the chair every 8 to 10 weeks.
- Work curl cream through soaking-wet hair.
- Wash 2 to 3 times a week.


Keeping a curtains
- Back in the chair every 6 to 8 weeks.
- Spray salt spray through wet hair.
- Wash 3 to 4 times a week.

Keeping a crew cut
- Back in the chair every 4 to 5 weeks.
- Rub a small amount of clay through dry hair.
- Wash 3 to 4 times a week.

Keeping a ivy league
- Back in the chair every 4 to 5 weeks.
- Part it damp, on the side it already falls.
- Wash 3 to 4 times a week.

Keeping a disconnected crop
- Back in the chair every 3 to 4 weeks.
- Salt spray, then dry the top forward.
- Wash 3 to 4 times a week.

Keeping a low taper blowout
- Back in the chair every 2 to 3 weeks.
- Salt spray at the roots while wet.
- Wash 3 to 4 times a week.

Keeping a taper fade
- Back in the chair every 3 to 4 weeks.
- Towel-dry until damp, not dripping.
- Wash 3 to 4 times a week.

Keeping a quiff
- Back in the chair every 4 to 5 weeks.
- Blow-dry the front up and back over a round brush.
- Wash 3 to 4 times a week.

Keeping a restored
- Back in the chair every 4 to 5 weeks.
- Dry the front forward rather than back.
- Wash 3 to 4 times a week.

Keeping a shaved
- Back in the chair every 1 to 2 weeks.
- Shave with the grain, not against it.
- Wash 5 to 7 times a week.

Keeping a platinum
- Back in the chair every 4 to 6 weeks.
- Purple shampoo once a week, no more.
- Wash 1 to 2 times a week.

Keeping a jet black
- Back in the chair every 6 to 8 weeks.
- Color-safe shampoo, cold rinse.
- Wash 2 to 3 times a week.

Keeping a ash brown
- Back in the chair every 6 to 8 weeks.
- Color-safe shampoo, cool rinse.
- Wash 2 to 3 times a week.

Keeping a silver
- Back in the chair every 8 to 10 weeks.
- Purple shampoo weekly to stop it yellowing.
- Wash 2 to 3 times a week.

Keeping a low taper
- Back in the chair every 3 to 4 weeks.
- Towel-dry until damp.
- Wash 3 to 4 times a week.

Keeping a italian cut
- Back in the chair every 6 to 8 weeks.
- Salt spray on damp hair.
- Wash 2 to 3 times a week.

Keeping a comma fringe
- Back in the chair every 4 to 5 weeks.
- Blow-dry the top forward and full from damp.
- Wash 3 to 4 times a week.

Keeping a mop cut
- Back in the chair every 8 to 10 weeks.
- Salt spray through damp hair.
- Wash 2 to 3 times a week.
Every after is this tool's own render of a demo face, pre-generated for speed - nothing on this page renders live.
Preview a new look
Your first look is free.
Three steps
How it works
Low, mid, high, skin or taper. Get the height wrong and you live with it for three weeks - compare them side by side on your own head instead.
- 01 Your selfie
Expose both temples
Photograph the side corners without a hat or hair covering the ears. The fade comparison needs a clear boundary between scalp, side hair and the longer top.
- 02120+ looks
Move the fade, keep the top
Compare low, mid and high placement on a similar top shape. Judge the transition height separately from whether the shortest area reaches bare skin.
- 03 Your result
Point out the blend to your barber
Bring the fade reference and identify the transition, upper side weight and neckline. Ask your barber to choose workable guards for your density.
Separate fade height from the shortest finish
Fade height and fade closeness are independent choices. Low, mid and high describe where the transition sits around the head. Skin describes the shortest finish at its bottom. A low skin fade can leave plenty of darkness above the ear, while a high fade that stops short of bare skin can remove much more of the side silhouette. Comparing only the word skin misses that distinction.
In your preview, follow the boundary where pale scalp gives way to a darker band of hair. Notice its position beside the temple and how much dark weight remains under the top. If that boundary rises toward the front corner, the forehead may look more exposed even though the fringe has not changed. A drop shape keeps the transition lower behind the ear, changing the side profile more than the front view suggests.
Ask your barber to separate those decisions when discussing the saved image. You can request a lower transition without changing the shortest guard, or a softer finish without moving the transition upward. That is a more precise correction than saying the fade looks too much. Keep the top similar while comparing fade heights so a taller quiff does not distract you from the strip of hair you actually came to judge.
Where a fade has to blend around your head
A fade wraps around a three-dimensional head. The front photo shows the temples clearly, but the blend also crosses the area above the ears and the curve at the back. Those surfaces can make an even-looking transition appear to dip or rise from different angles. Your render is a reference for placement, not a clipper map for every point around the skull.
Look for a shelf where the longer top meets the faded sides. Sometimes that weight is intentional, especially under a cropped top. Sometimes you want a smoother connection with less visible separation. Point at that junction in the image, because asking for a higher fade can remove the shelf by taking away more side hair than you meant to lose.
Hair color and density affect the contrast in the blend as well. Dark hair against a lighter scalp can make a short transition read sharply; a lower-contrast combination may look softer at the same nominal length. Do not infer a precise guard number from how dark the preview appears. Show the barber the desired transition width and ask them to choose the working lengths after looking at your hair. The result should match the balance you chose, even when the technique required differs from the picture.
Planning a fade for the weeks after the fresh cut
A fresh fade is a carefully graded contrast, and regrowth changes that contrast before the haircut becomes long. The bare lower area develops a shadow, the soft middle becomes less distinct, and the upper sides begin to feel heavier. If you like the preview chiefly because the bottom is completely clear, maintaining that particular finish may matter more to you than keeping the top trimmed.
Think about your booking habits before choosing the sharpest version. Someone who visits frequently can treat the fade as a regularly refreshed edge. Someone who leaves longer gaps may prefer a transition that still makes sense once the lightest area fills in. There is no universal appointment interval that a simulated image can set for you.
At the consultation, describe what usually bothers you first: hair touching the ears, a dark ridge at the temples, or the neck losing its clean outline. Those are different maintenance problems. Ask whether an edge tidy between full cuts would address yours, and clarify that the fade height should stay where agreed. Repeatedly raising the transition to make an old blend look clean can gradually remove the side weight you originally liked. Save the chosen height as a reference for the next visit as well as the first.
Getting the fade height right the first time
Fade height
Low above the ear, mid at the temple, high near the corner of the forehead, plus a drop fade that curves down behind it.
Skin or taper
A skin fade runs to bare scalp with a zero. A taper keeps a grade one at the edge - softer, and it grows out less obviously.
Above the fade
Pair any height with a textured crop, a crew cut, curtains, a slick back or a grade-two buzz. The top is half the haircut.
Neckline finish
A fade ends at the neck one of two ways: tapered away to nothing or blocked off square. Decide before the clippers come out - it changes how the cut grows back.
Questions about the Fade Haircut Simulator
Straight answers, no hedging.
No. High describes placement, while skin describes the shortest finish. Compare those separately so you do not ask for a higher transition when all you wanted was a cleaner bottom edge.
The selfie gives limited information about the rear shape. Any unseen area is interpreted rather than measured. Use the front to discuss temple height, then have the barber inspect the back before deciding how the blend should wrap.
Hair-to-scalp contrast and density change the apparent darkness. A guard number does not guarantee the same visible shade on two heads, which is why the preview should guide placement rather than dictate every clipper setting.
Point to the meeting between the longer top and shorter sides. Ask whether that weight can be connected more softly. Raising the entire fade is one possible change, but it may expose more of the side than you wanted.
The drop refers to the curve behind the ear. Temple placement is another part of the design. Bring a reference that shows both, and clarify which detail matters instead of relying on the name alone.
Tell your barber to preserve the upper boundary and identify what needs tidying below it. A saved preview helps show the original intention, particularly if repeated cleanups have started pushing the transition higher.
Other tools to explore

Link to this tool
Free sample previews, free to link or embed. No permission needed.
https://hairstyleatlas.com/fade-haircut-simulatorExplore more try-on tools
Same selfie, a different change. Every tool below runs on the photo you already uploaded.
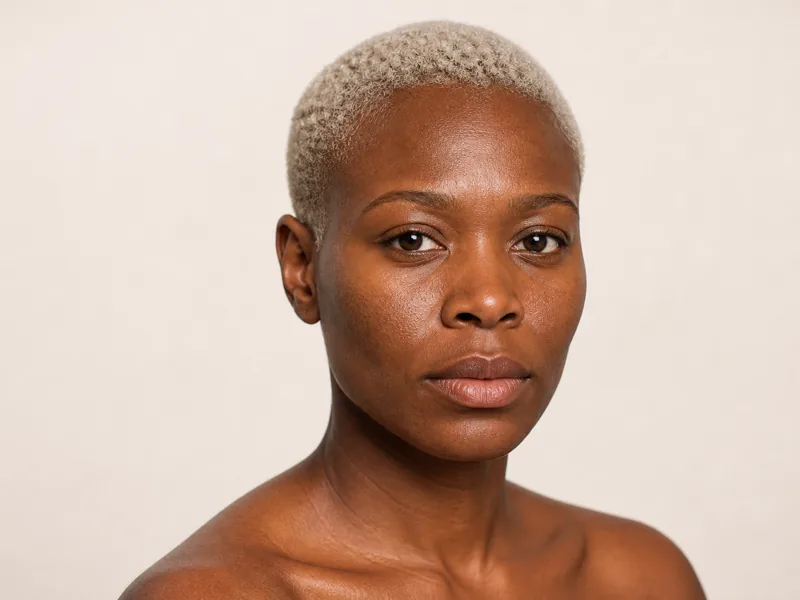



Pick the fade height.
Keep the side weight you want.
See the transition beside your own temples before asking your barber to take it higher.