Low Taper Fade Cutting: A Step by Step Guide With Guard Numbers
Oleh Onysko 1 November 2026 14 min read
In this article
Low taper fade cutting means shortening only two small zones: the sideburn with the hair around the ear, and the nape. You set a guideline no higher than the top of the ear with a #1 guard, blend it up into the longer sides with a #2 and a #3, take the very bottom to a #0.5, and finish by cleaning the edges.
That is less cutting than any other fade, not more. Most low tapers that go wrong were cut like a low fade: the clipper wraps around the whole head, the line creeps up, and what was meant to be a taper ends up as a mid fade. The rule this guide turns on is simple. The guideline is the cut, and it only moves up, never down.
What you are actually cutting
A low taper shortens the hair at the edges of the haircut and leaves the side of the head alone. The short part sits at the sideburn, curves behind the ear and runs along the nape. Its highest point is just above the top of the ear. Everything above that line stays about an inch long and blends into the top.
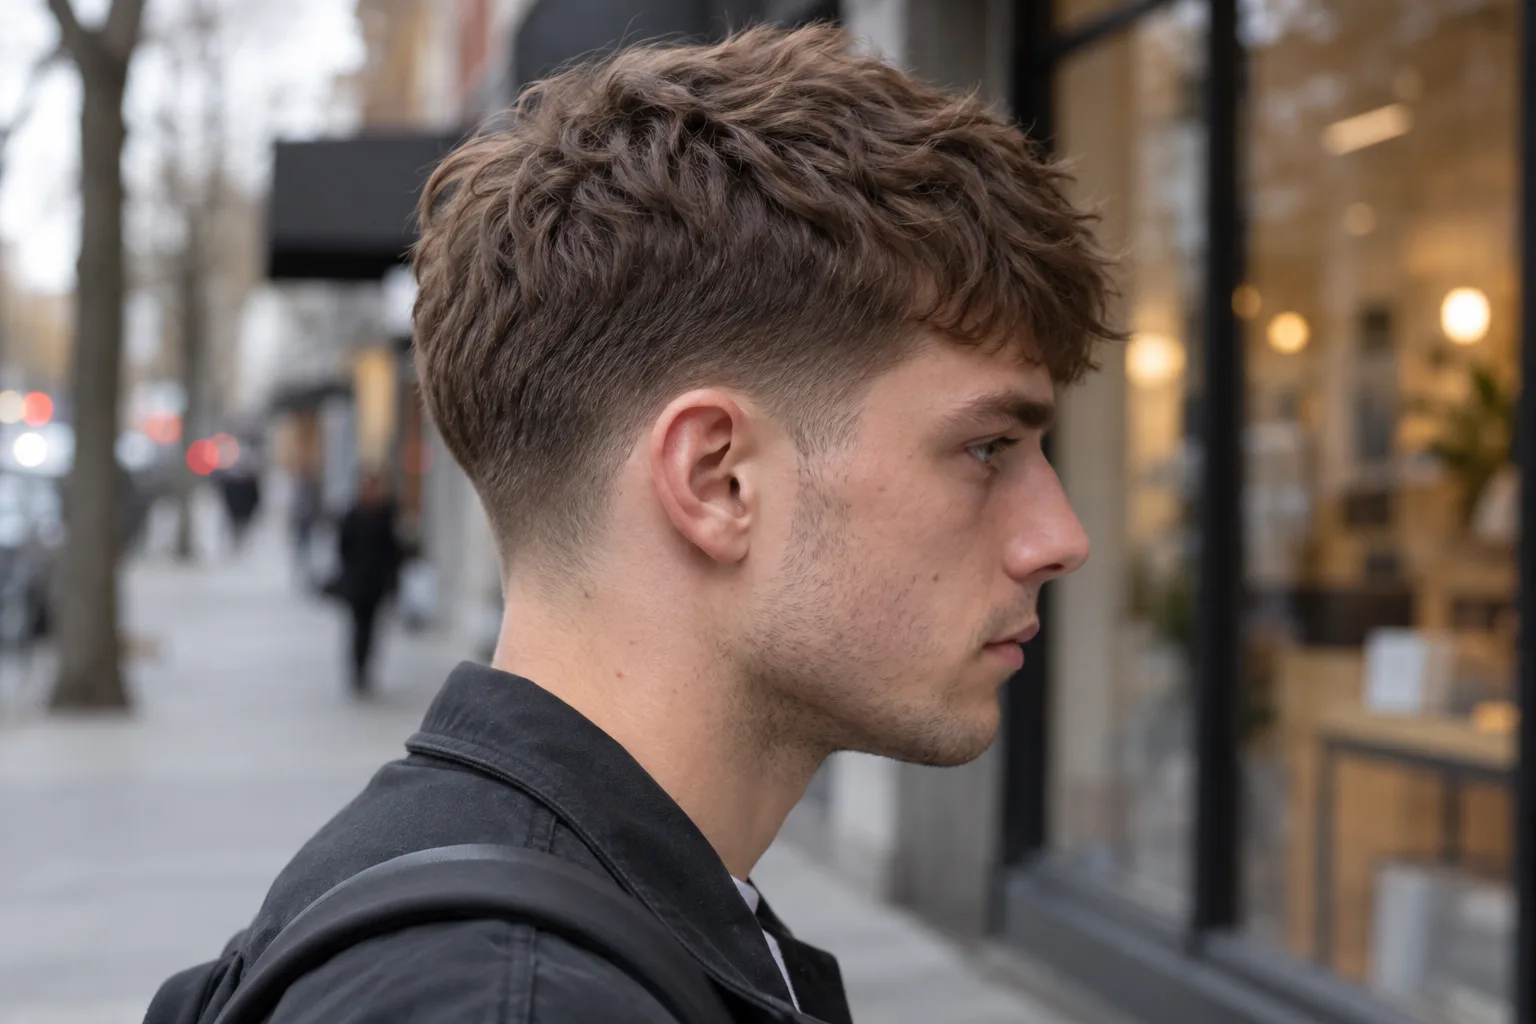
A low fade looks similar from the front and is a different job from behind. It runs the short band in a full ring around the back of the head at the same height. If you want the difference in pictures, the low taper fade style guide lays it out, and the mid taper comparison shows what happens one inch higher.
| Low taper | Low fade | Mid taper | |
|---|---|---|---|
| Where the short part sits | Sideburn, behind the ear, nape | Full ring around the back | Sideburn to temple, nape |
| Highest point | Just above the top of the ear | Just above the ear, all the way round | Level with the temple |
| Hair removed from the side | Very little | A band all round | About twice as much |
| Shortest length | #0.5 to #1 | Often down to skin | #0.5 to #1 |
| Hardest part | Keeping the line low and even | Blending the full ring | Matching both temples |
Want to see it first? See a mullet on your face with the mullet try-on.
Tools and guard numbers
You need clippers with a full set of guards, a trimmer for the edges, scissors, a comb, and two mirrors if you are cutting your own hair. Guard numbers mean lengths, and Wahl publishes the standard guard chart most brands follow. If you are buying, our clipper guide covers what to look for.
| Guard | Length | Where it goes on a low taper |
|---|---|---|
| #0.5 | 1/16 inch | The lowest half inch at the sideburn and nape |
| #1 | 1/8 inch | The guideline |
| #1.5 | 3/16 inch | Softening the line above the #1 |
| #2 | 1/4 inch | The blend zone, just above the top of the ear |
| #3 | 3/8 inch | Where the taper meets the side |
| #4 | 1/2 inch | Bulk on the sides, only if they are long |
The lever on the side of the clipper matters as much as the guards. Closed, the guard cuts to its listed length. Open, it cuts roughly half a guard shorter. Barbers use it to get in-between lengths without swapping guards.
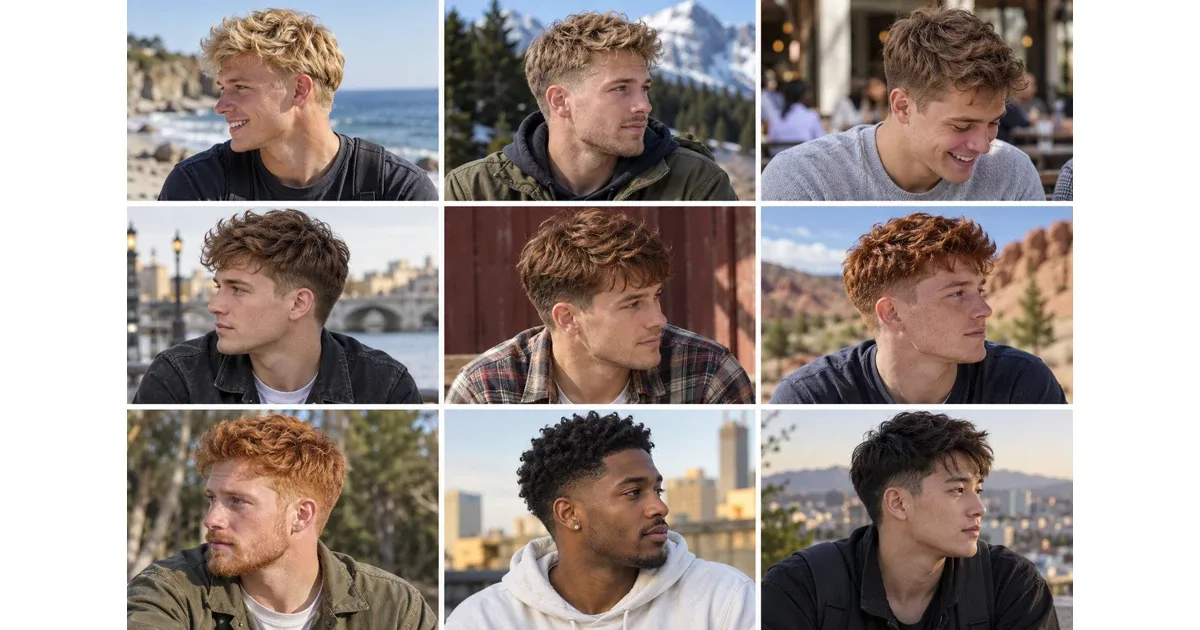
The same low taper on fourteen hair types
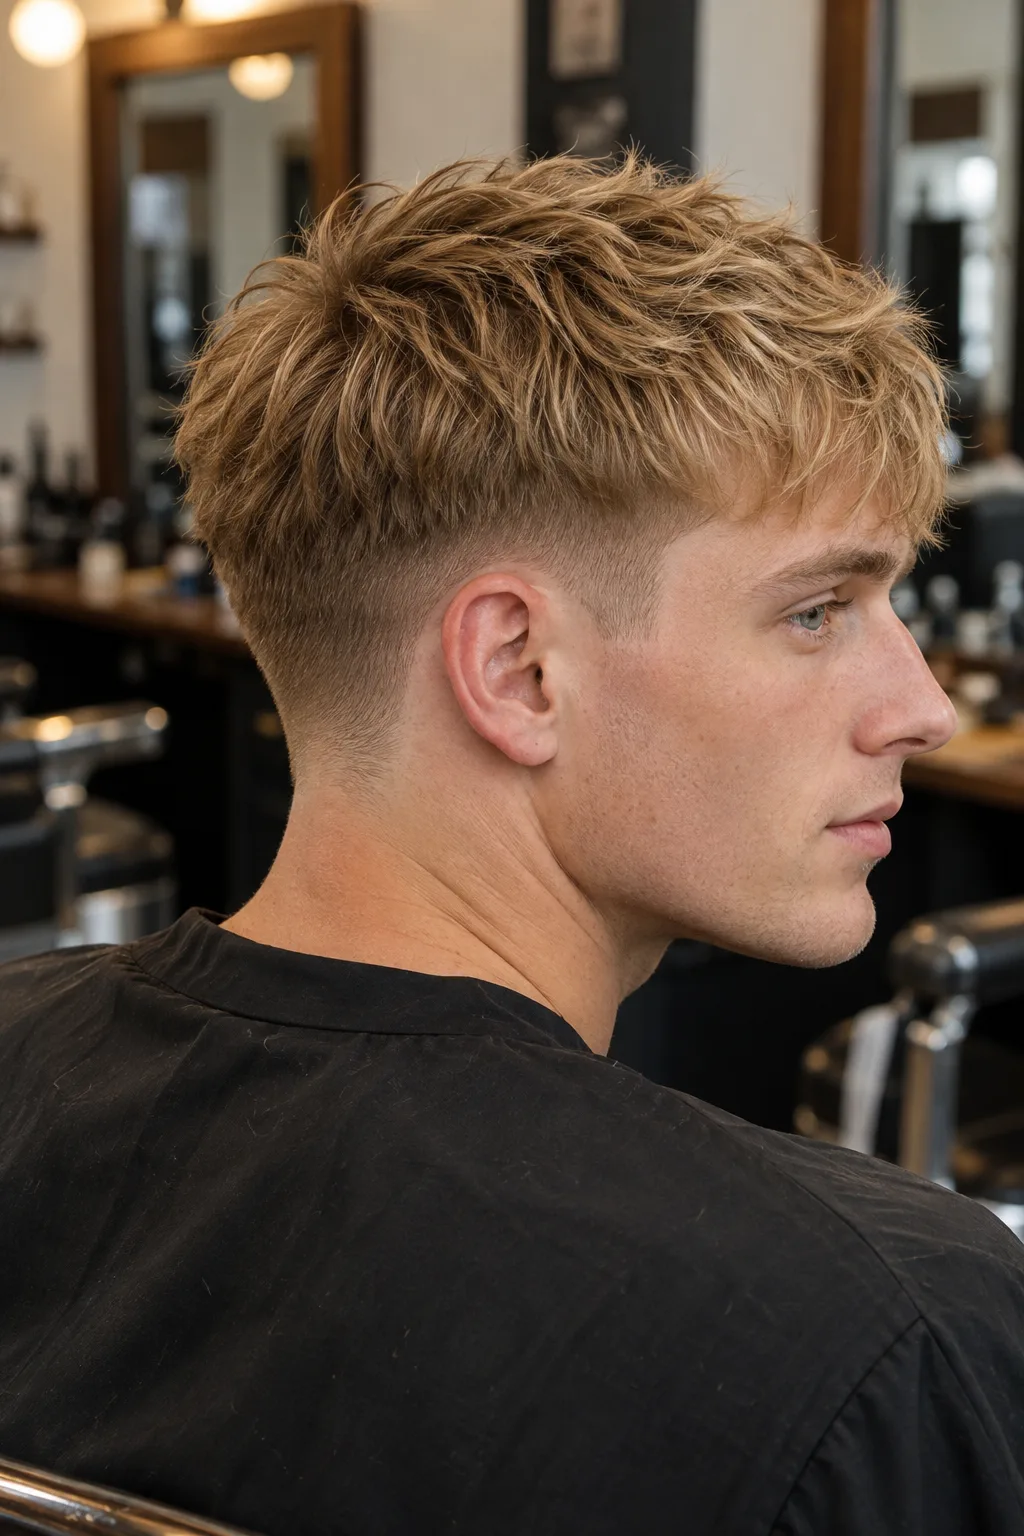
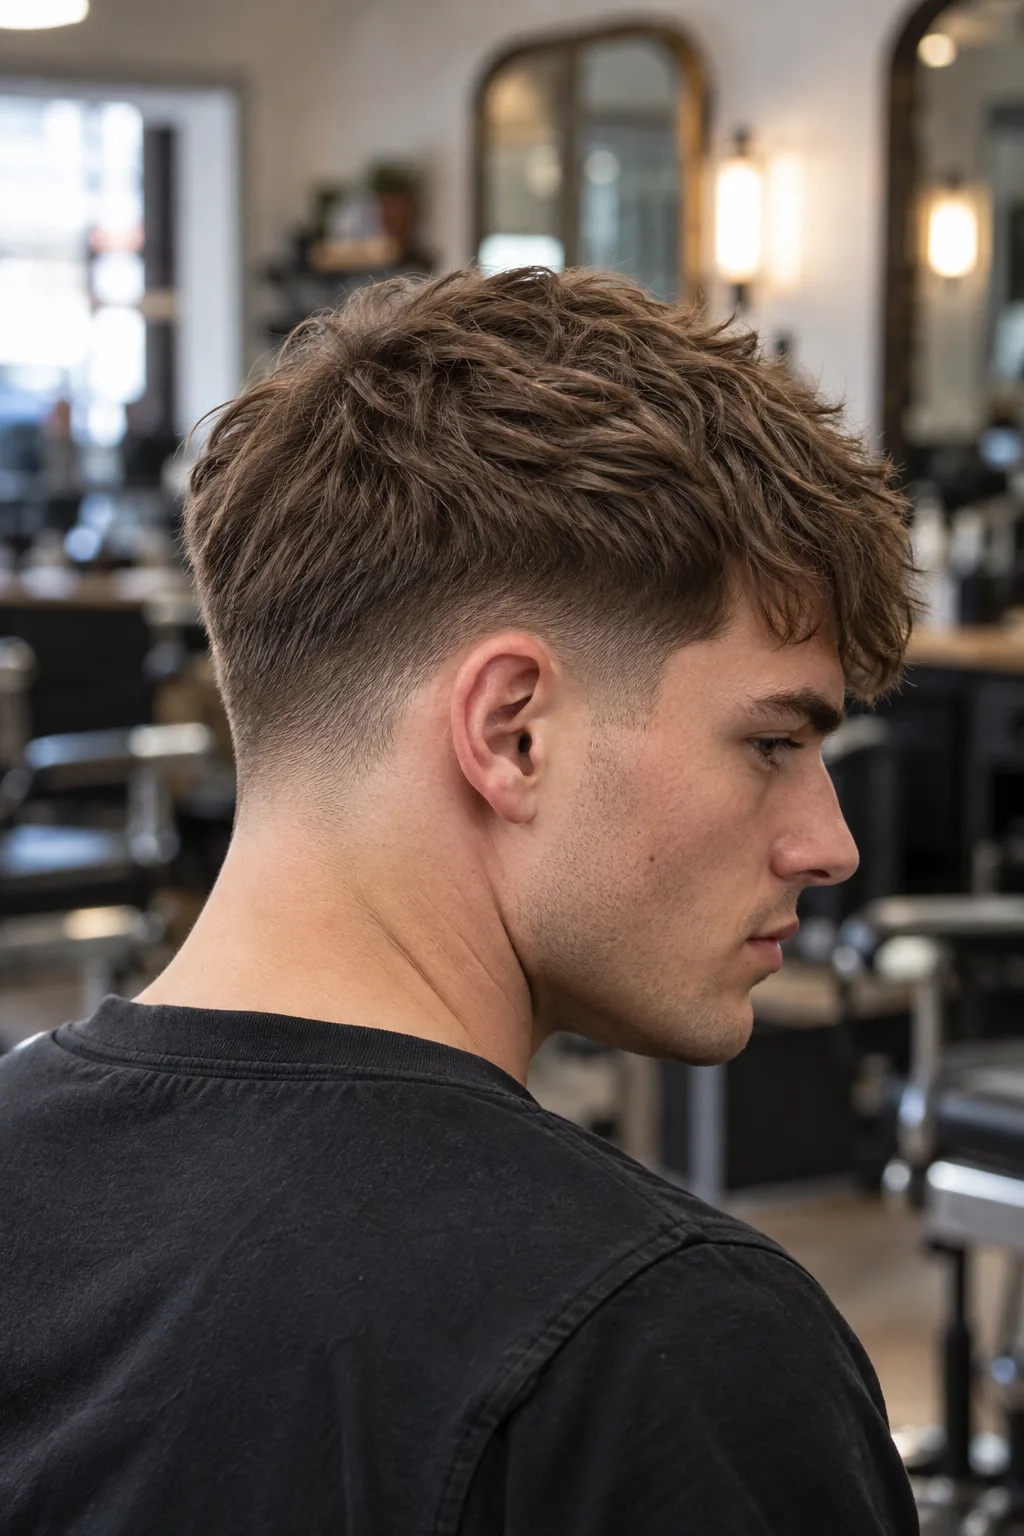
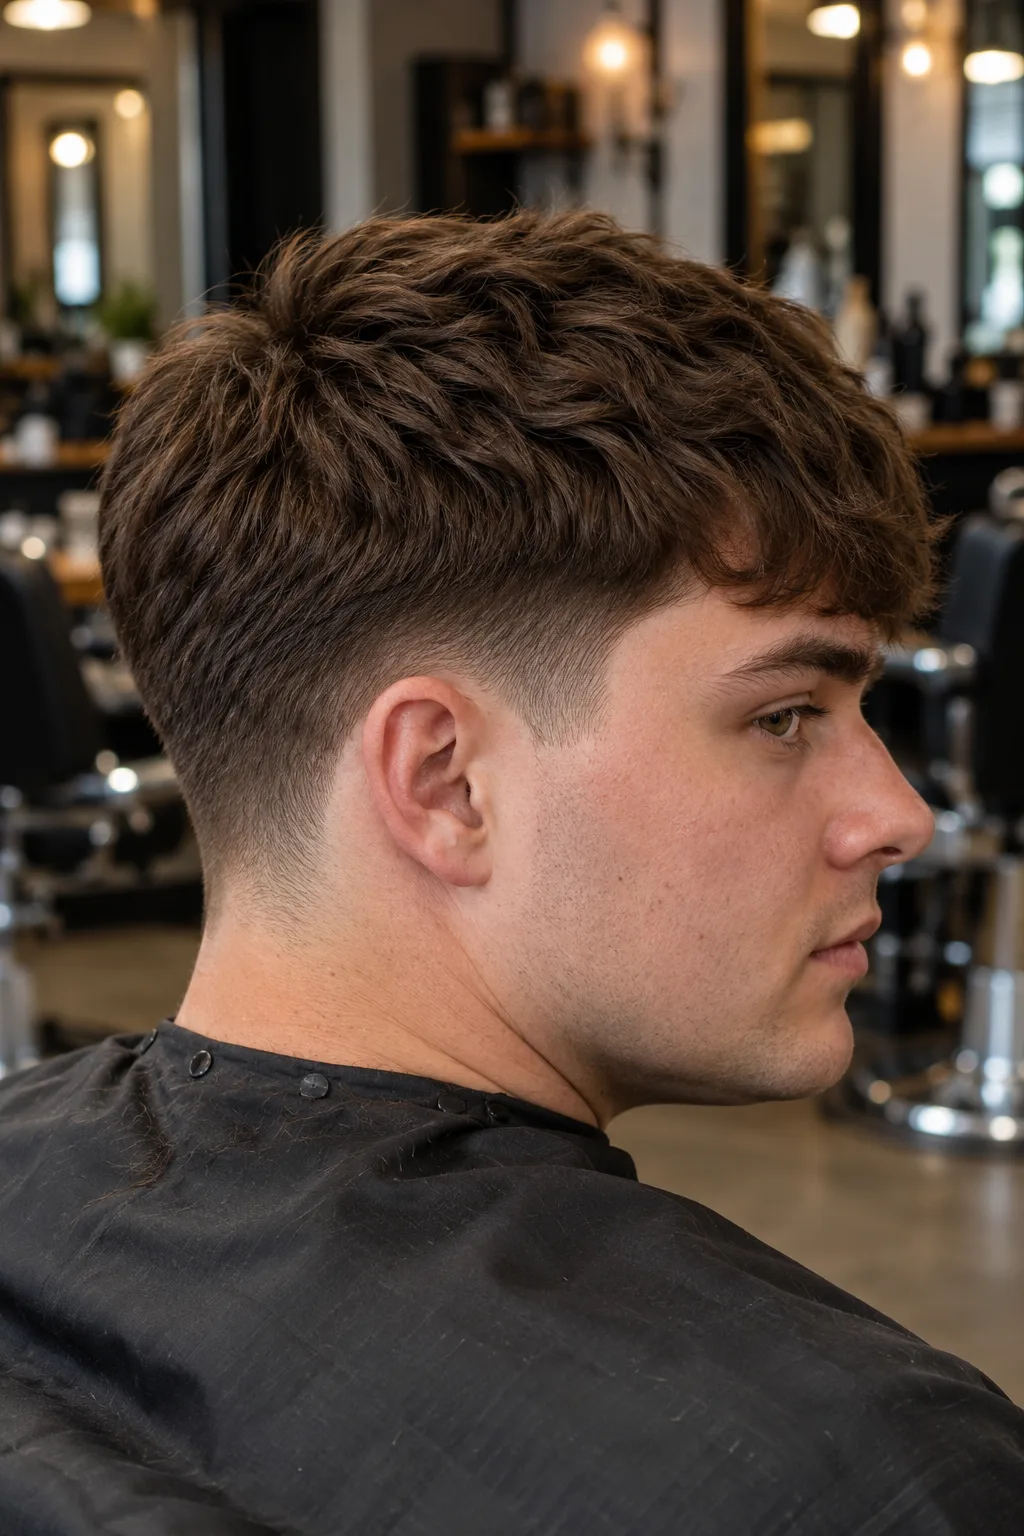
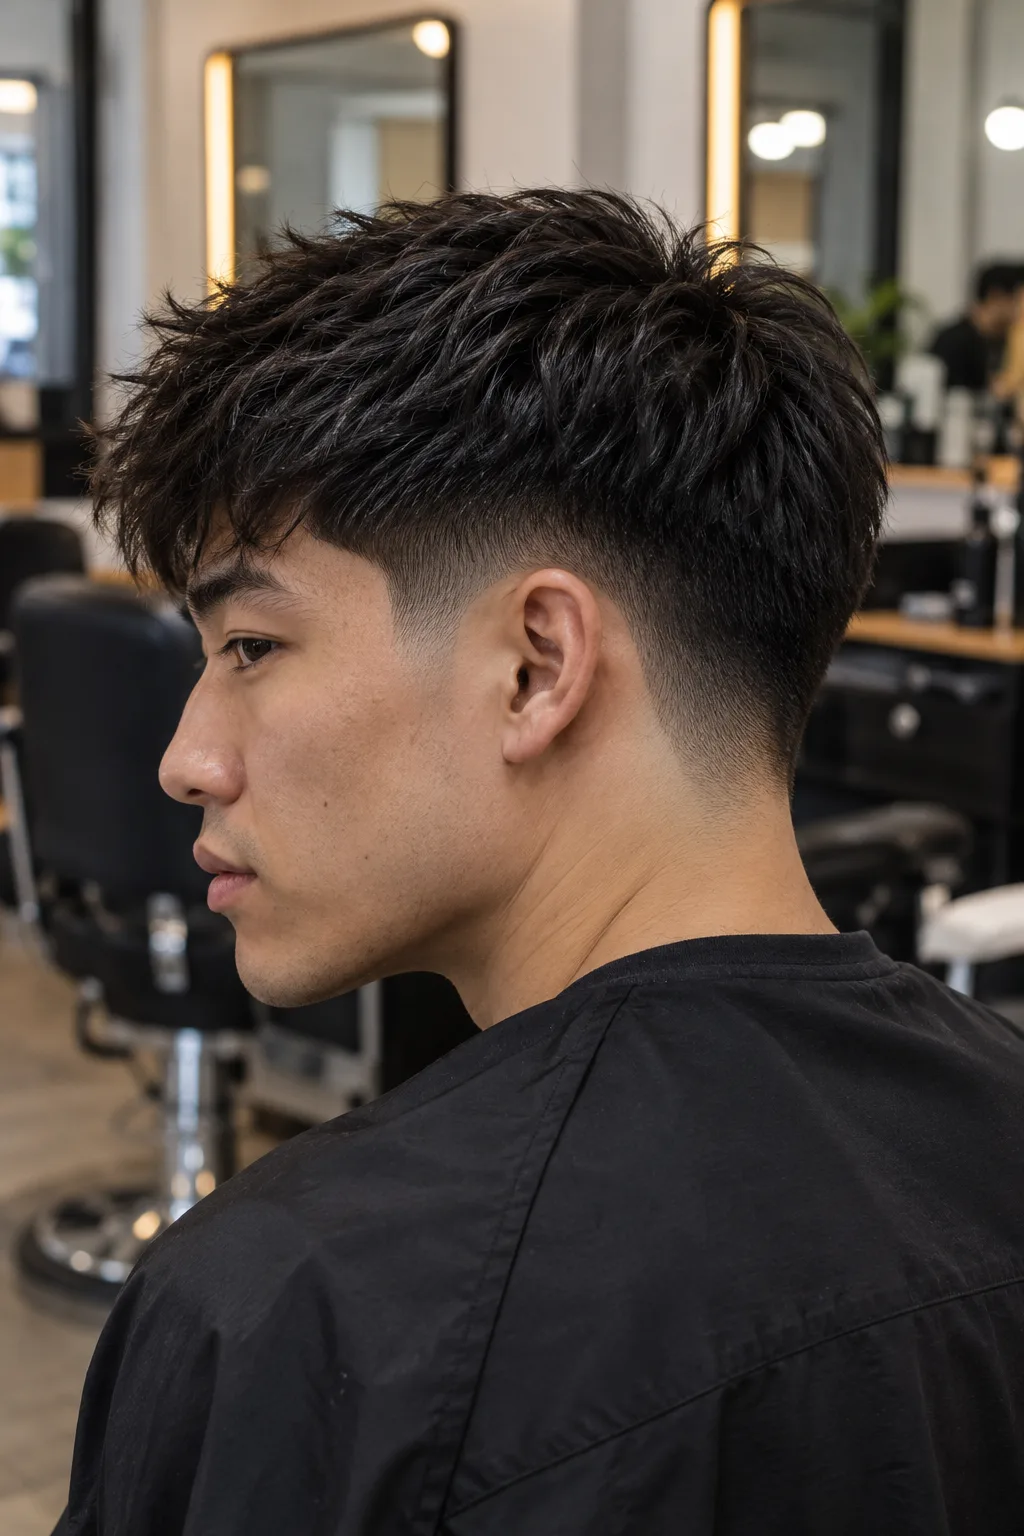
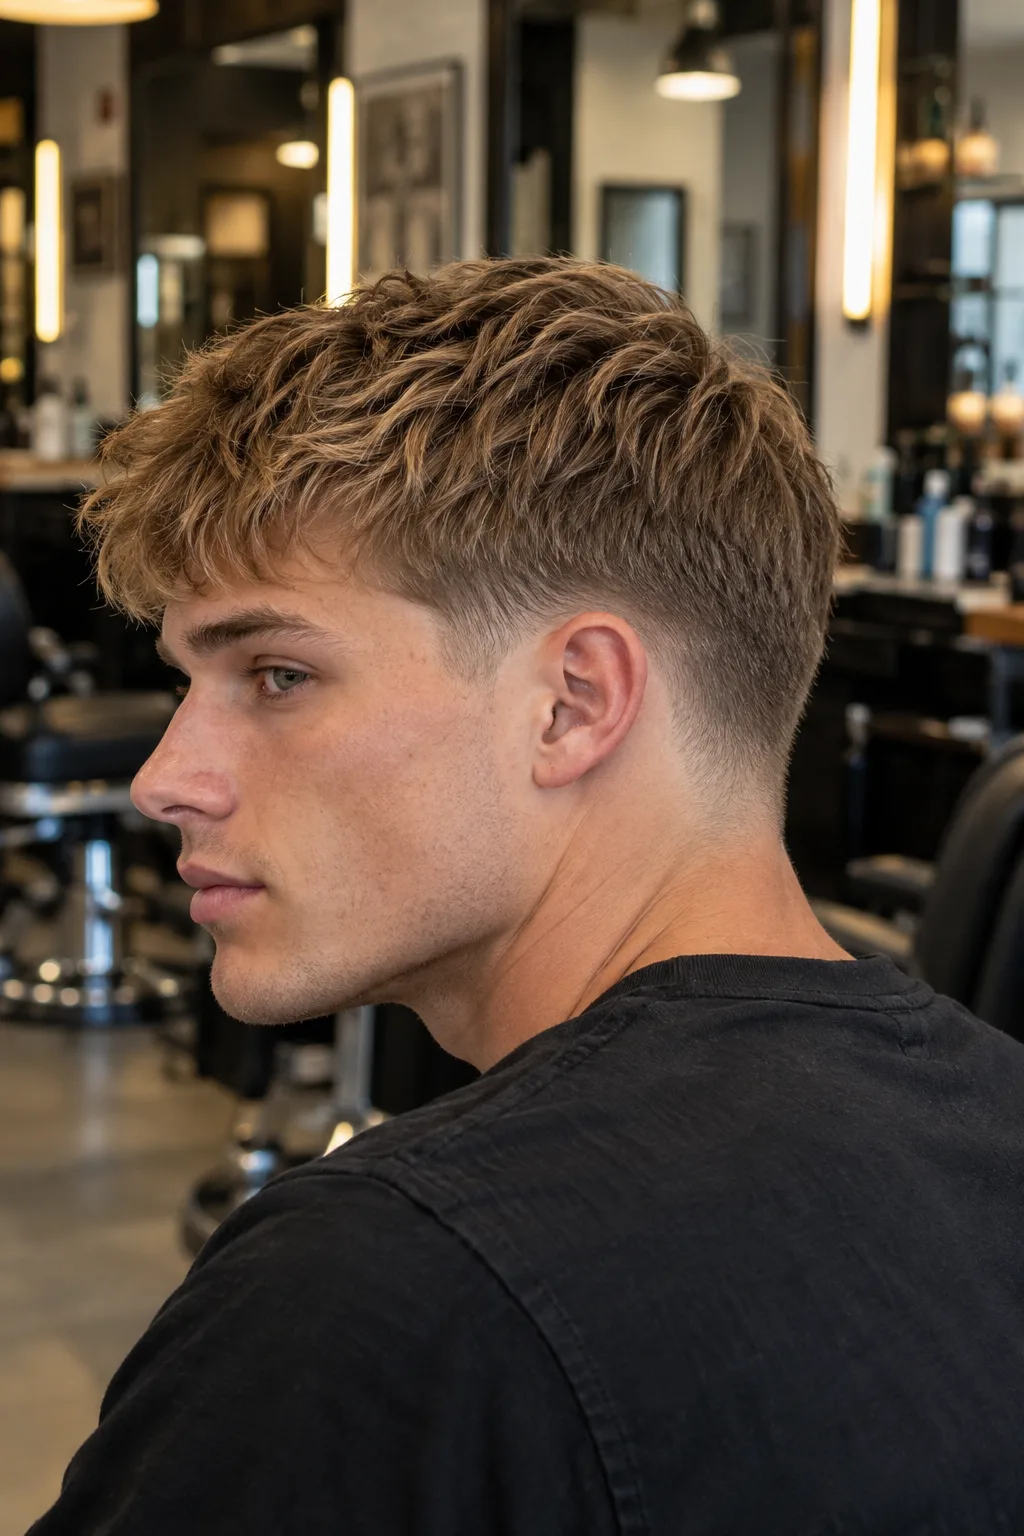
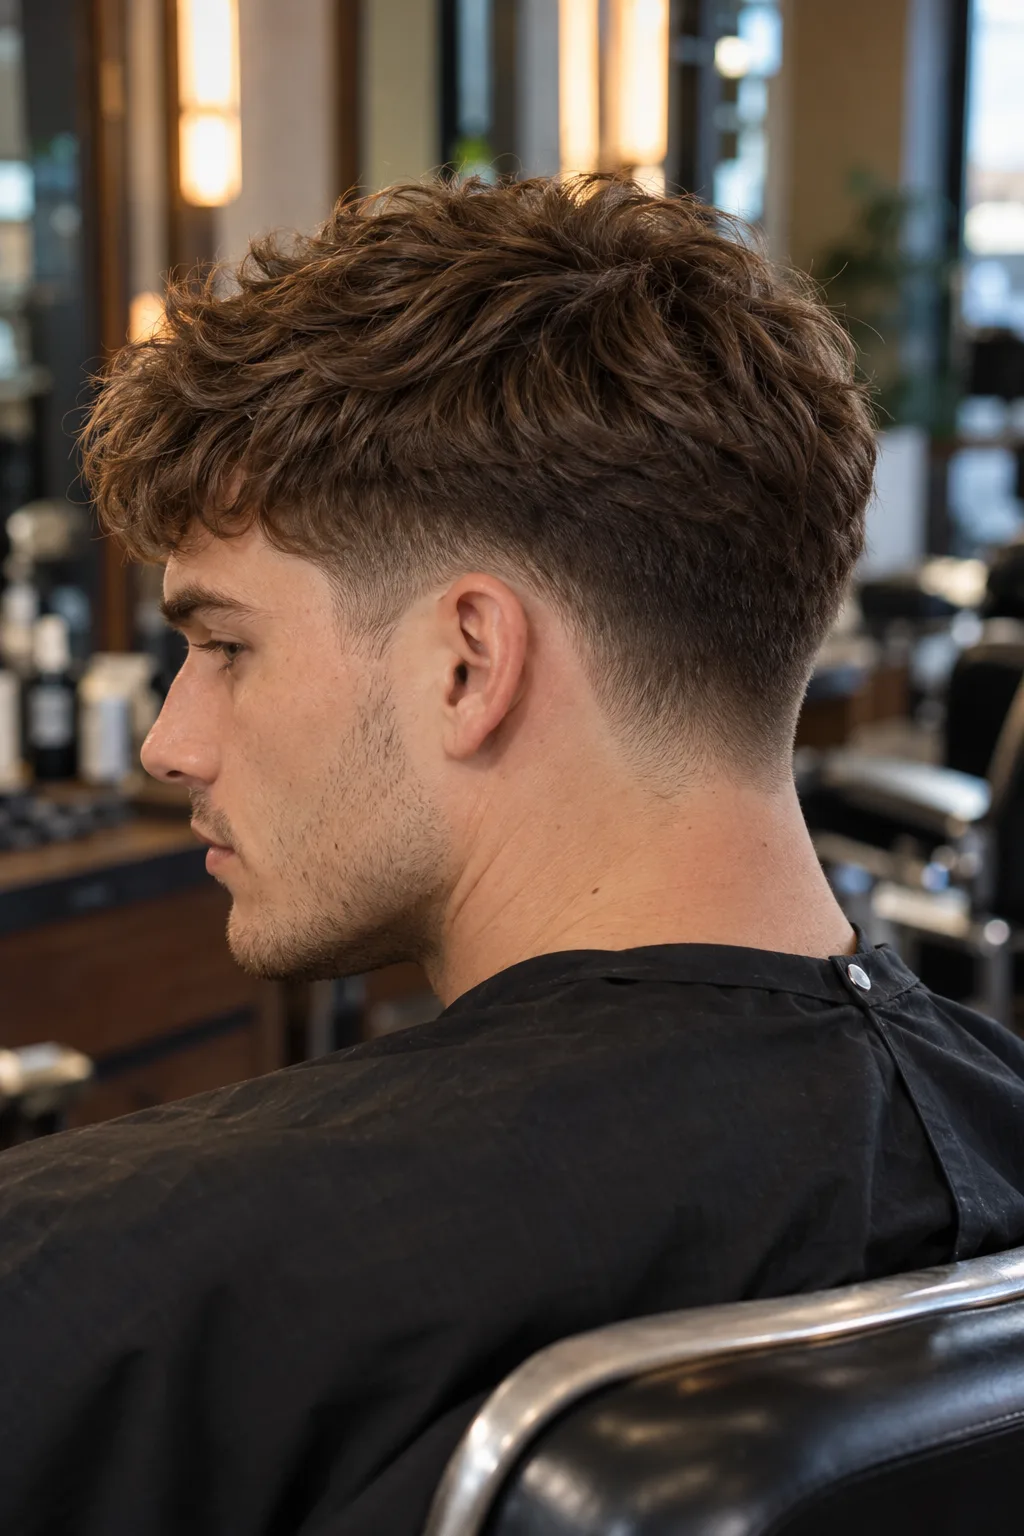
Every picture below is the same cut: a low taper that tops out just above the ear, with a textured crop on top. The only thing that changes is the hair, from fine straight to tight 4c coils. Look at how each texture shows the blend. Straight hair shows every line, coils hide them. Leave the top at 3 to 4 inches instead and blow it up and back, and the same taper becomes a blowout taper fade.
Gallery14 photos · tap to enlarge
 Would this suit me?
 Would this suit me?
 Would this suit me?
 Would this suit me?
 Would this suit me?
 Would this suit me?
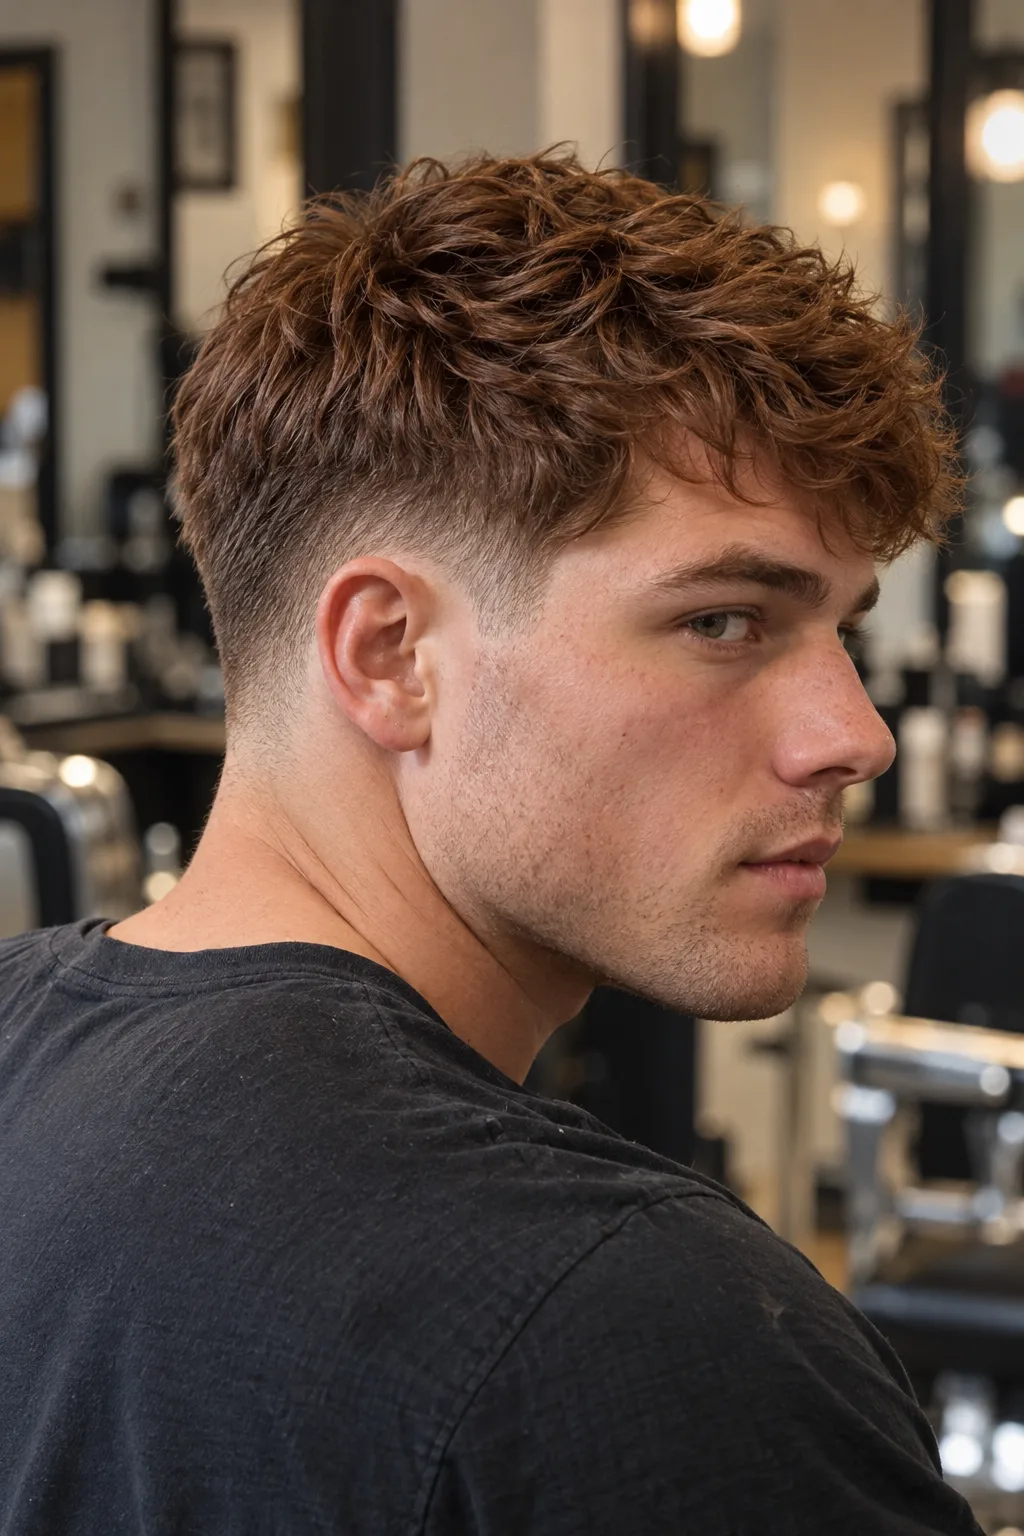 Would this suit me?
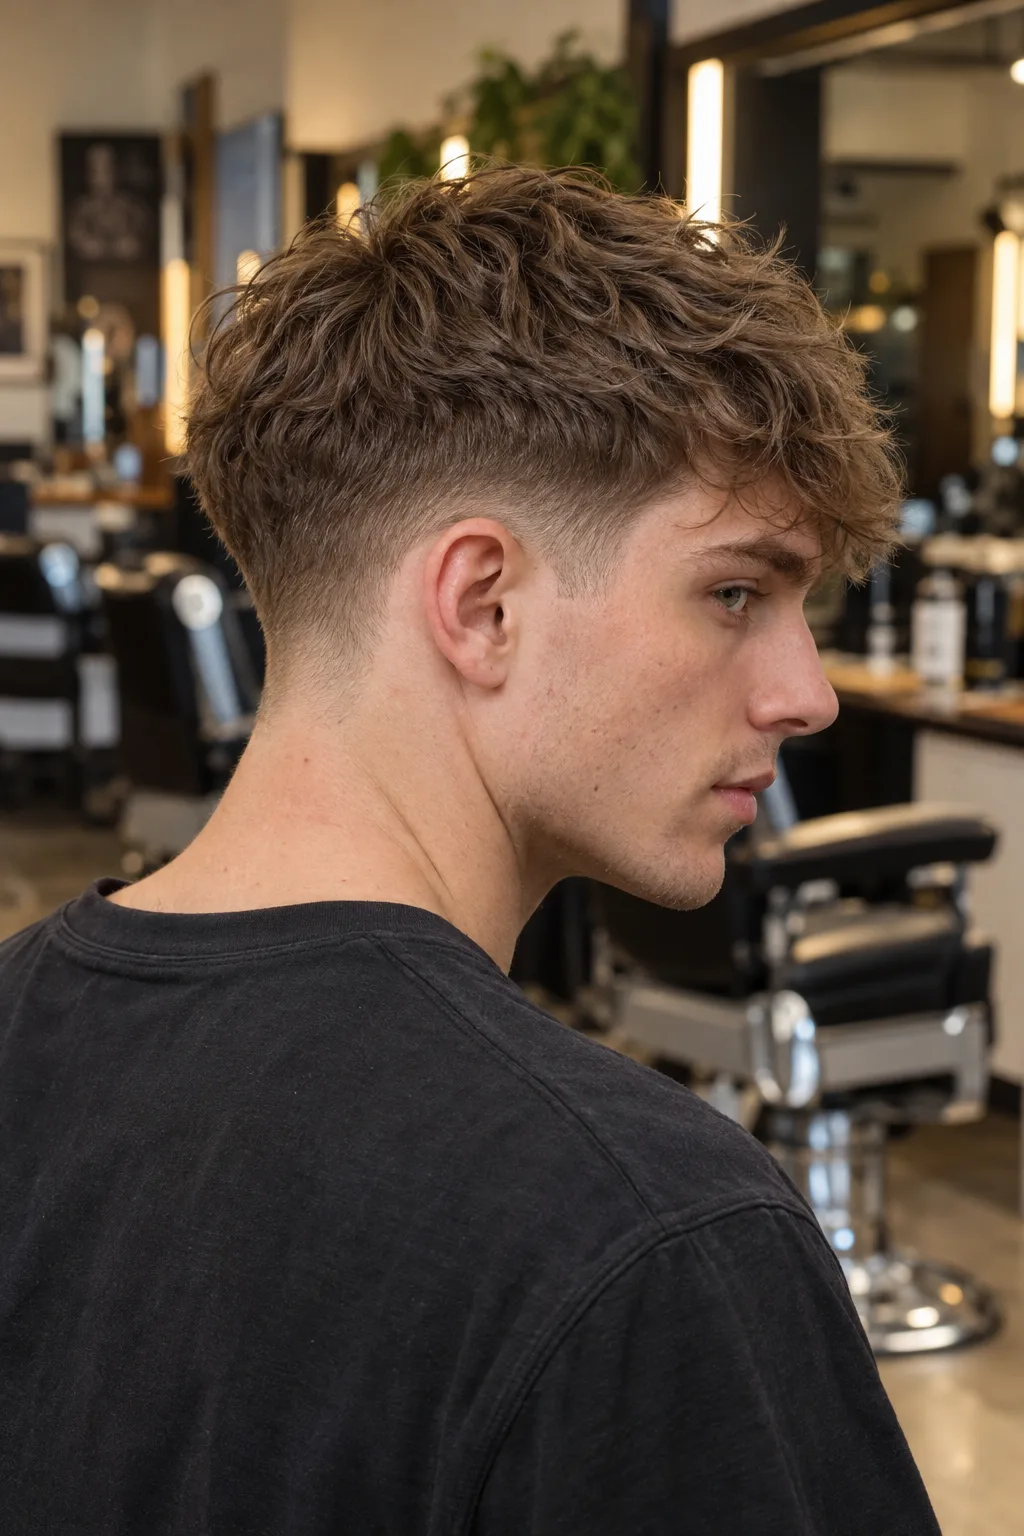 Would this suit me?
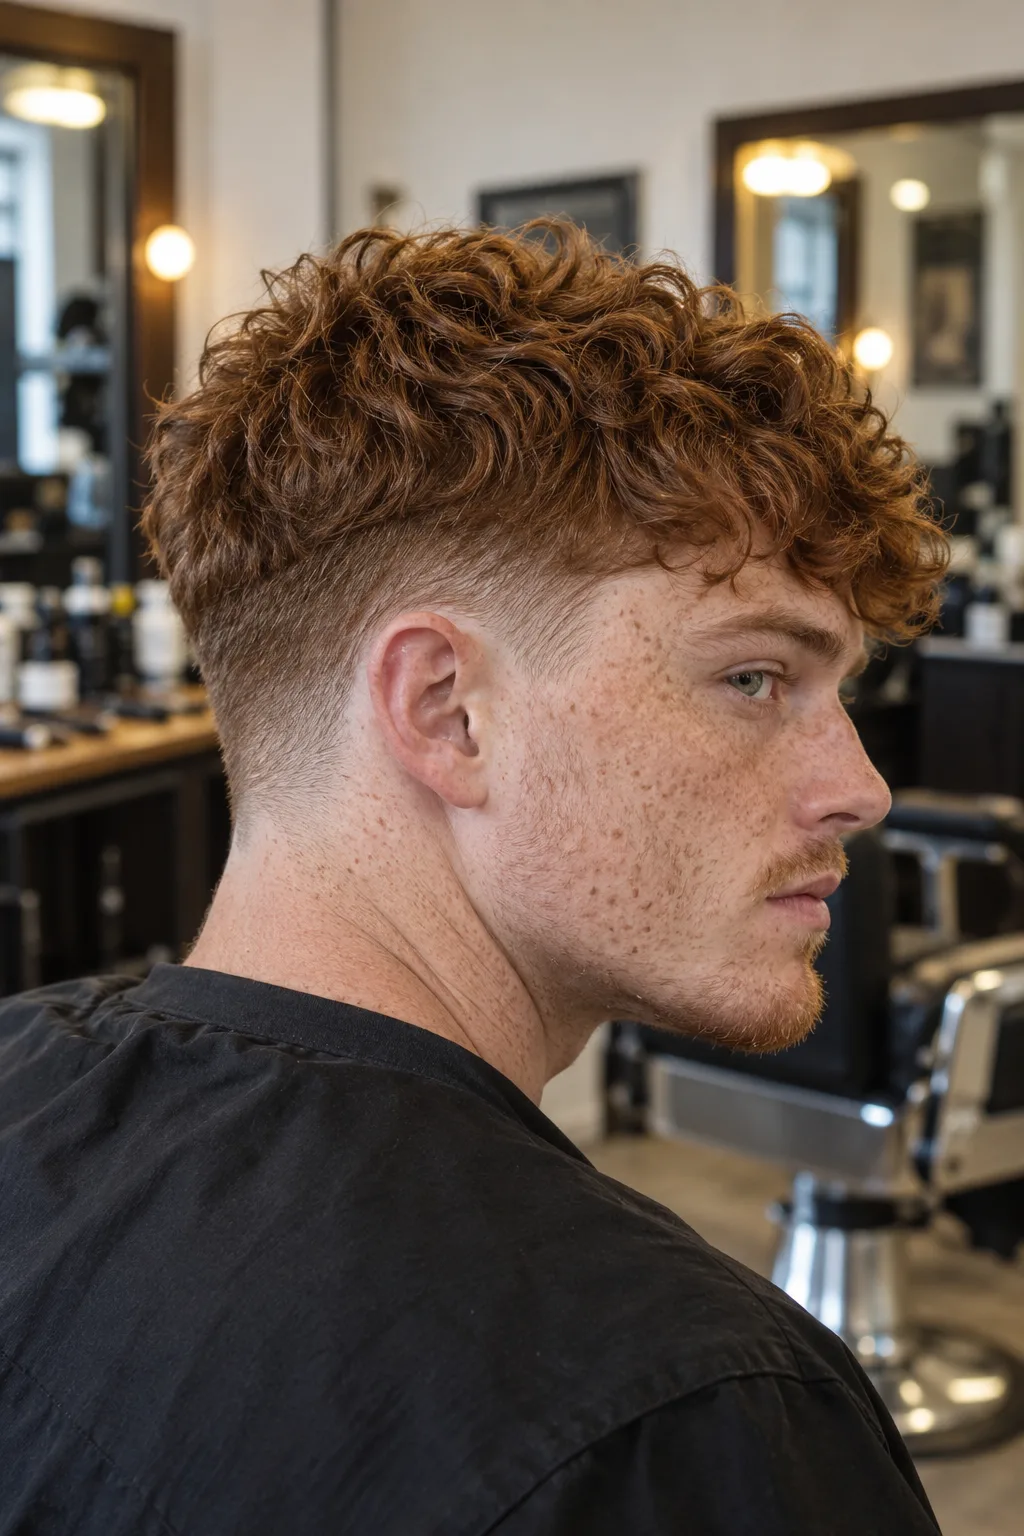 Would this suit me?
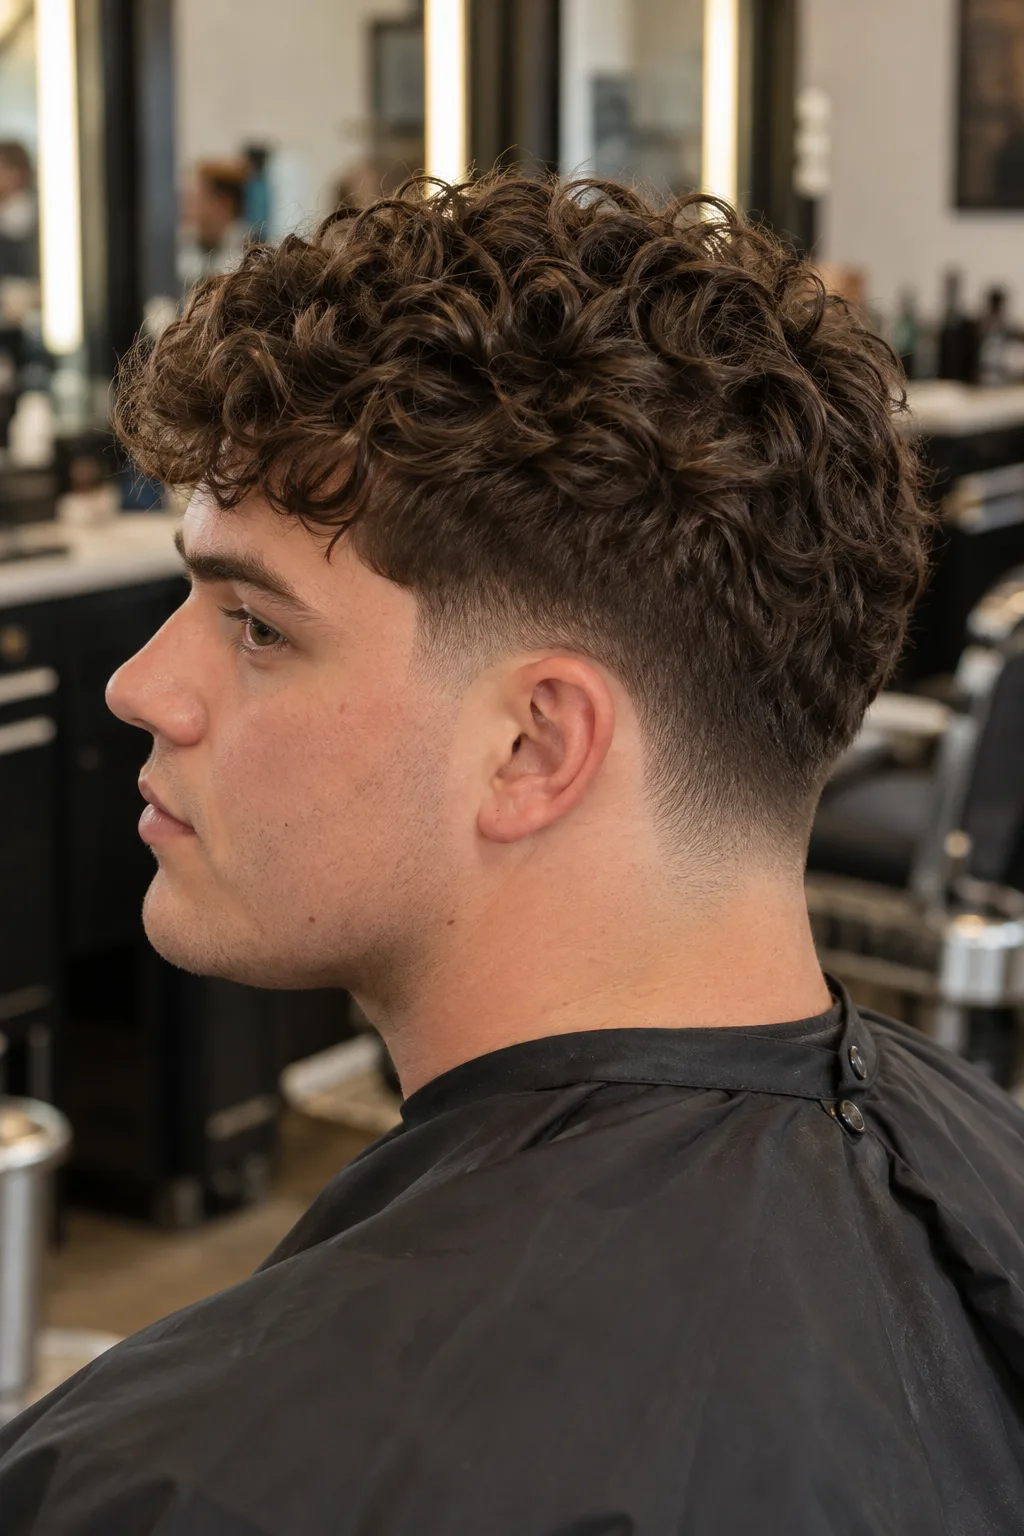 Would this suit me?
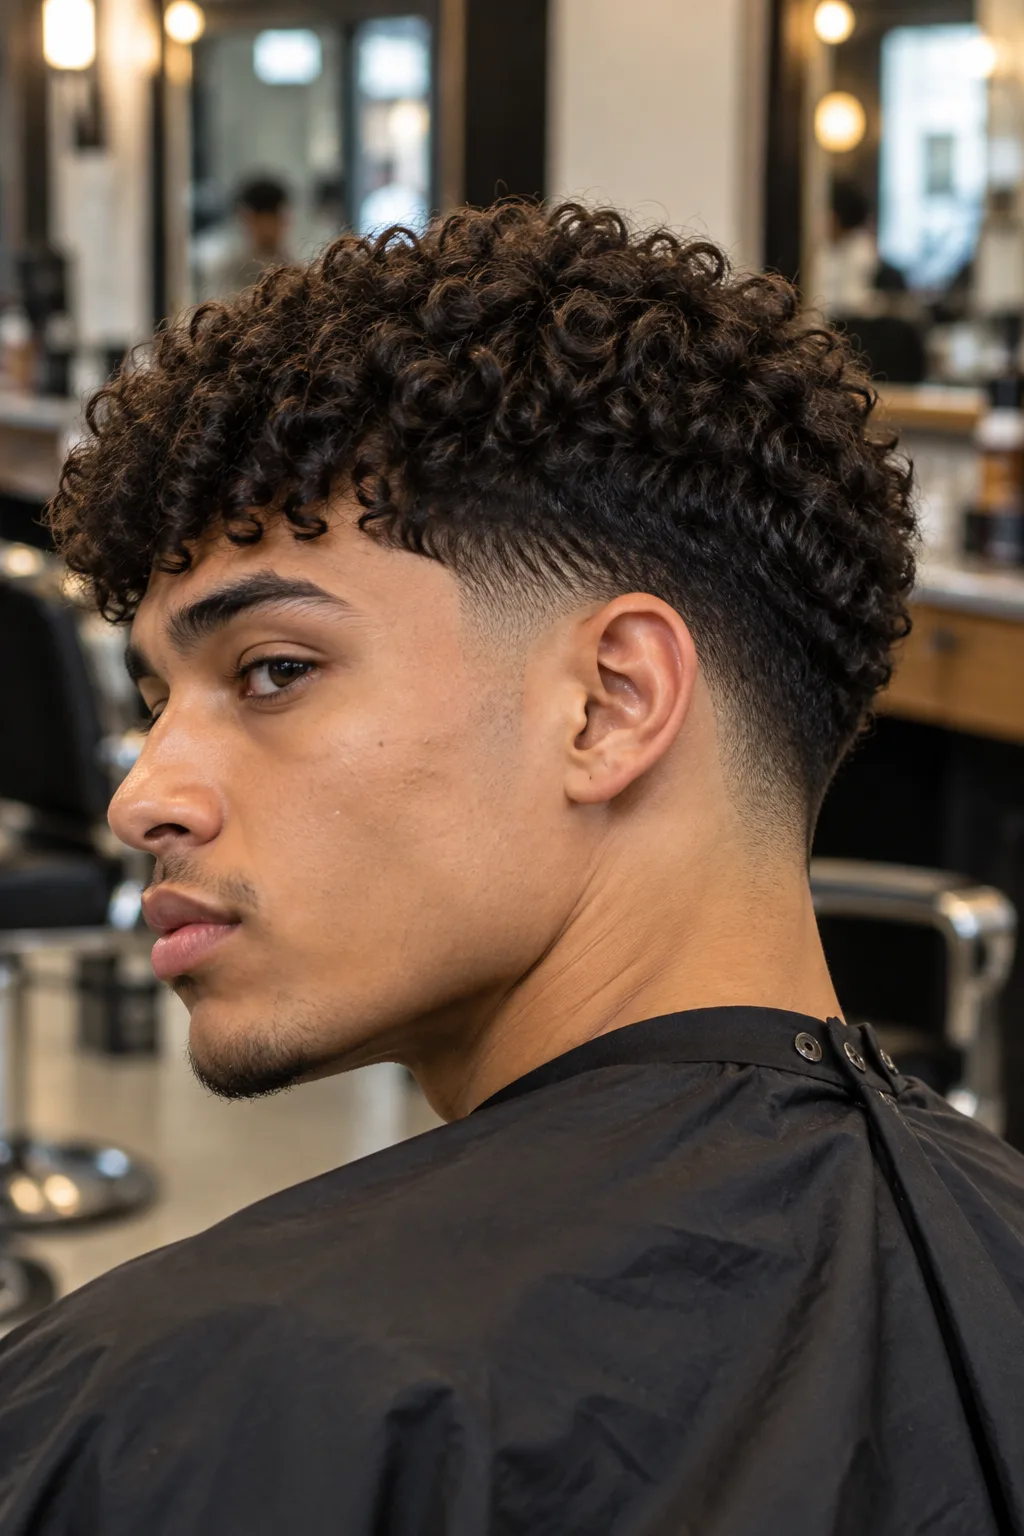 Would this suit me?
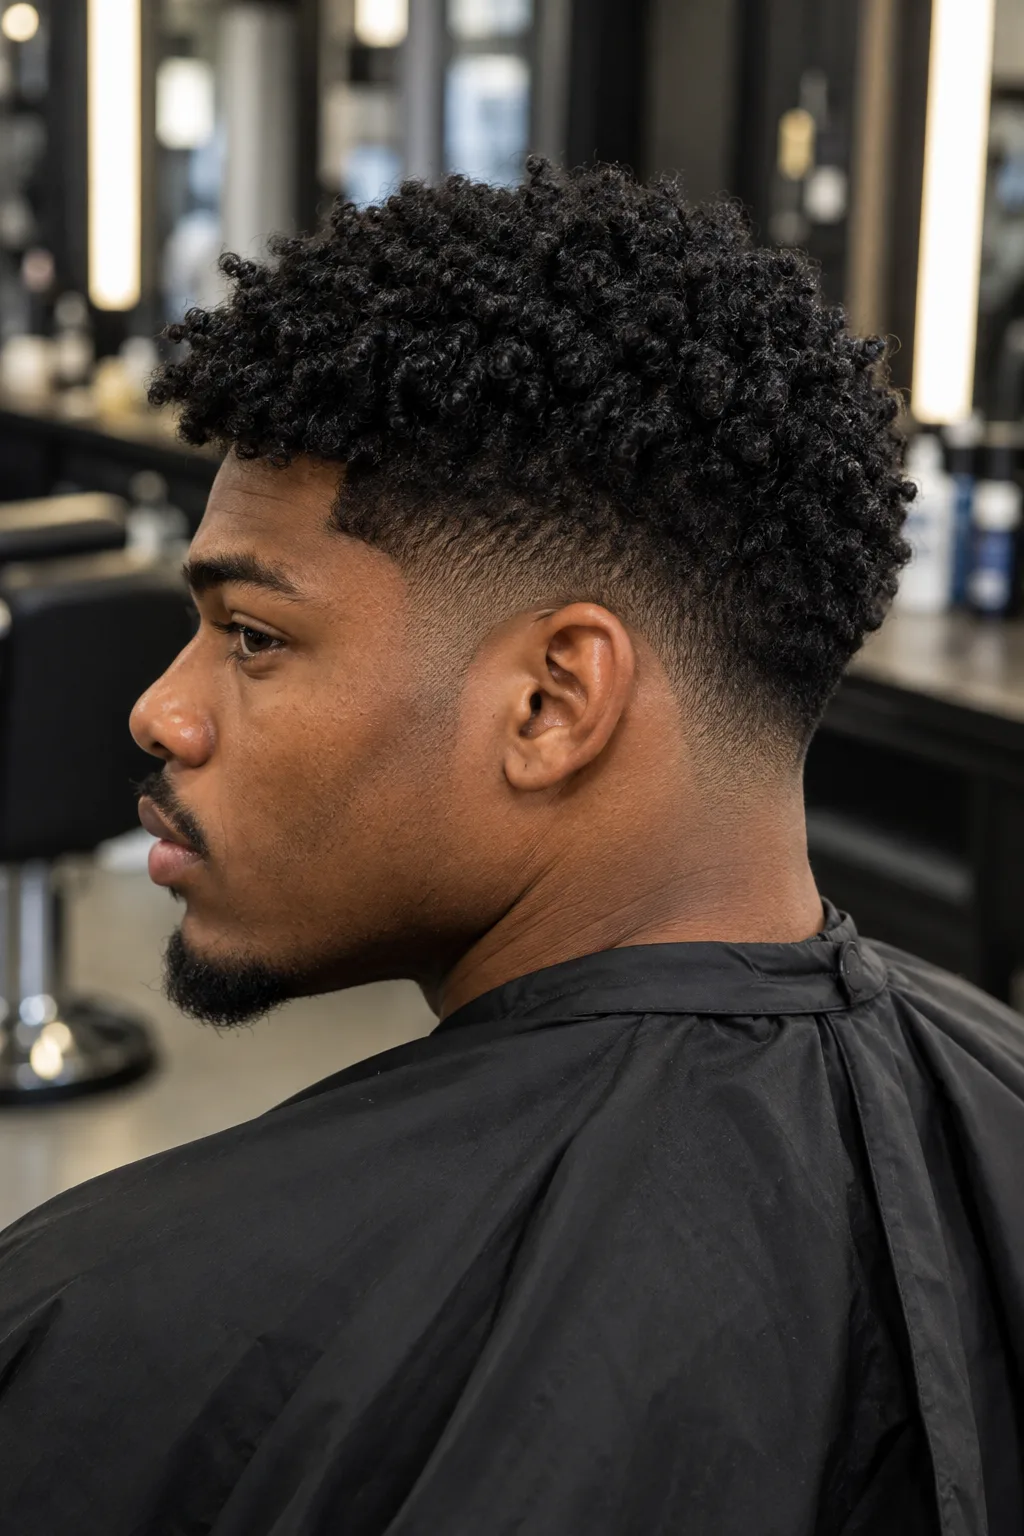 Would this suit me?
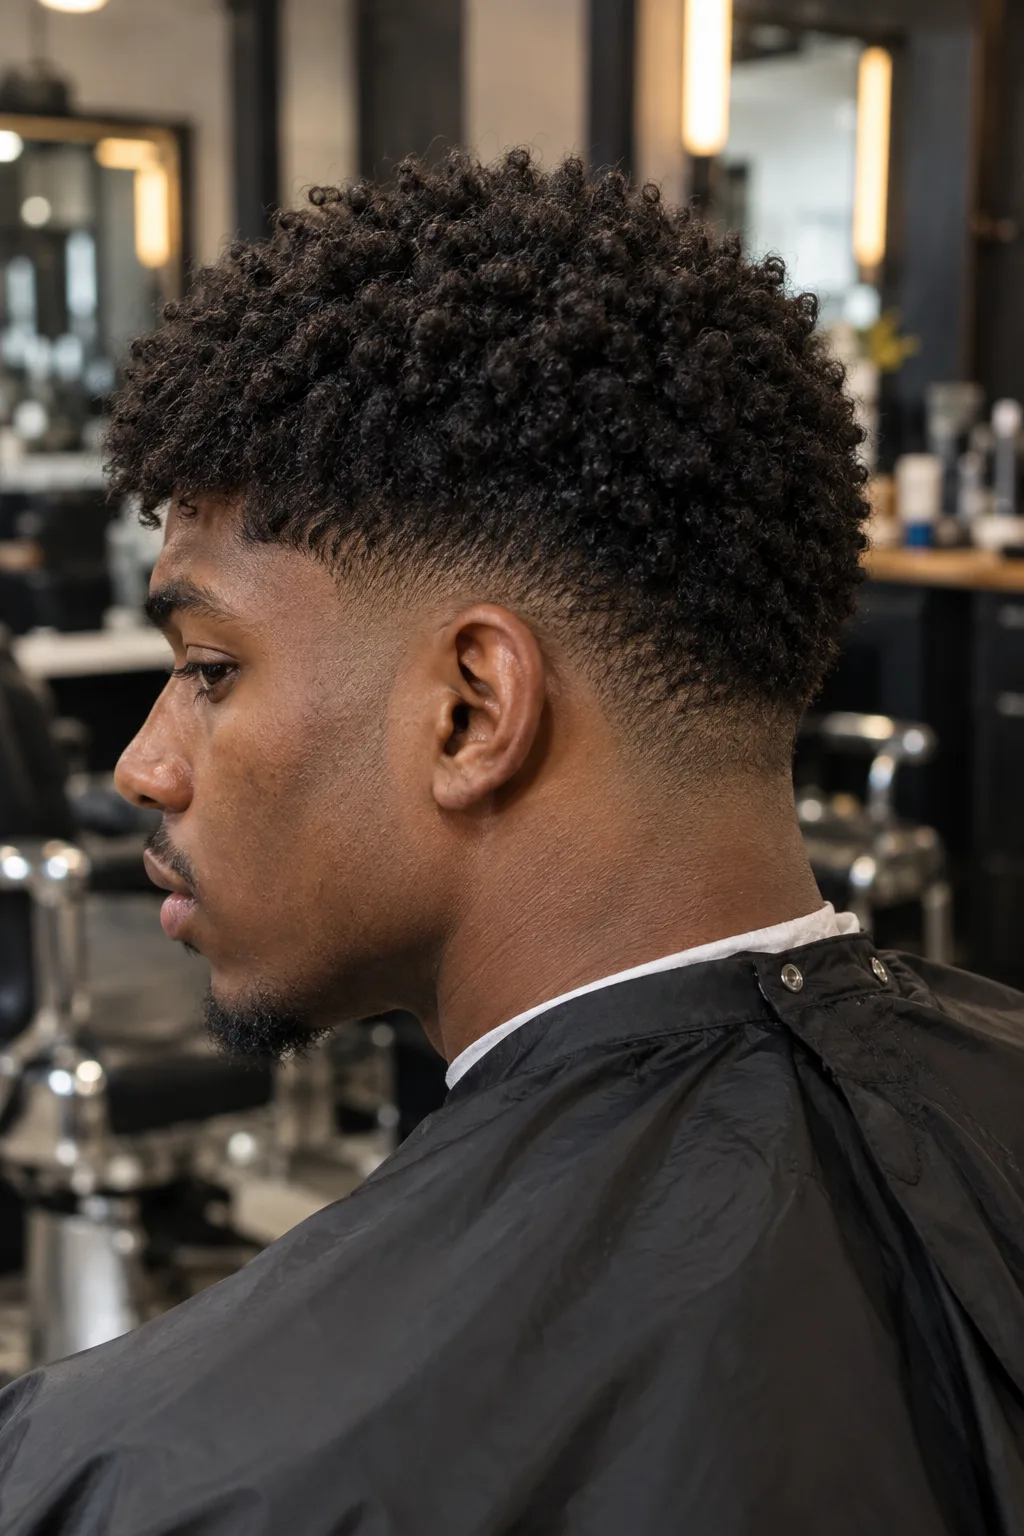 Would this suit me?
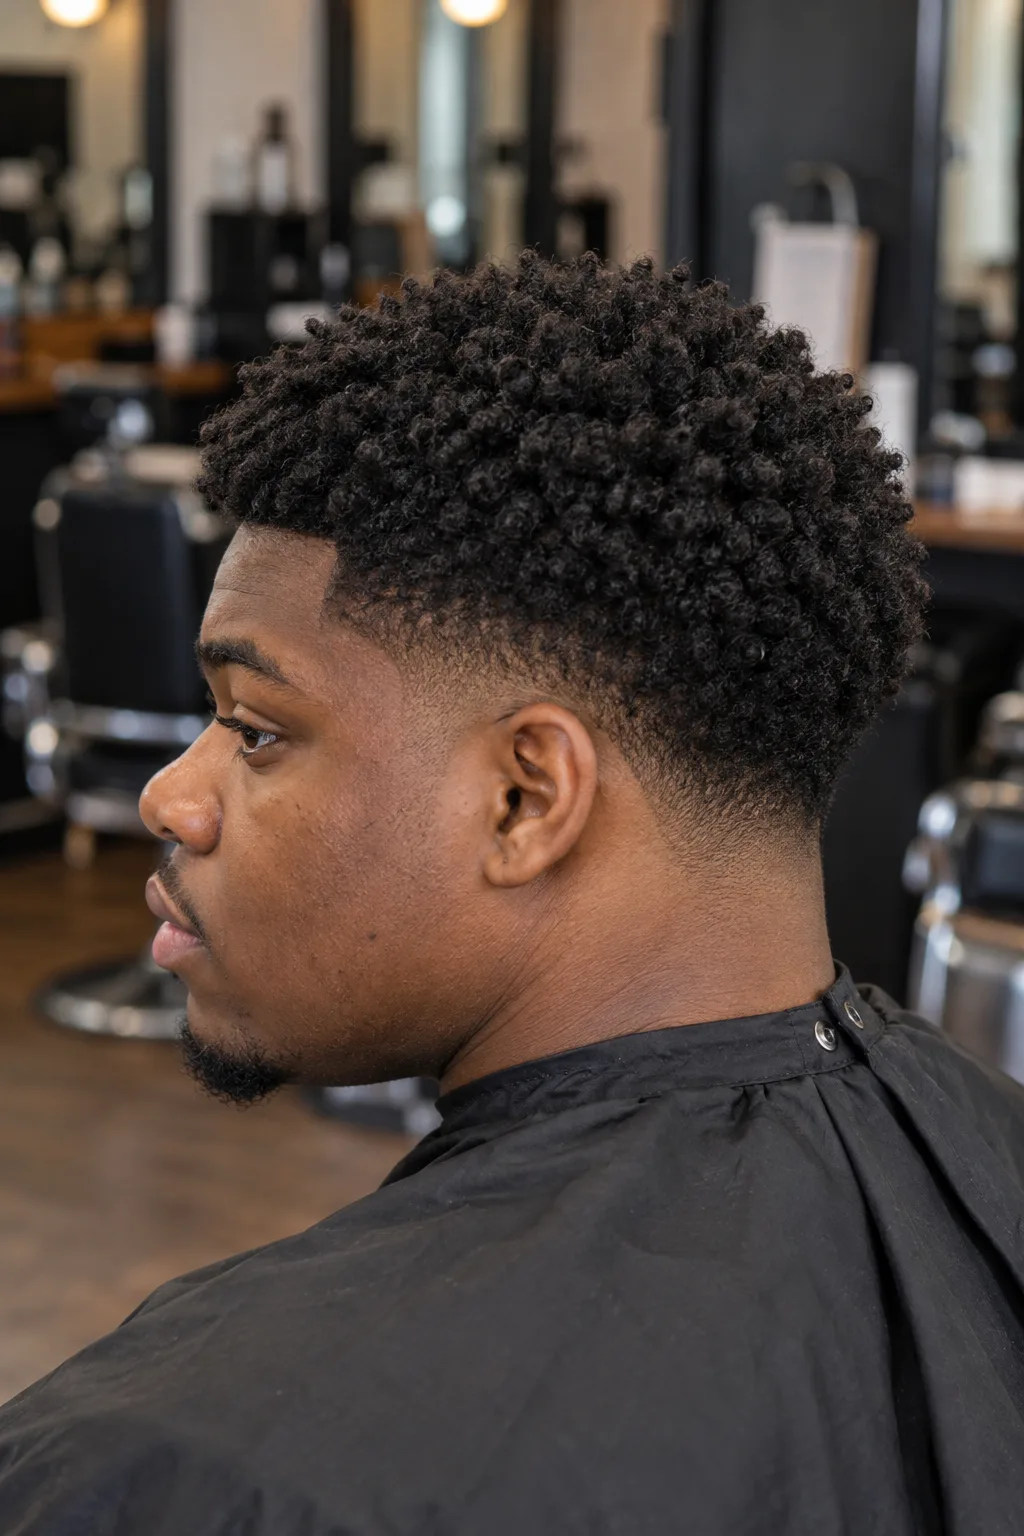 Would this suit me?
Which cut makes you look best?
Find out in 60 seconds.
A few quick taps and one selfie, and you'll know. Free account, no card for your first render.
How to cut a low taper fade, step by step
Allow about an hour the first time. Work on clean, fully dry hair, because wet hair looks longer and you will take the line too high.
How to cut a low taper fade
- Cut the top and the sides to length first
Clip the top out of the way. If the sides are longer than an inch, take them down with a #4 or scissor over comb. Leave the top at 2 to 3 inches for a textured crop and refine it at the end.
- Set the guideline with a #1
With a #1, cut from the bottom of the sideburn up to the top of the ear and no higher. Hold the clipper flat against the head and flick it away at the line. Run the same line behind the ear and along the nape, about an inch above the natural hairline.
- Blend the first step with a #1.5 or a #2
Go about half an inch above the guideline with a #2 and flick out in a small C motion as you reach the top. The flick is what softens the line. Dragging the clipper straight up leaves a shelf.
- Blend into the side with a #3
Repeat with a #3, ending half an inch higher again. This is where the taper meets the longer side. Stop as soon as the step disappears.
- Take the bottom down
With a #0.5, or a #1 with the lever open, go over only the lowest half inch at the sideburn and the nape. Leave it at stubble length unless you asked for skin.
- Erase the lines
Look for any band where one guard ends and the next begins. Go over it with the half guard between them, or open the lever halfway through the stroke so the length changes inside one pass.
- Clean the edges
Use the trimmer to tidy around the ear, square the sideburn and clean the neck below the nape. Follow the natural shape of the nape instead of cutting a straight block.
- Texture the top and check both sides
Point cut into the top to break it up. Then stand square to a mirror and check that the guideline sits at the same height above each ear.
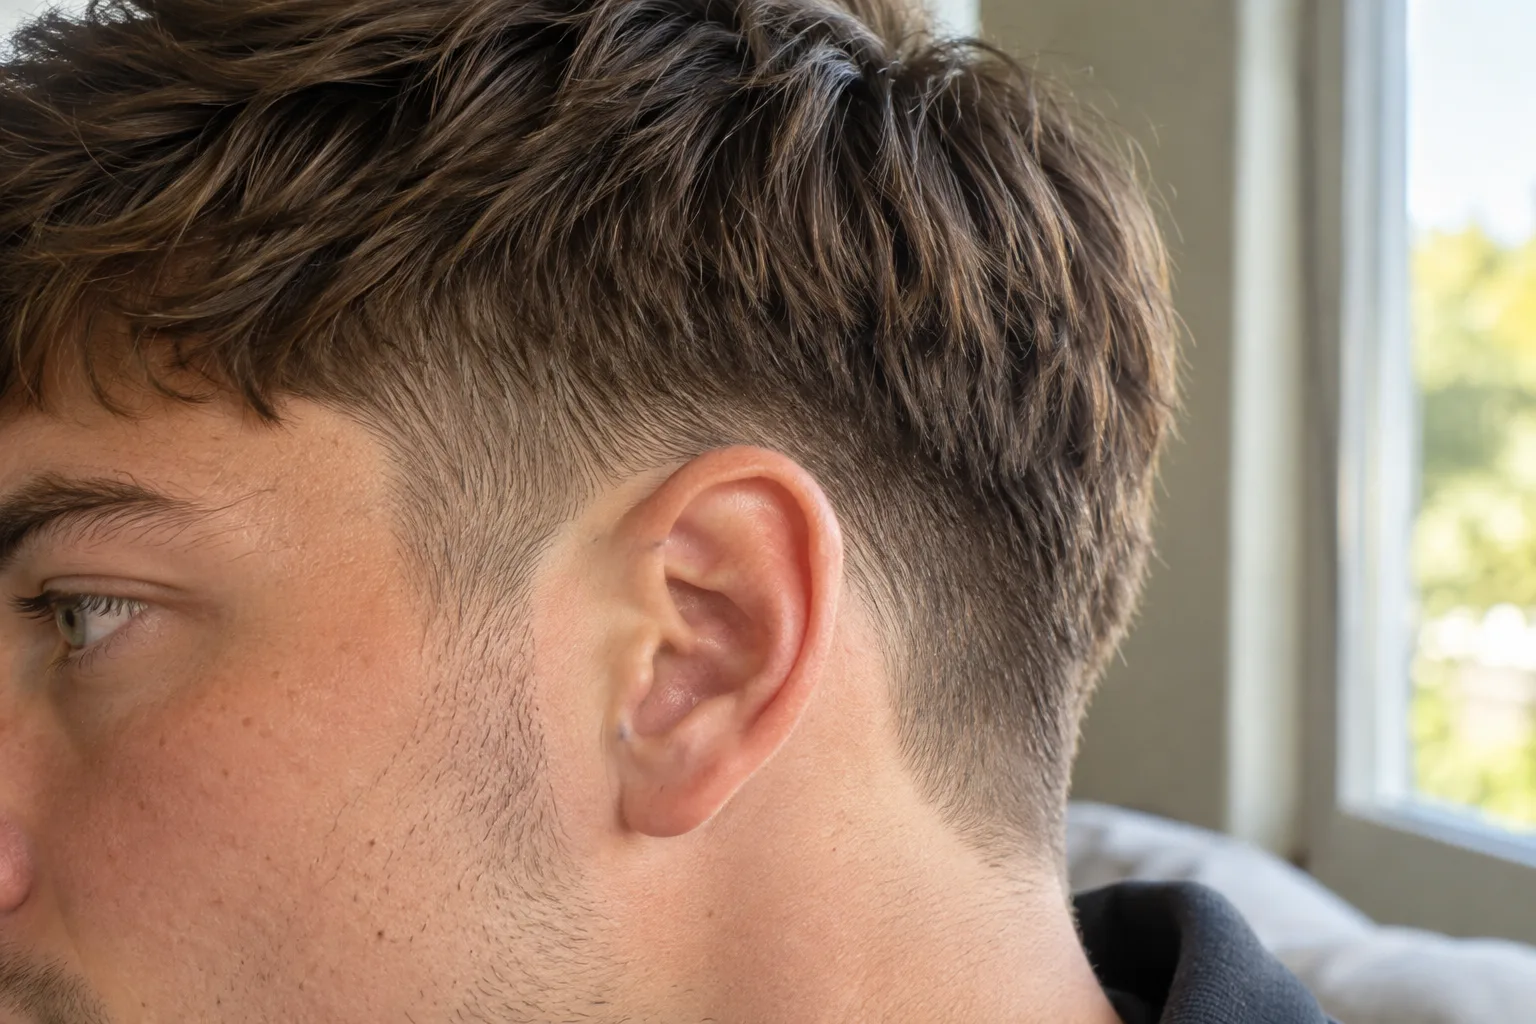
The nape is where most tapers go wrong
Behind the head you are cutting blind, and the clipper wants to climb. Keep the nape guideline about an inch above the natural hairline and follow its curve. The finished nape should fade into the neck with no squared corner.
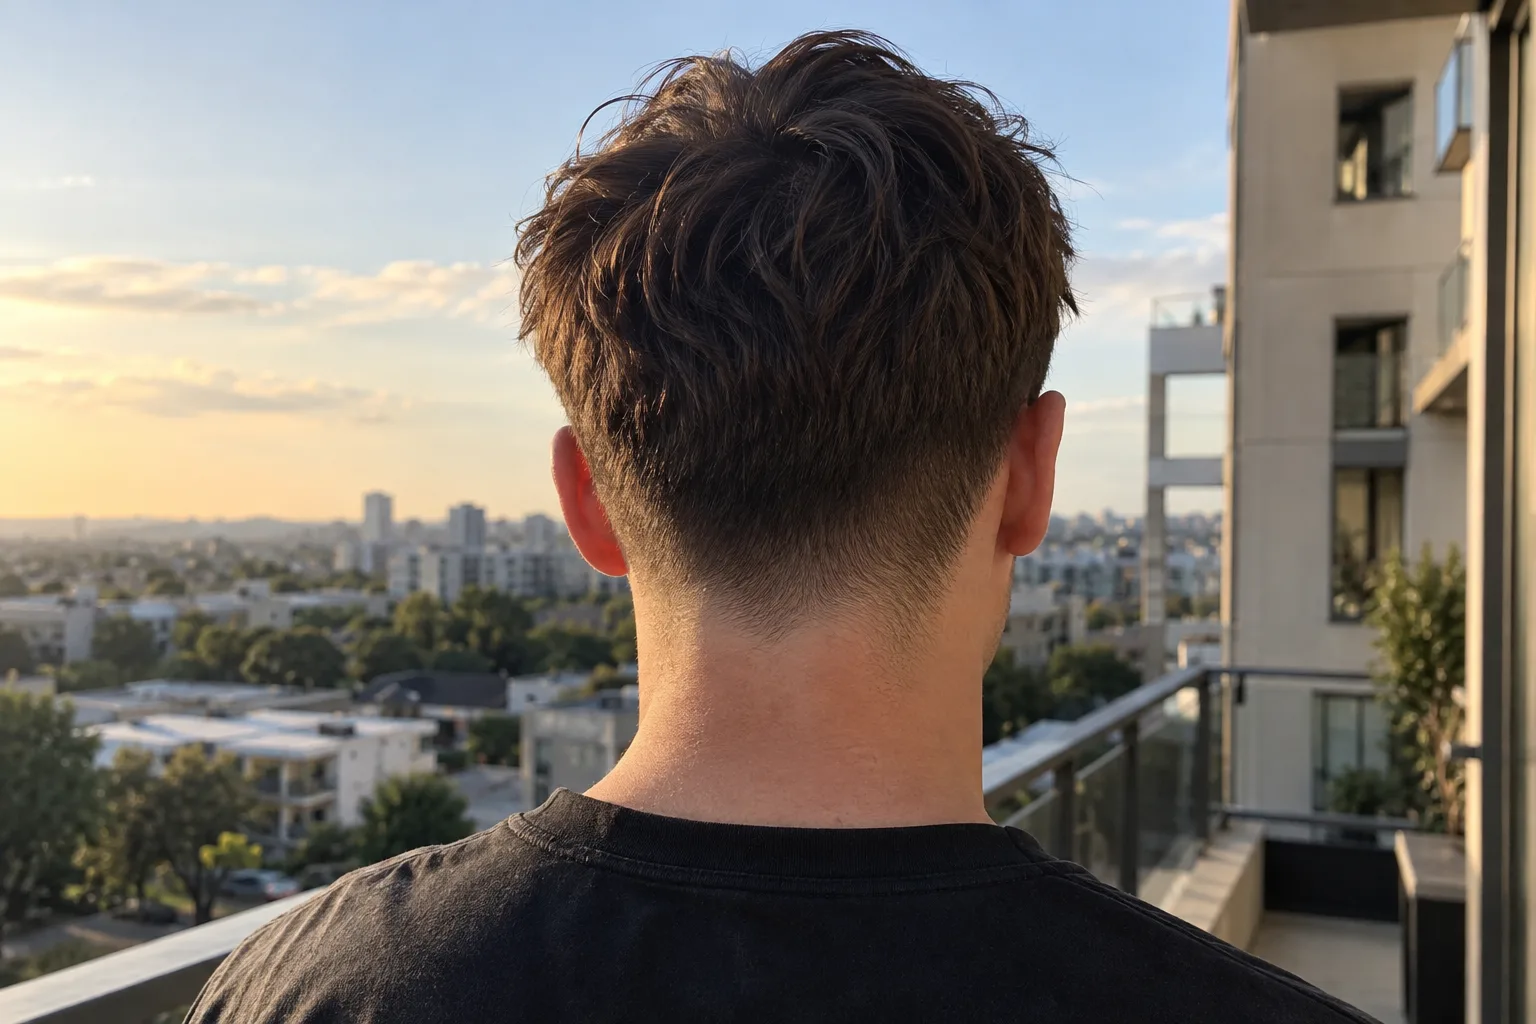
Cutting a low taper on your own hair
You can do it, but you are working by feel on the parts that matter most. Use the top of your ear as the landmark on both sides, because it is the one thing you can see and feel at once. Turn the clipper upside down to cut behind the ear. Hold a second mirror behind your head for the nape, or leave the nape to someone else.
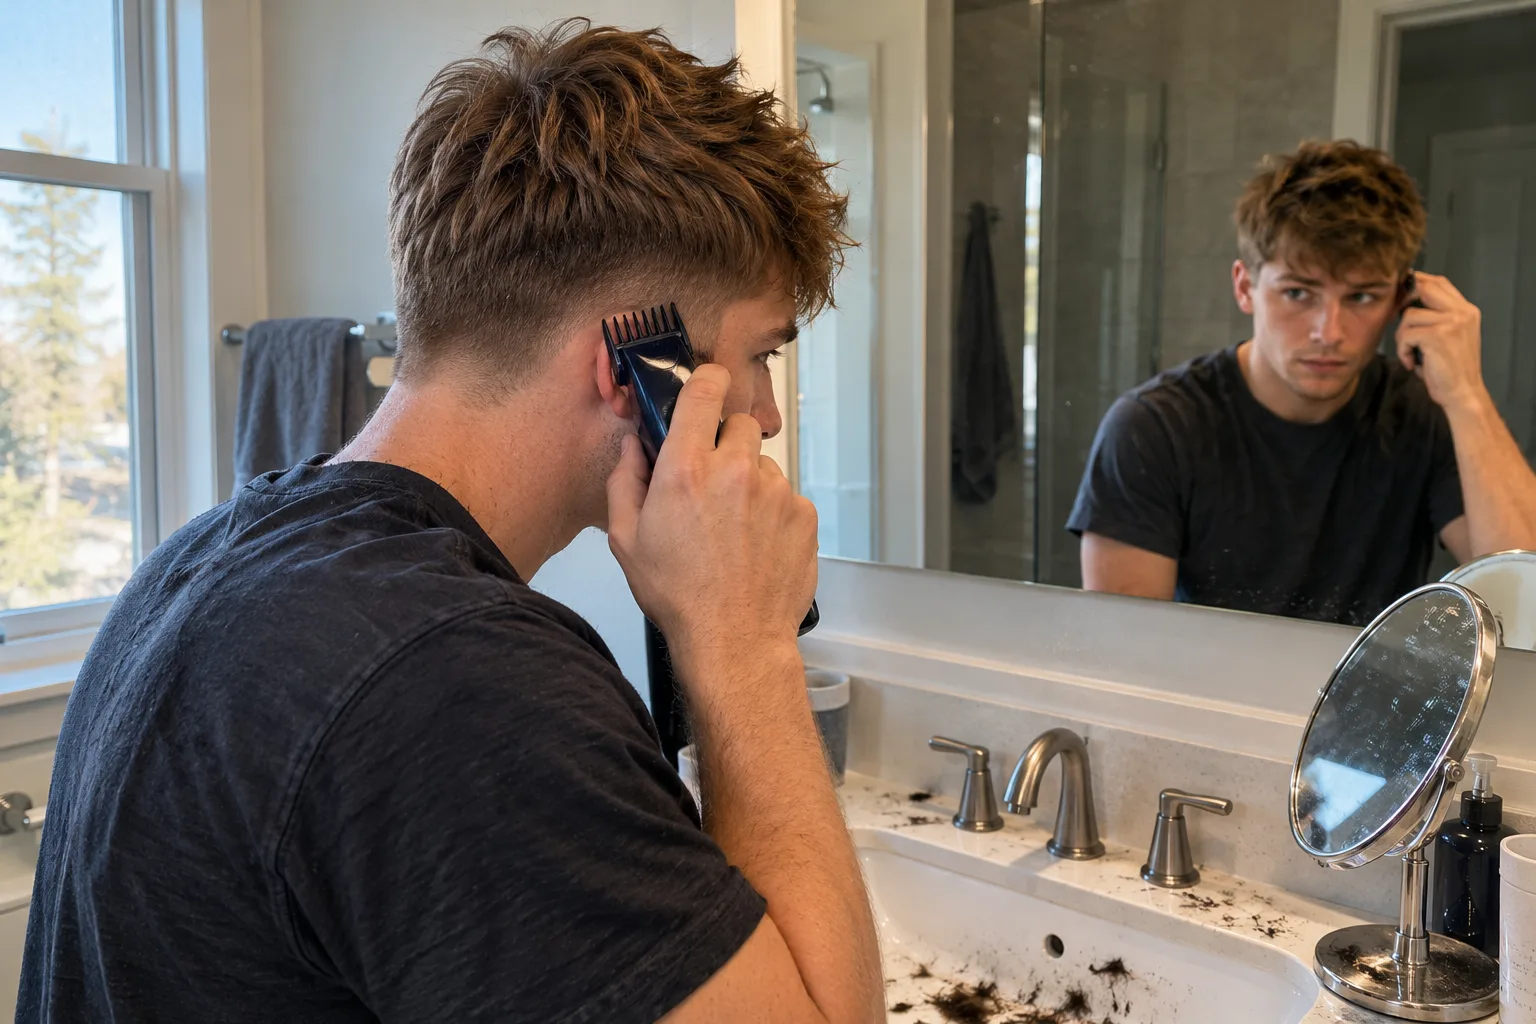
The trap is going over the same spot again because it looks uneven from one angle. Every extra pass raises the line. Do one side, then the other, then compare in the mirror before touching either again.
How the cut changes by hair type
Hair type changes which guard you finish on and how hard the blend is to hide. Straight hair is the least forgiving. Coils hide almost everything.
| Hair type | Bottom guard | Blend difficulty | What to watch |
|---|---|---|---|
| Straight, fine | #1 | Hard | Scalp shows through below a #1 |
| Straight, thick | #0.5 | Hard | Every line shows, so blend with half guards |
| Wavy | #0.5 to #1 | Medium | Waves above the taper can look puffy if the sides stay long |
| Curly | #0.5 | Easier | Curls shrink, so the top looks shorter than it is |
| Coily | #0.5 or skin | Easiest | Brush the hair flat before each pass |
Straight hair
Straight hair shows every line, so the half guards and the open lever do most of the work. Fine straight hair should stop at a #1, because anything shorter shows scalp. There is a full walk-through for low tapers on straight hair.
Wavy and curly hair
The taper blends easily, and the risk moves to the top. Curls spring up when they dry, so cut the top dry and take less than you think. Keep the side above the taper short enough that it does not stick out past the curls.
Coily hair
Coils hide the blend so well that a bald fade often gets cut by accident. Brush the hair flat before every pass so the guard cuts an even length. More on cutting and caring for coils is in our type 4 hair guide. If you are the client rather than the barber, the low taper fade black hair guide shows 14 tops to choose from on the same taper.

Mistakes that cost you the cut
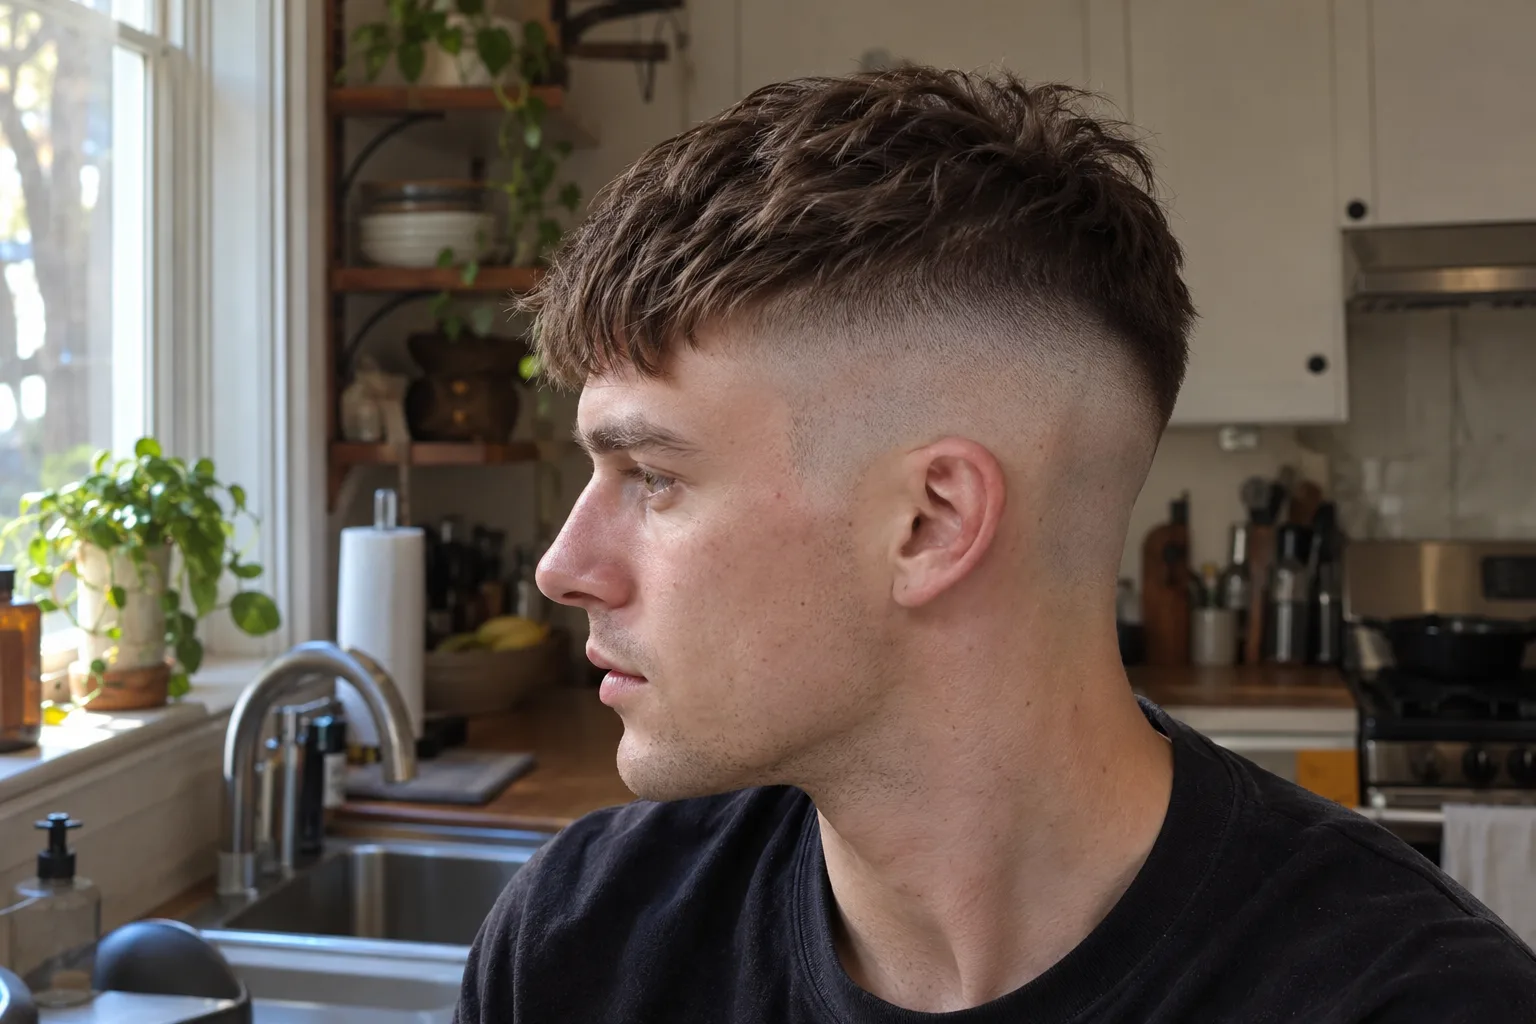
- The line goes too high. Cut the guideline above the top of the ear and you have a mid taper. You cannot lower it. You wait about two to three weeks for it to grow out.
- Wrapping around the back. Running the clipper in a full ring turns the taper into a low fade.
- Going to skin without asking. A bald bottom on fine hair looks patchy for days.
- A blocked nape. A straight line across the neck grows out fuzzy within a week.
- Lines left in. One visible step between guards reads as a home cut from across a room.
- Uneven sides. If you do one side fully, then the other, you will keep evening them up and raising both.
If one of these has already happened, the bad haircut fixes cover what to do next.
What to say if a barber is cutting it
Name the cut, the height and the bottom length. Those three details prevent most of what goes wrong in the chair.
Say this to your barber
Low taper fade, starting just above the top of the ear and at the nape, a #1 at the bottom blended into a #3 on the sides, nothing to skin, and a textured crop about two inches on top.
See it on your head before the first pass
Everything above works for the cut. None of it tells you whether a low taper with a textured crop suits your face, and the guideline is the one decision you cannot undo. The mirror shows you the front. The side and back, where this cut lives, you only see after the clippers have been through.
That is the wall our low taper fade try-on is built for. Upload a selfie and see the cut on your own face before anyone touches your hair. The first look is free with no card, and it shows the front view. Seeing the side and the back needs the Pro plan at $24 a month, and every plan has a seven-day refund.
If the top is the part you are unsure about, the textured crop guide shows how much length it needs.
How often to touch it up
A low taper looks sharp for about two weeks and grows out by week three or four. The bottom half inch goes first. Between cuts you can tidy the sideburn and the neck with a trimmer, but leave the guideline alone until the next full cut.
If you remember one thing, make it this: the guideline decides the cut. Set it at the top of the ear with a #1, cut it once on each side, compare, and only then blend. Everything else is fixable with another pass. A line that goes too high takes weeks to grow out.
Cut it dry, work from the bottom up, and stop the moment a step disappears. And if you are not sure the look suits you, check it on your own photo before the clippers come out.
Frequently asked questions
It is one of the easier fades to cut, because you only shorten the sideburn, the hair around the ear and the nape. The hard part is the nape, where you cannot see what you are doing and the line tends to climb.
It is a common guard sequence for a taper: a #3 at the top of the blend, a #2 in the middle, and a #1 at the bottom. On a low taper all three steps fit between the bottom of the sideburn and just above the top of the ear.
Say "low taper fade" and give the height and the bottom length: starting just above the top of the ear, a #1 at the bottom, nothing to skin. Show a side photo and a back photo, because the front tells the barber nothing.
Every two to three weeks keeps it sharp. It starts to look grown out around week three or four, and the bottom edge goes first.
Both exist. A low taper tops out just above the top of the ear, a mid taper at the temple. The name only tells you the shape, so always say the height.
Use the guards from long to short in steps, flicking the clipper out at the end of each stroke, and use the lever to get the half lengths between guards. A trimmer helps for the edges, but the taper itself can be cut with clippers alone.
A taper is subtler and grows out more gracefully, because it only shortens the edges. A fade makes a stronger contrast and needs touching up more often. For a first cut, or for a job with a dress code, the taper is the safer choice.
It is the idea that a new cut needs about a week to settle before you judge it. That holds for a low taper too: the lines soften and the top falls into place within a few days.
Preview it on your own photo: Men's Hairstyle Try-On.
Share article
About the author

Related posts

Men's Haircuts · 12 min
Modern Mod Cut: 14 Variations and How to Ask Your Barber
The modern mod cut is decided at the sides, not the fringe. 14 variations, which hair type and face shape it suits, the mistakes that cost three months, and the exact words for your barber.

Men's Haircuts · 14 min
Man Wolf Cut: 15 Ways to Wear It and How to Ask Your Barber
A men's wolf cut is decided at the sides, not on top. See 15 versions from classic to low taper, which one suits your hair type and face shape, and the exact words for your barber.
Men's Haircuts · 15 min
Fringe Cut: 9 Men's Fringe Types and Which One Suits You
A fringe cut lets the front of your hair fall onto your forehead. Your hairline, not your face shape, decides which of the nine types will sit right. See all nine, check yours in 30 seconds, and get the words for your barber.
Men's Haircuts · 13 min
Fade Fohawk: 14 Faux Hawk Fades and How to Pick Yours
A fade fohawk is a faux hawk with faded sides. The ridge is the easy part; the fade decides how loud it reads. 14 versions compared, which fade suits you, and what to tell your barber.
Men's Haircuts · 15 min
Taper Burst Fade: 14 Looks and the Words That Stop Your Barber Going to Skin
A taper burst fade curves around the ear, never goes to bare skin and keeps the back long. See it on 14 different tops, which hair type it suits, and exactly what to say in the chair.

Men's Haircuts · 13 min
Men's Short Fade Cuts: 14 Looks and What to Ask Your Barber
14 men's short fade cuts on the same mid fade, matched to your hair type, plus the fade height rule most guides skip and the exact words to say in the chair.