Bubble Braids: How to Do Them in 10 Minutes (No Braiding)
Oleh Onysko 6 September 2026 17 min read
In this article
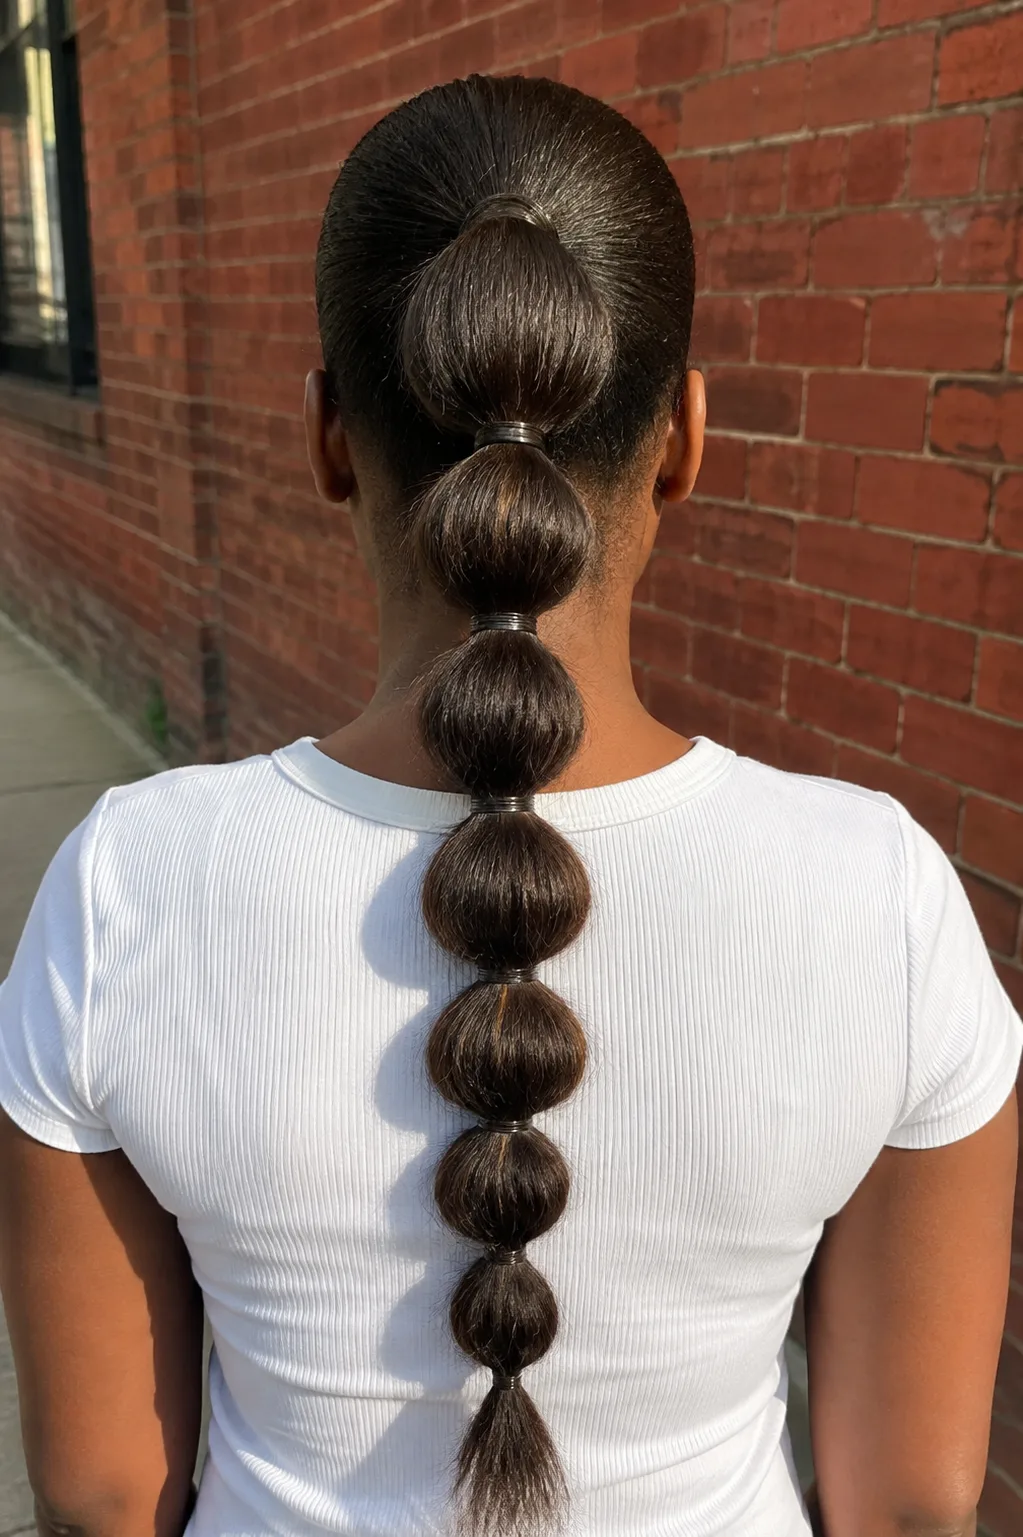
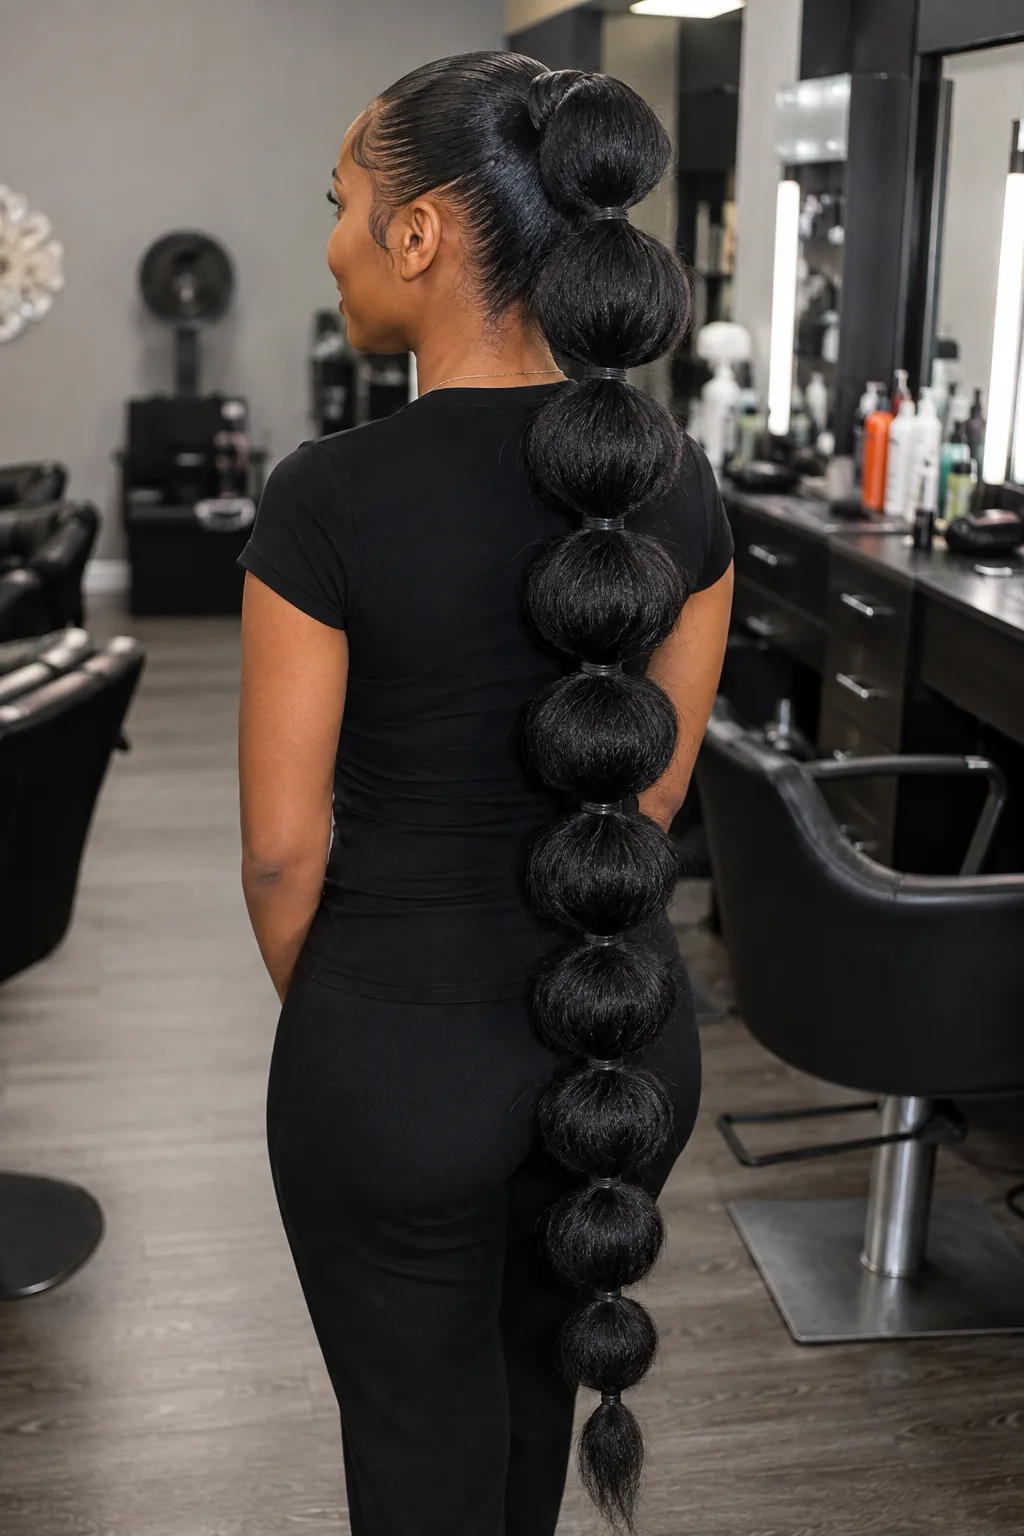
Bubble braids are not braids. They are one ponytail tied off every two or three inches with small elastics, with the hair between each tie pulled wide so the section puffs into a rounded ball. If you can make a ponytail, you can already do this, and the whole head takes about ten minutes.
That one fact should change how you approach the style. There is no plaiting to learn, no over-under pattern to get wrong, no third strand to lose. Everything that separates a good bubble braid from a sad drooping one happens in two places: which elastics you use, and how hard you pull each section open.
What a bubble braid actually is
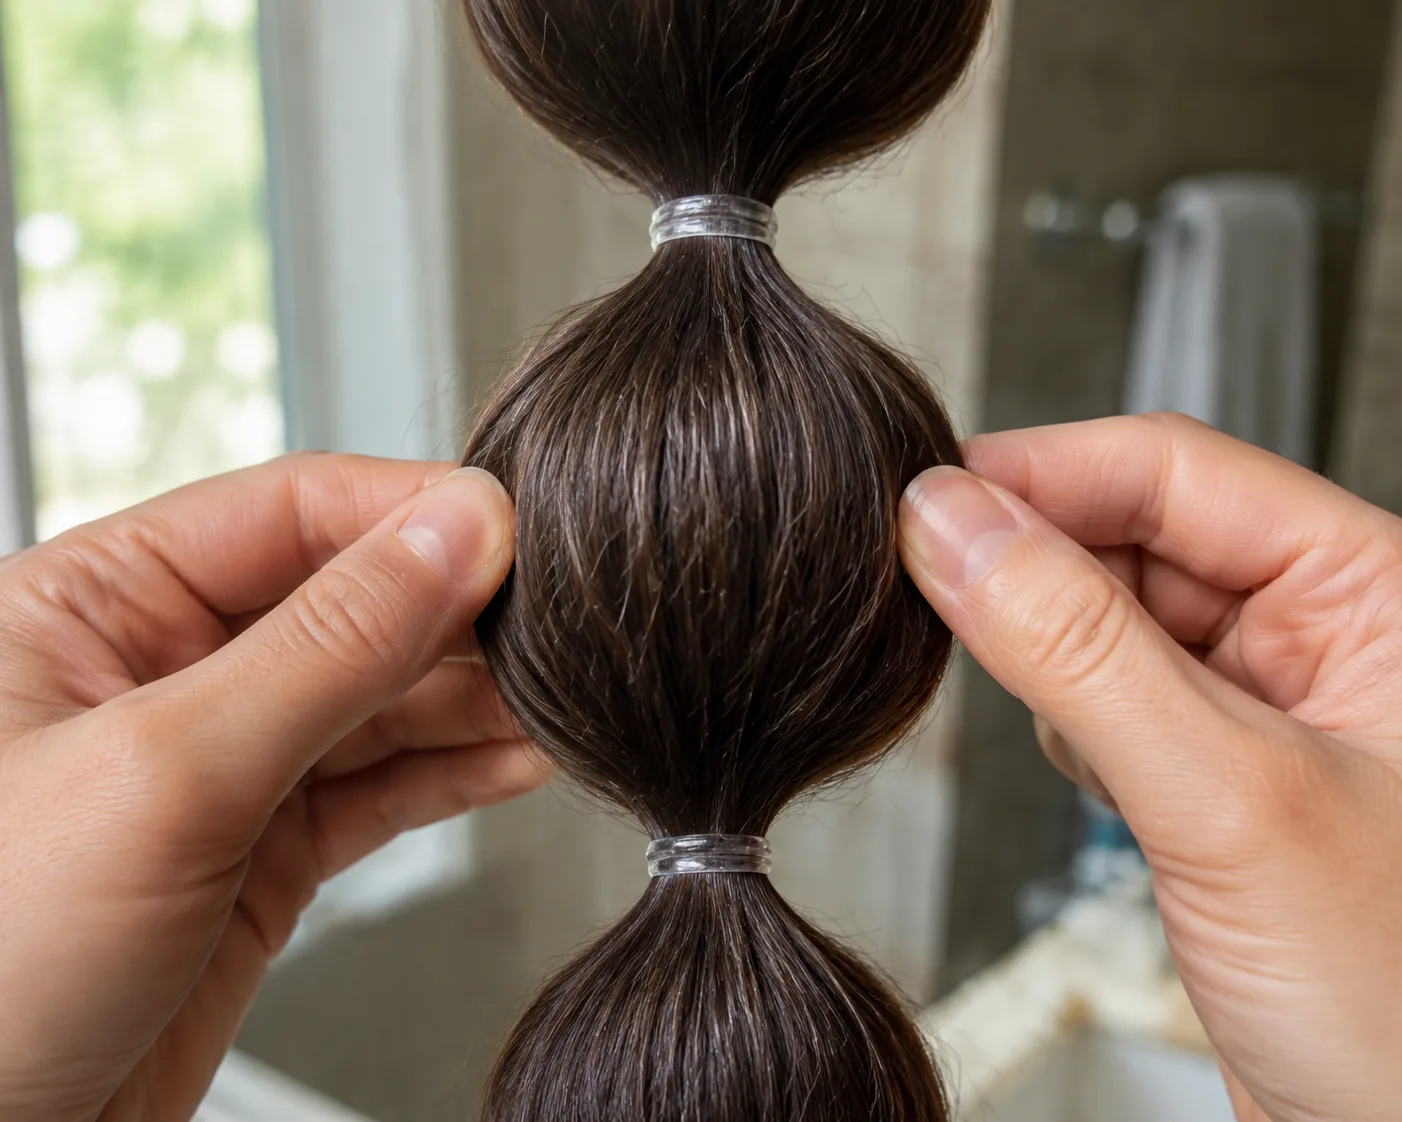
Take a ponytail. Put a second elastic two inches below the first. You now have a short segment of hair trapped between two ties. Push your thumbs into the middle of that segment and pull outward until the hair fans and rounds. That is one bubble. Do it five more times down the length and you have the whole style.
Everyone calls it a braid because it sits in the braid section of every tutorial site and because the segments look woven from three feet away. Up close there is no weave. It is a stack of tiny ponytails, which is exactly why it survives on hair that refuses to hold a real plait: silky straight hair that slips out of a French braid stays put here, because elastics do the holding instead of tension.
Say this to your barber
I want a bubble ponytail, tied every couple of inches, with each section pulled out full and round.
How to do bubble braids
The whole thing is six moves. Read step four twice, because it is the only one people get wrong.
How to do bubble braids
- Start on dry hair with some grip
Bubble braids hold better on second day hair or on hair with a little texture spray or dry shampoo through it. Freshly washed, silky, conditioner soft hair slides through elastics and the bubbles collapse by lunchtime. If your hair is squeaky clean, work a light texture product through the mid lengths first.
- Tie the base
Gather everything into a ponytail wherever you want the bubbles to start. High on the crown makes the bubbles swing and reads younger. Low at the nape reads calmer and works under a coat collar. Secure it with a snag free elastic that matches your hair colour.
- Place the second elastic
Measure roughly two to three inches down from the base and tie a second elastic. Keep the tension the same as the first. Uneven tension is what makes one bubble look inflated and the next look strangled.
- Pull the section open
This is the step. Hold the elastic below the section steady with one hand so it cannot slide, then use the thumb and finger of your other hand to pull the sides of the trapped section outward and slightly up. Work around the whole section, not just the front, or you get a bubble that is round from the front and flat from the side. Pull further than feels right. Bubbles always settle smaller than they look at the moment you finish them.
- Repeat down the length, shortening the gaps
Keep going to the ends. Here is the part almost every tutorial skips: shorten the gap between elastics slightly each time. Your hair tapers towards the ends, so identical two inch gaps all the way down give you fat bubbles at the top and thin, starved ones at the bottom. Going from three inches at the top to about an inch and a half at the bottom keeps every bubble looking the same size.
- Hide the elastics and finish
Wrap a small piece of hair around the base elastic and pin it underneath. Smooth the flyaways on top with a little gel or a clean mascara wand. Leave the flyaways inside the bubbles alone, because those are what stop the style looking plastic.
Yours could be here.
Start with one selfie.
One photo, twenty seconds, and you'll know. Free account, no card for your first render.
Which version suits your hair
The style scales with length, and nothing else about it changes. The number of bubbles you can fit is set by how much hair you have below the base, so pick your placement to buy yourself length rather than fighting the hair you have.
| Your hair | Best placement | Bubbles you will get | Watch out for |
|---|---|---|---|
| Chin to collarbone | Low at the nape | 2 to 3 | Bubbles ending mid neck, which looks unfinished. Go for two full ones, not three thin ones |
| Shoulder to mid back | High crown or side | 4 to 6 | Fine hair going see-through at the ends |
| Waist length or longer | High crown | 7 to 10 | Weight dragging the base back and hurting after a few hours |
| Coily and 4C, natural | Anywhere, laid edges | 5 to 7 | Elastics catching on coils on removal. Cut them out, do not pull them |
| Fine and thin | Low, off centre | 3 to 5 | Skinny bubbles. Use half inch elastics and backcomb each section before pulling |
Short and shoulder length hair
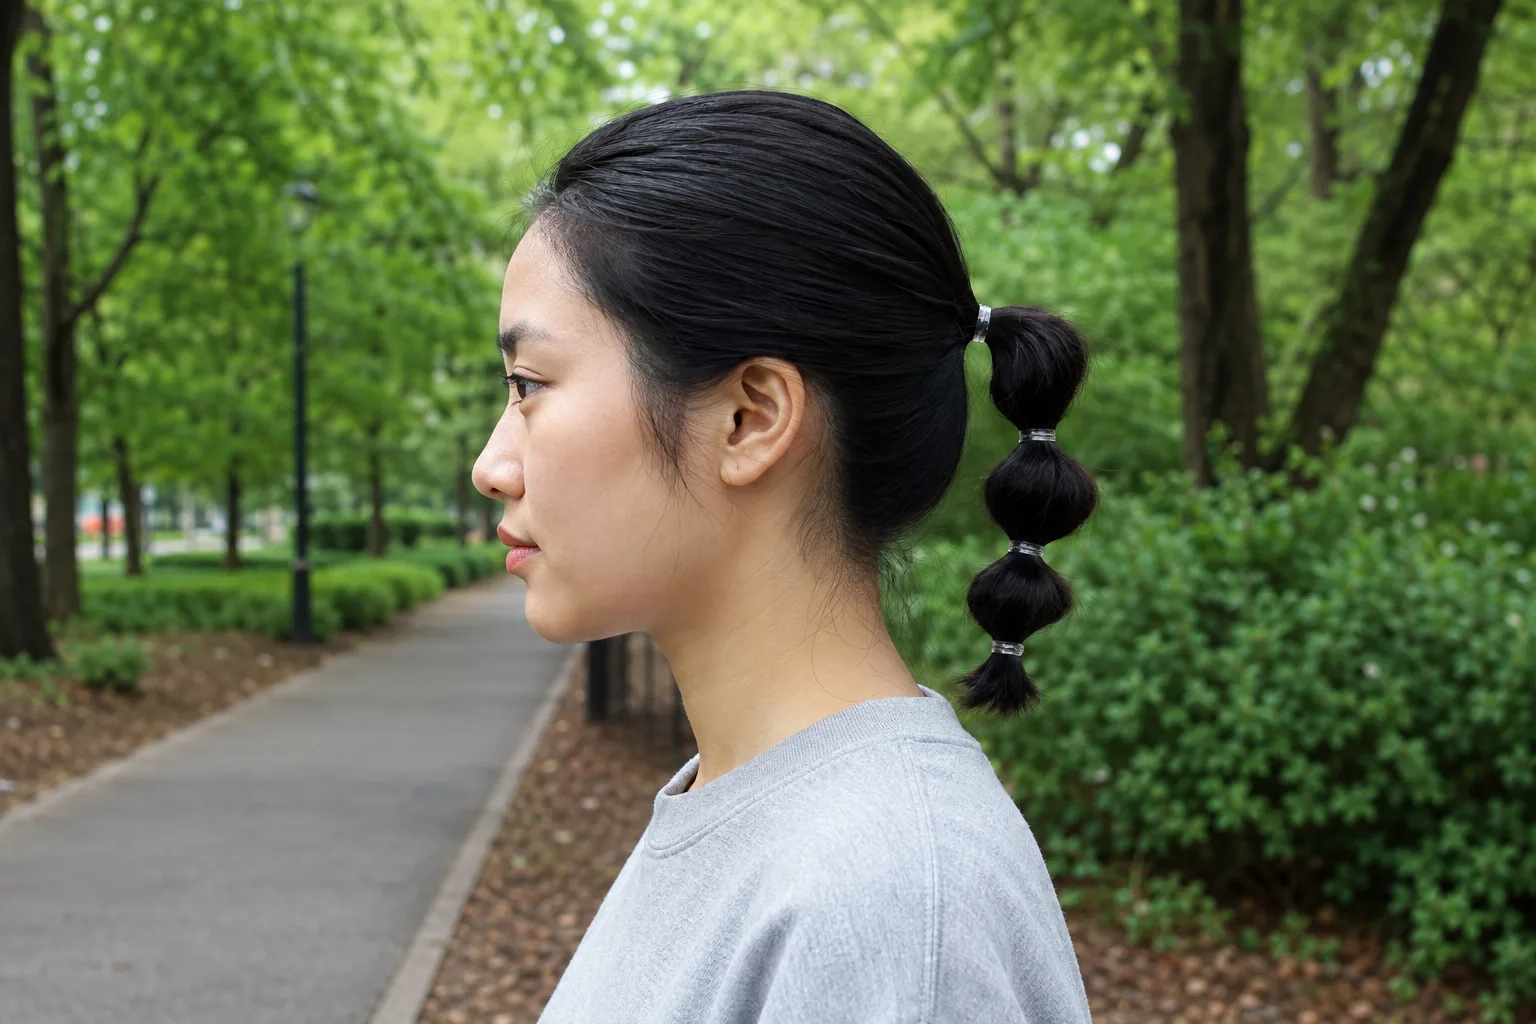
Two good bubbles beat four weak ones. Tie the base as low as you can, at the nape rather than the crown, which buys you an extra couple of inches of usable length. Stop while the last bubble is still full and let the ends fan out loose underneath it.
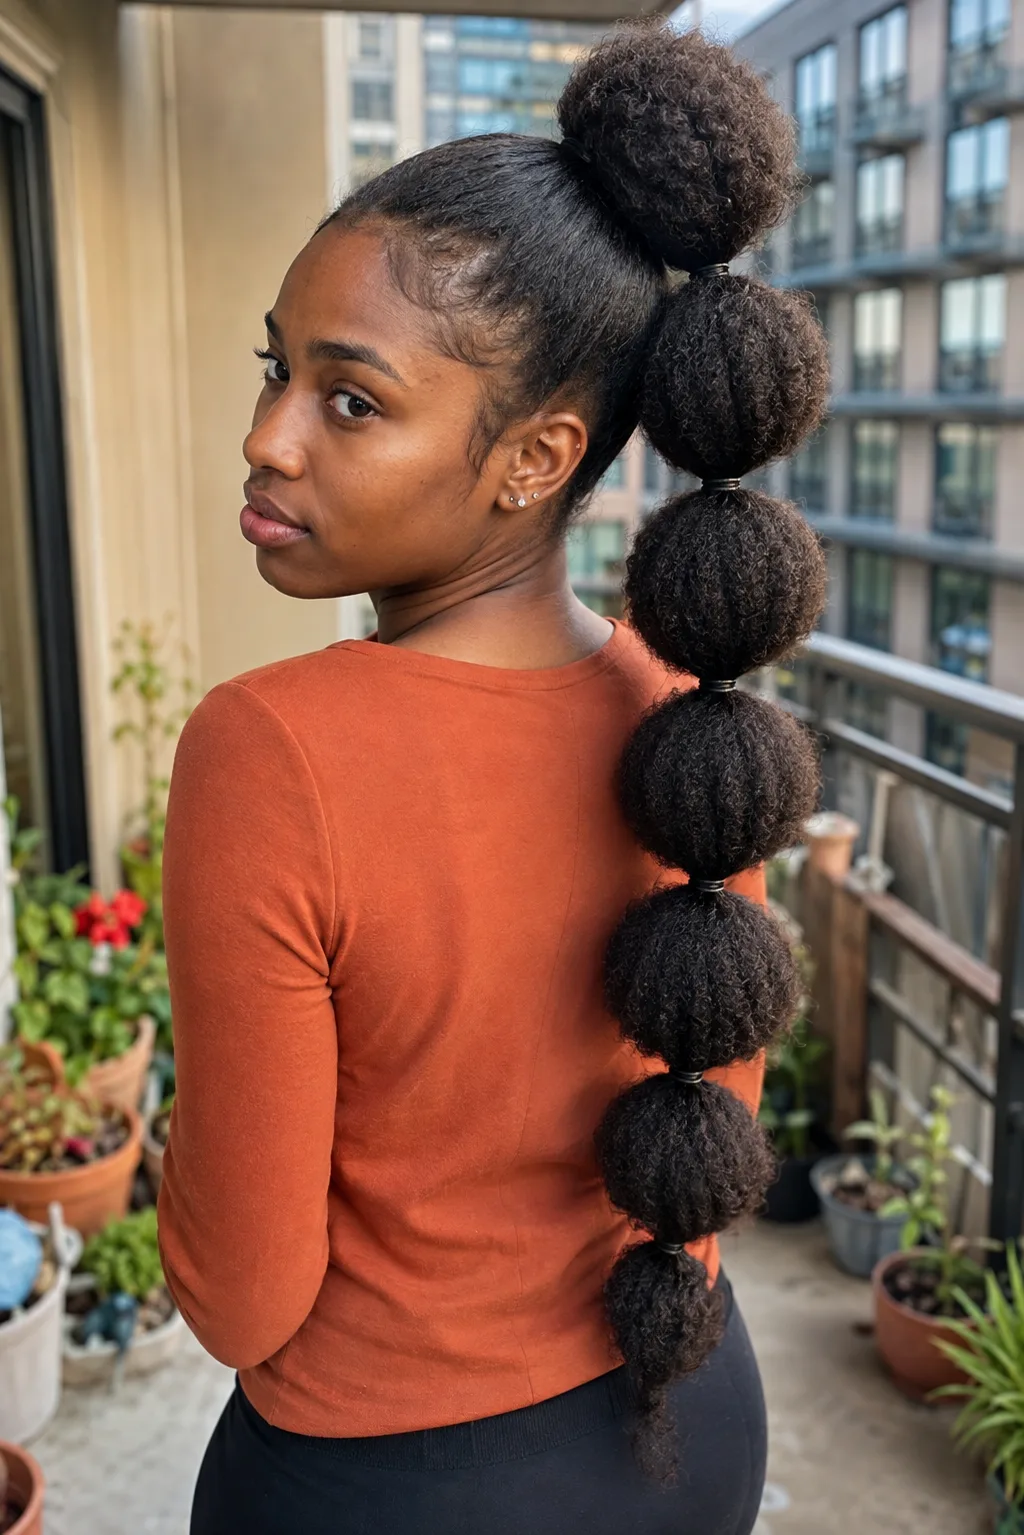
Coily and 4C hair
This is where bubble braids are genuinely at their best, because coily hair fills a bubble instead of hanging inside it. Brush the crown back smooth, lay the edges, and let the coils do the volume work. The bubbles come out matte and dense rather than glossy and defined, which is the look, not a failure. If you want more length to play with, this is the style to wear over box or knotless braids rather than on loose hair, and our guide to caring for 4C texture covers the moisture routine that keeps the ends from snapping under the elastics.
Fine and thin hair
Fine hair makes honest but skinny bubbles. Two fixes, in order of how much they help. First, backcomb each trapped section lightly before you pull it open, which doubles the apparent volume. Second, use half inch elastics rather than the tiny clear ones, because a wider band pinches a wider area and the bubble reads fuller above it.
Bubble braids next to the styles people mix them up with
If you searched for bubble braids and landed on a fishtail tutorial, this table is why.
| Style | Actual technique | Skill needed | Time |
|---|---|---|---|
| Bubble braid | Ponytail plus elastics every few inches, sections pulled open | None beyond a ponytail | 5 to 10 minutes |
| Bubble ponytail | The same thing. Two names for one style | None | 5 to 10 minutes |
| Fishtail braid | Two sections, crossing thin strands from the outside in | Real practice | 15 to 25 minutes |
| Rope braid | Two sections twisted the same way, then wrapped the other way | Moderate | 10 minutes |
| Dutch braid | Three strands crossed under, picking up hair as you go | Real practice | 15 minutes |
The overlap in that table is the useful part. If you want the woven look and cannot braid, bubble braids get you most of the way there for a fraction of the skill, which is not true of anything else on the list. If you do want to learn a real one, Fulani braids are a better place to start than a fishtail.
Two bubbles, half up, and the other placements
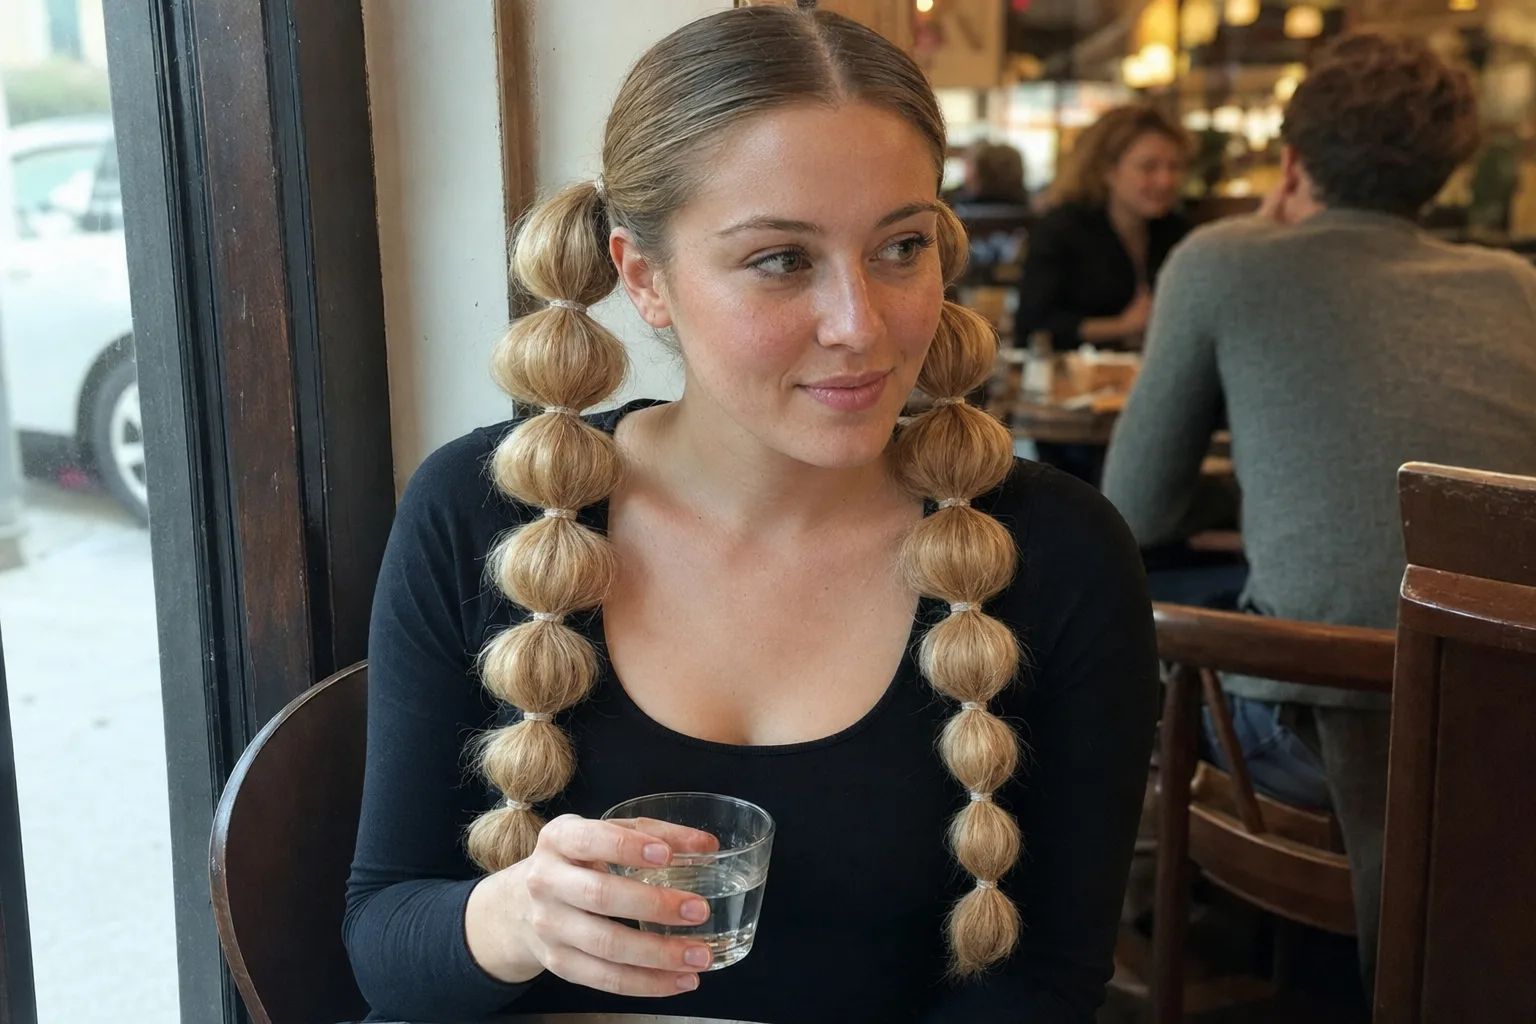
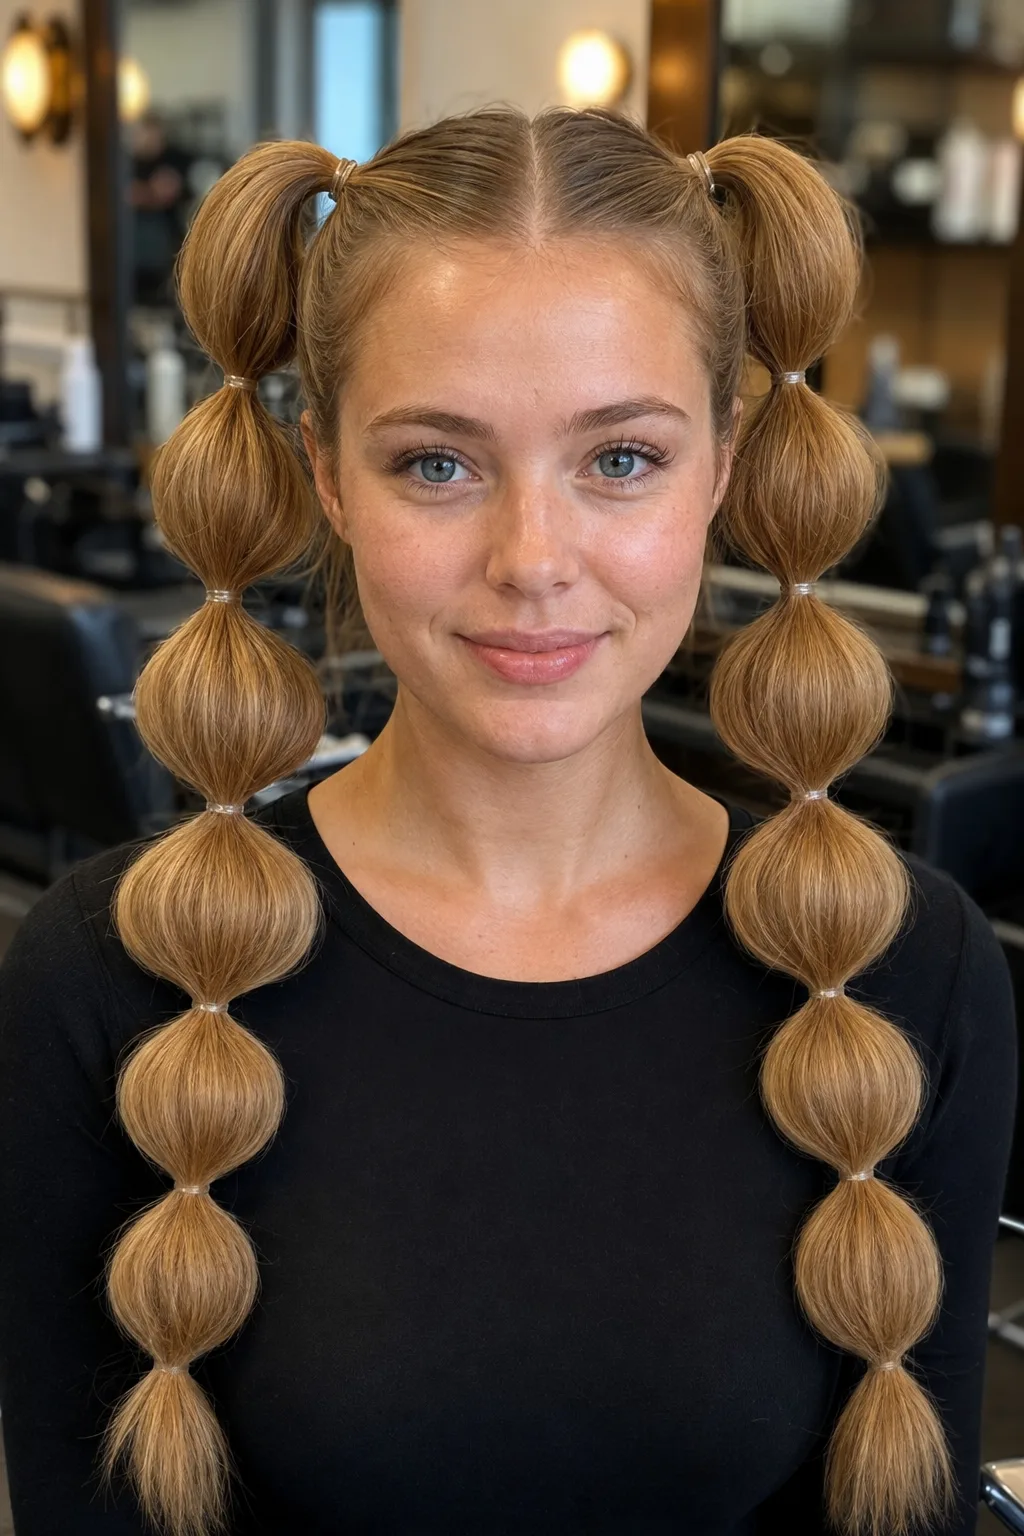
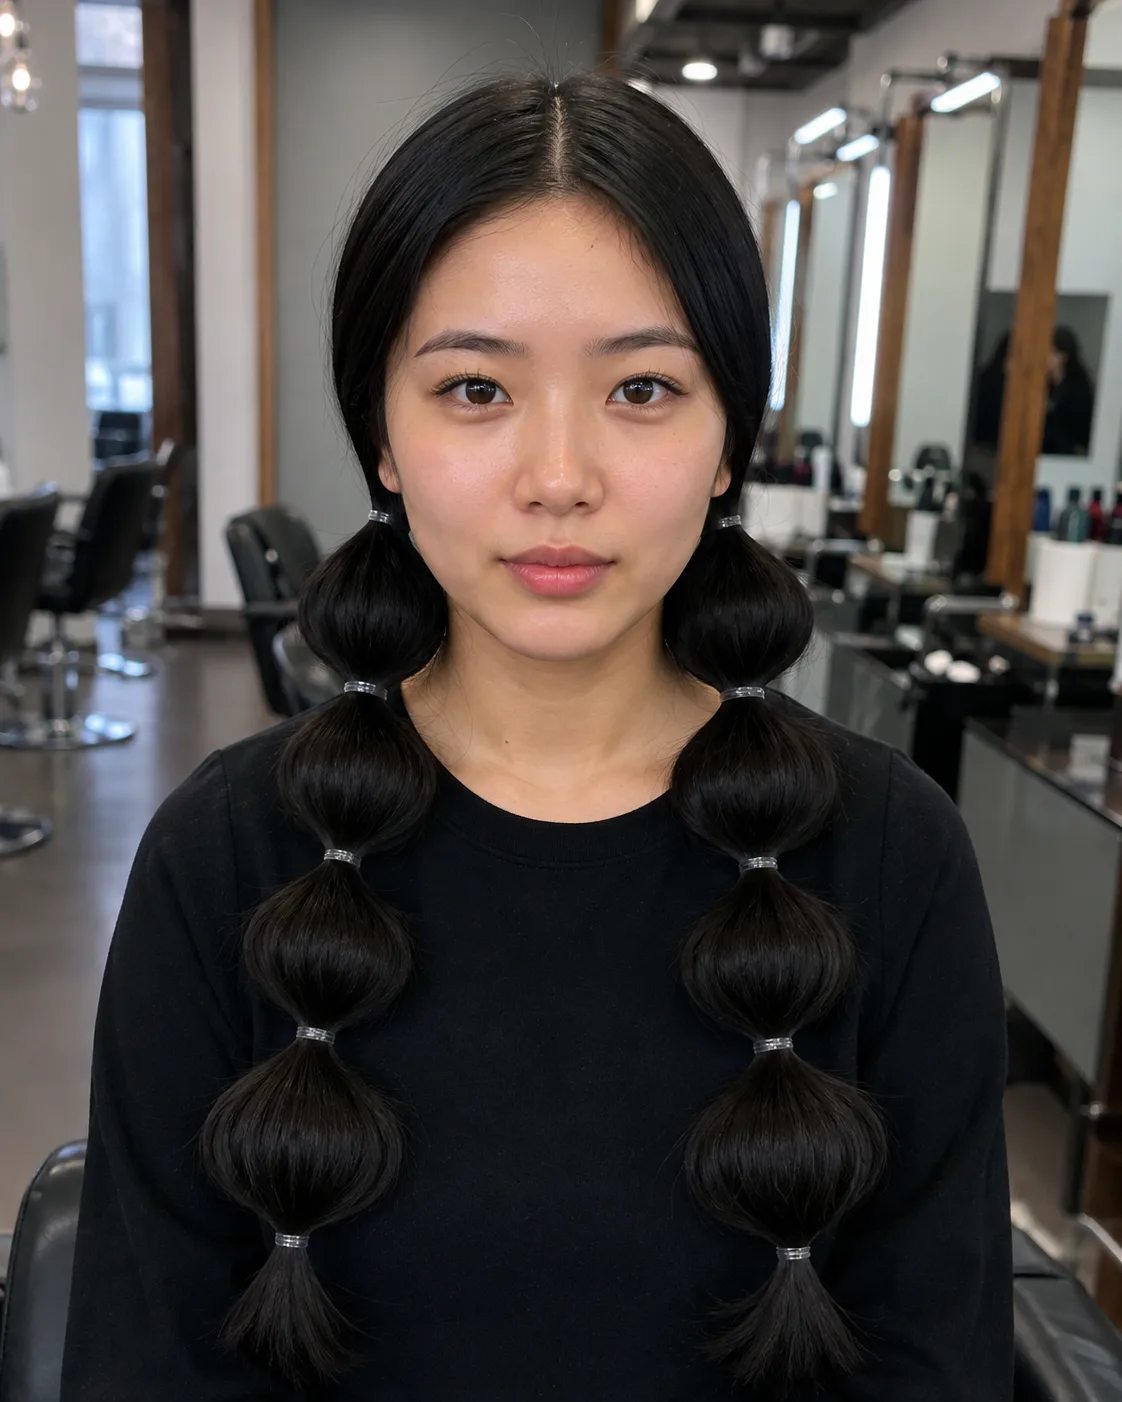
Splitting the hair down the middle and running two bubble tails instead of one changes the whole register of the style. One tail reads sleek and adult. Two read playful, and they photograph better from the front because both tails sit on your chest where the camera can see them.
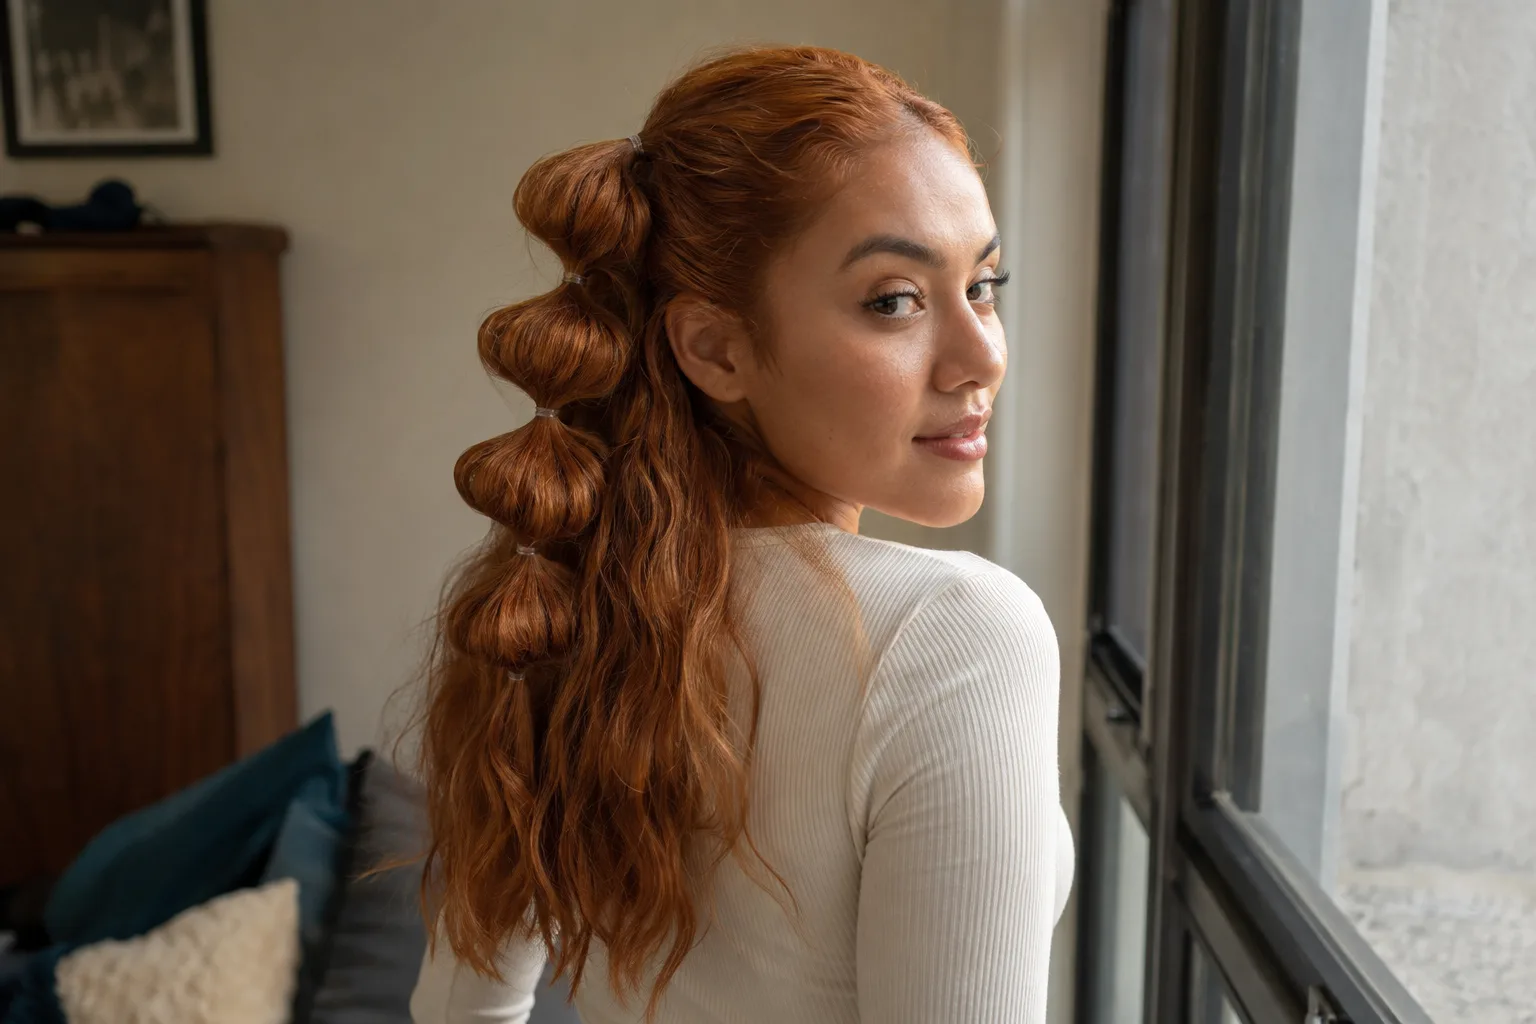
The half up version is the one to reach for when you do not want your neck bare. Take only the top section from temple to temple, bubble that, and leave everything underneath loose. You get the texture without committing the whole head, and it is the easiest bubble style to wear to work. It also works beautifully on the kind of long layered shapes covered in our guide to styling long hair.
Bubble braids are a natural home for a few strands of hair tinsel too, which flash between the bubbles when the light hits them.
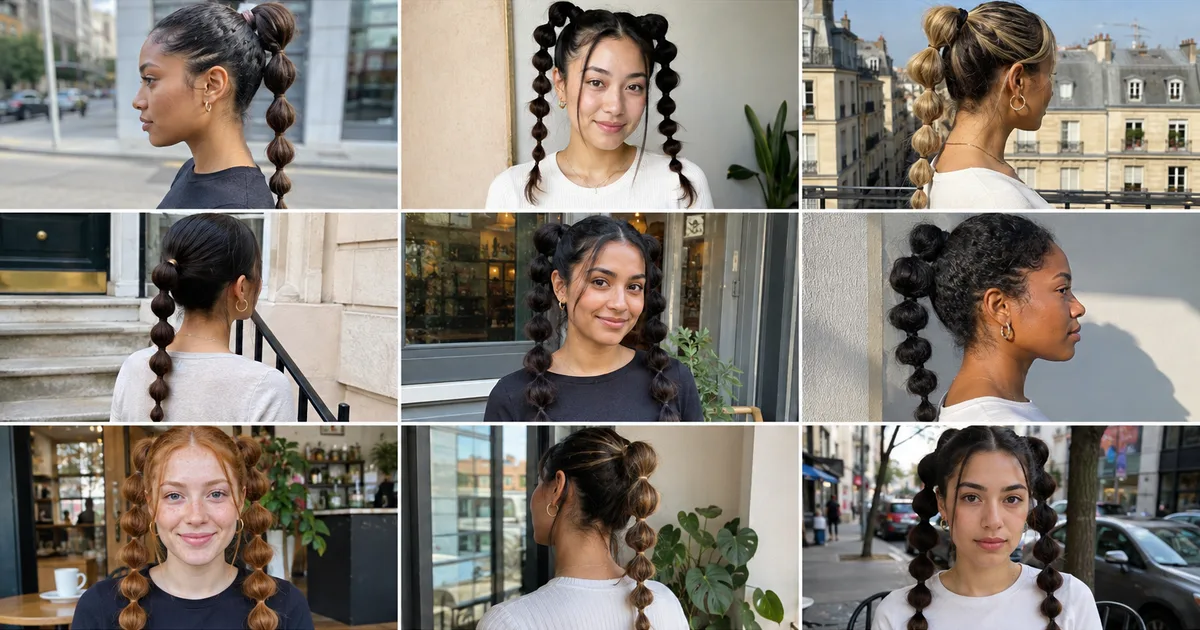
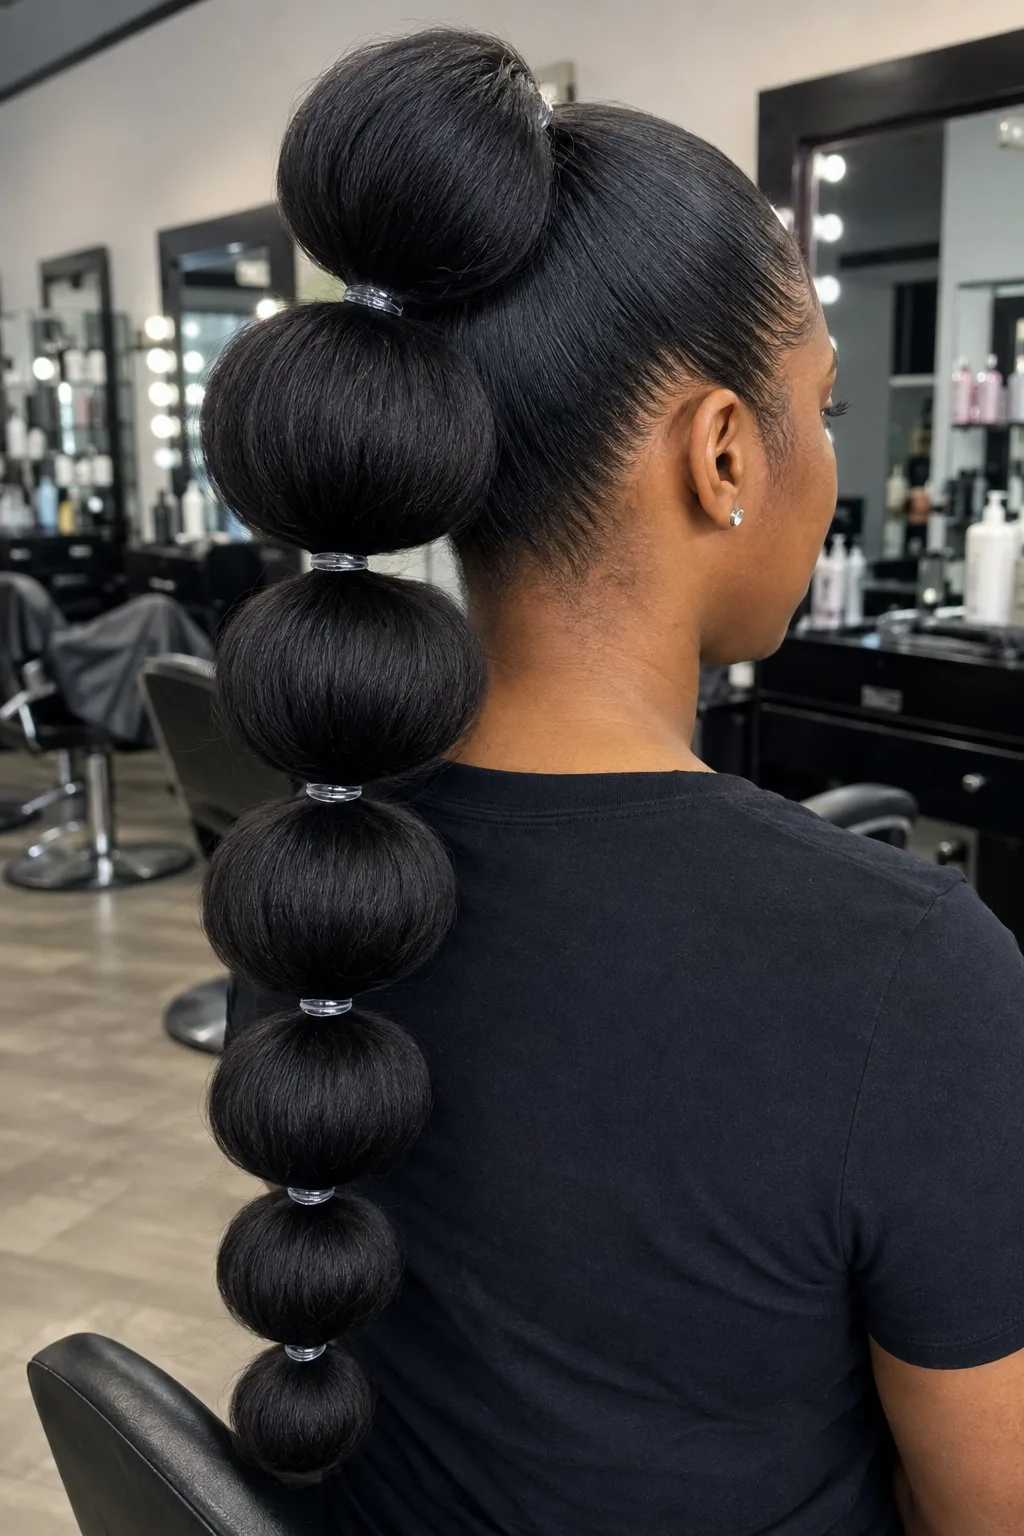
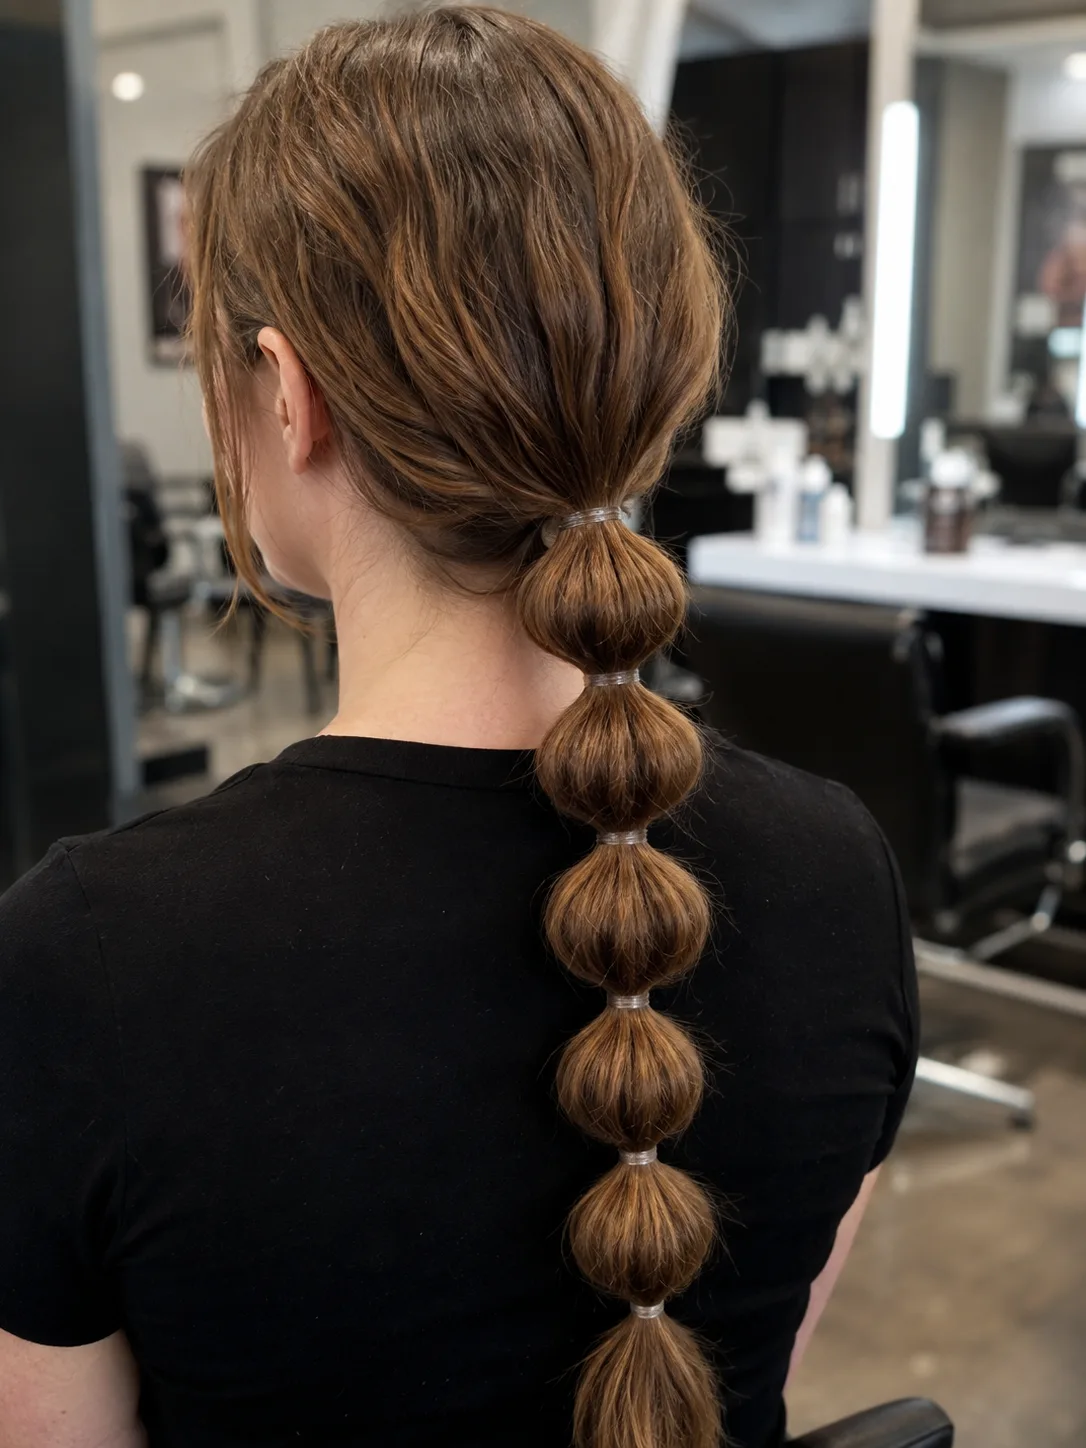
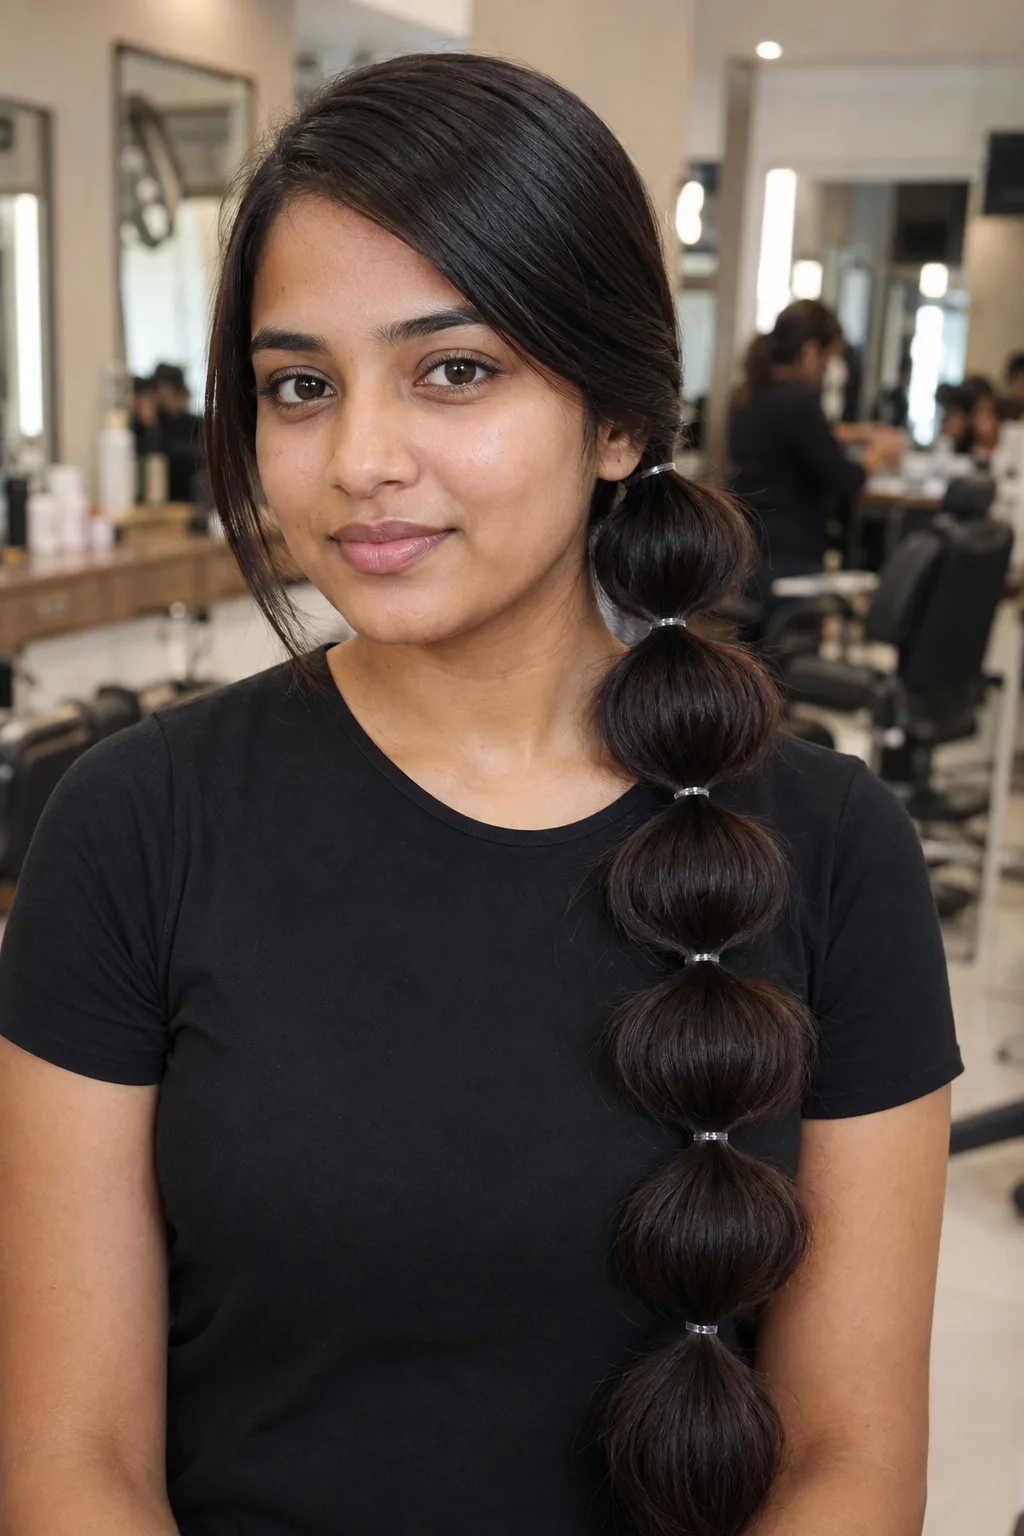
Ten bubble braids, from two bubbles to ten
Everything below is the same technique. The only things changing are where the base sits and how much length there is to divide, which between them account for almost every version of this style you have seen.
Gallery10 photos · tap to enlarge
 Try this on me
 Try this on me
 Try this on me
 Try this on me
 Try this on me
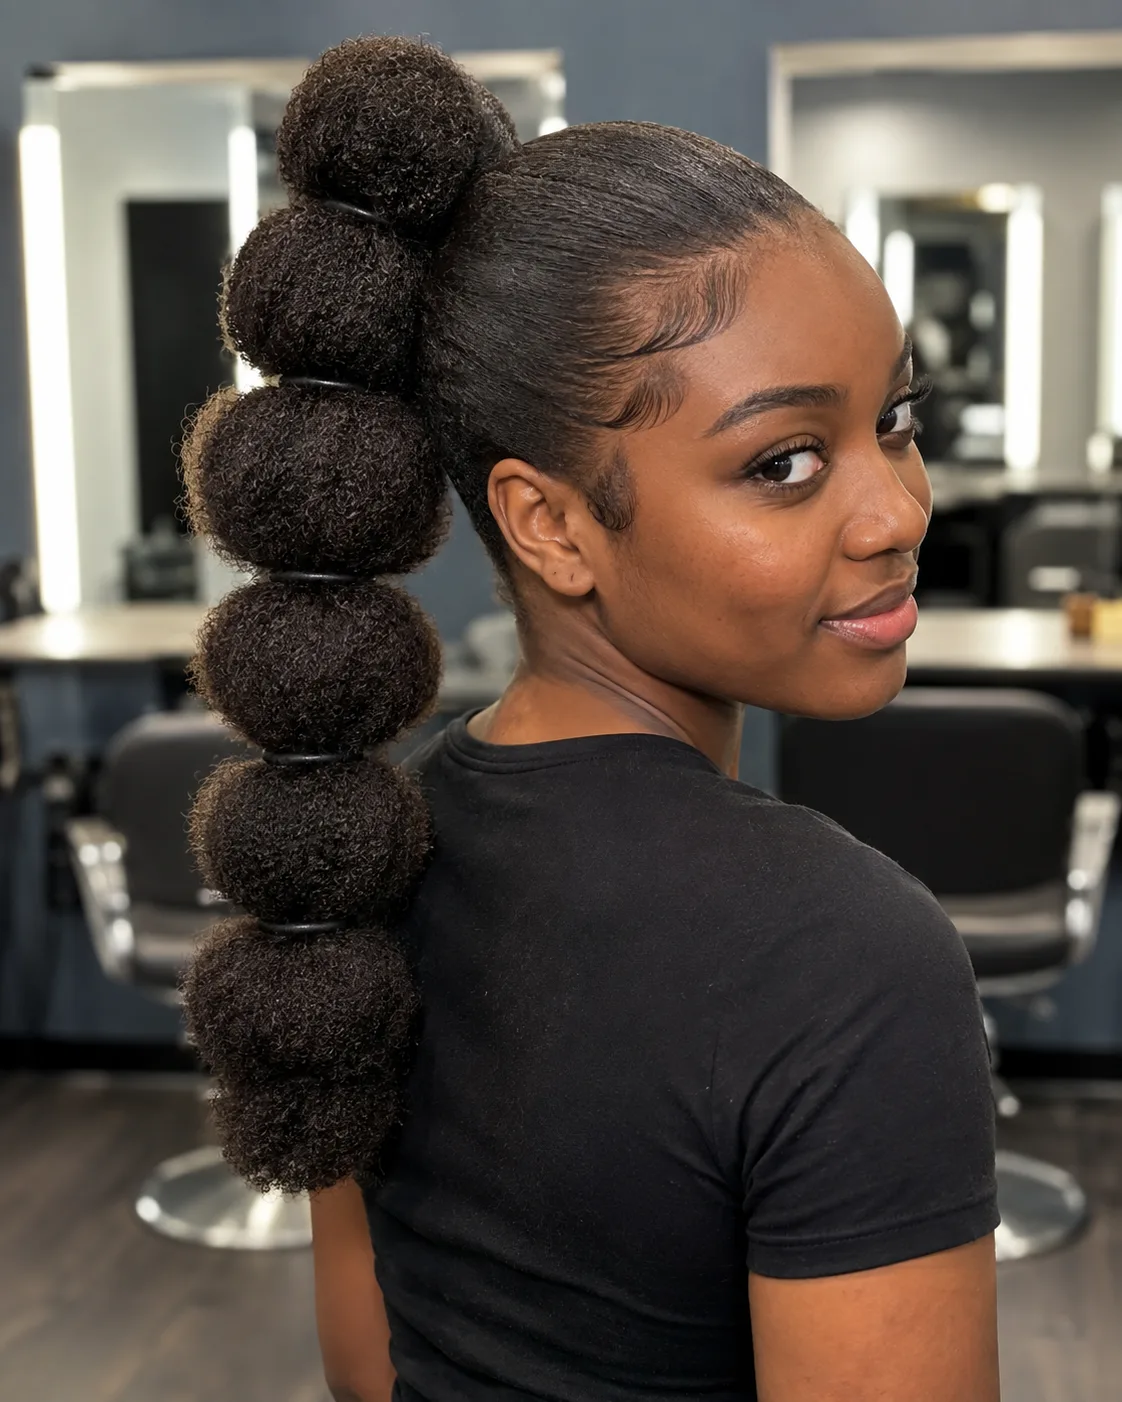 Try this on me
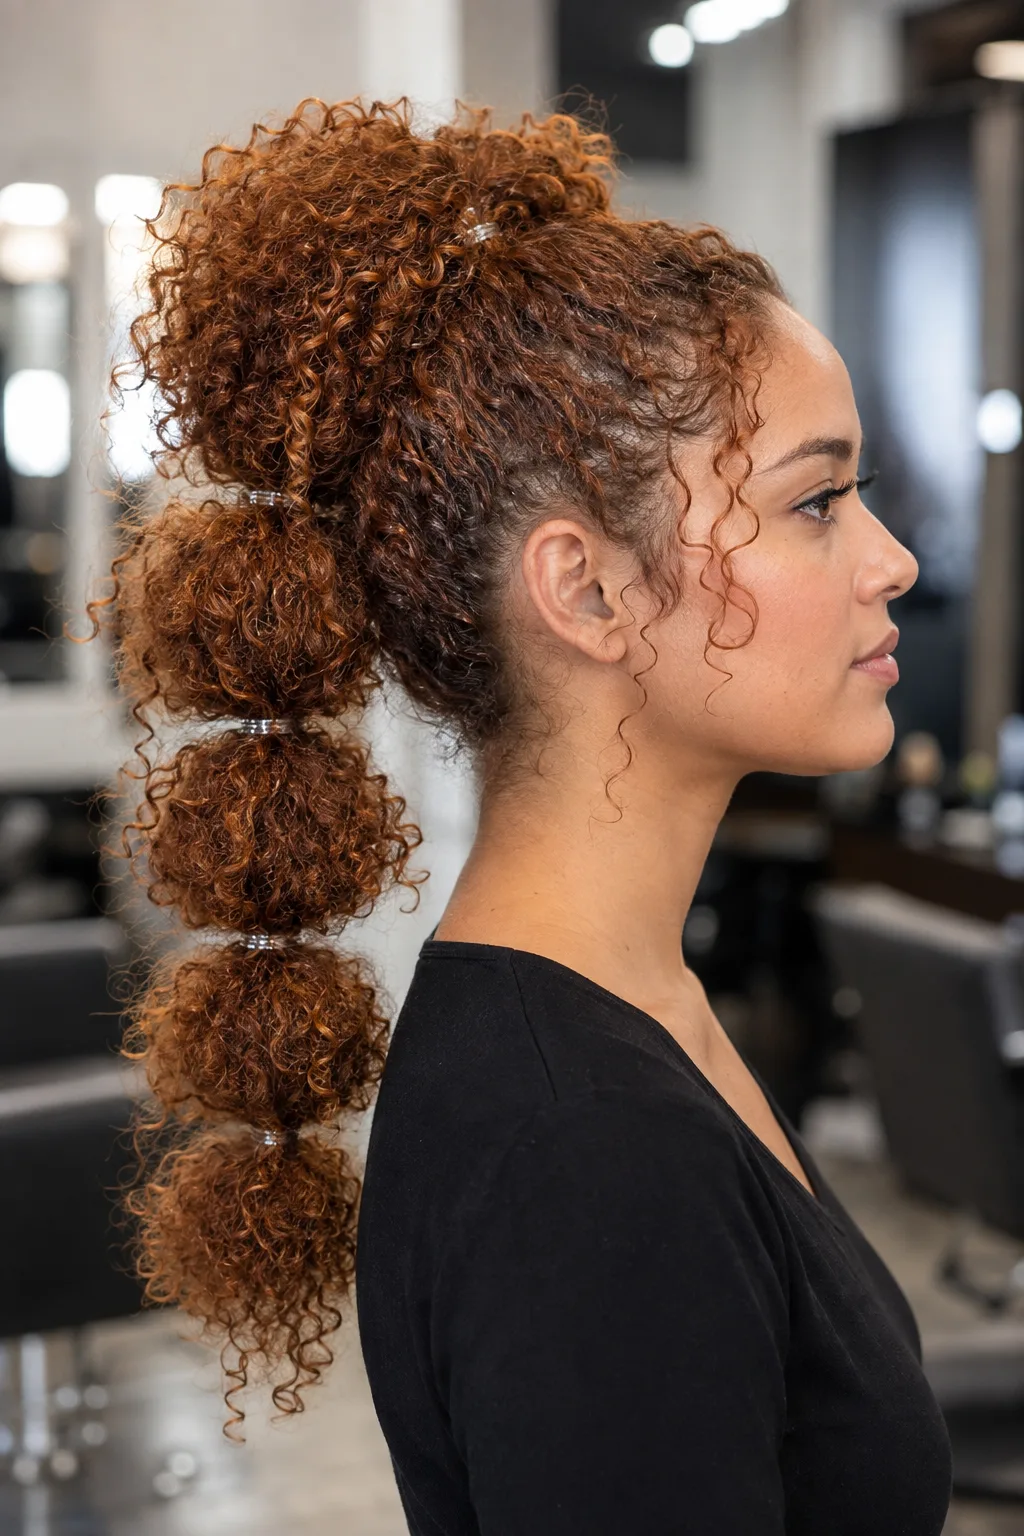 Try this on me
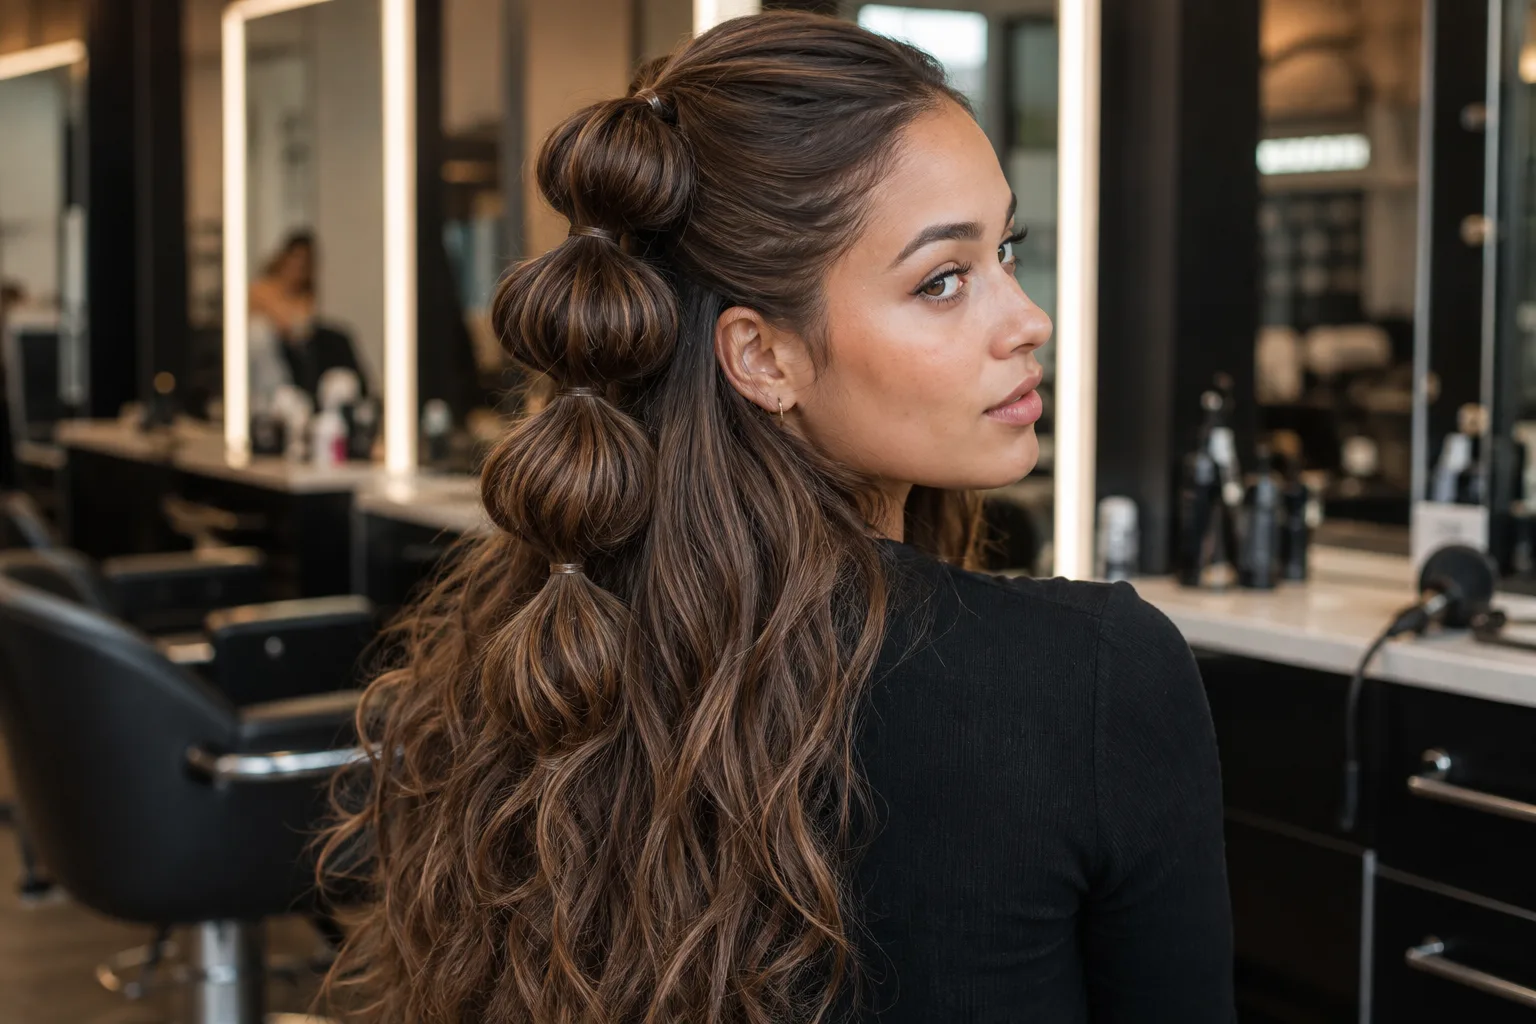 Try this on me
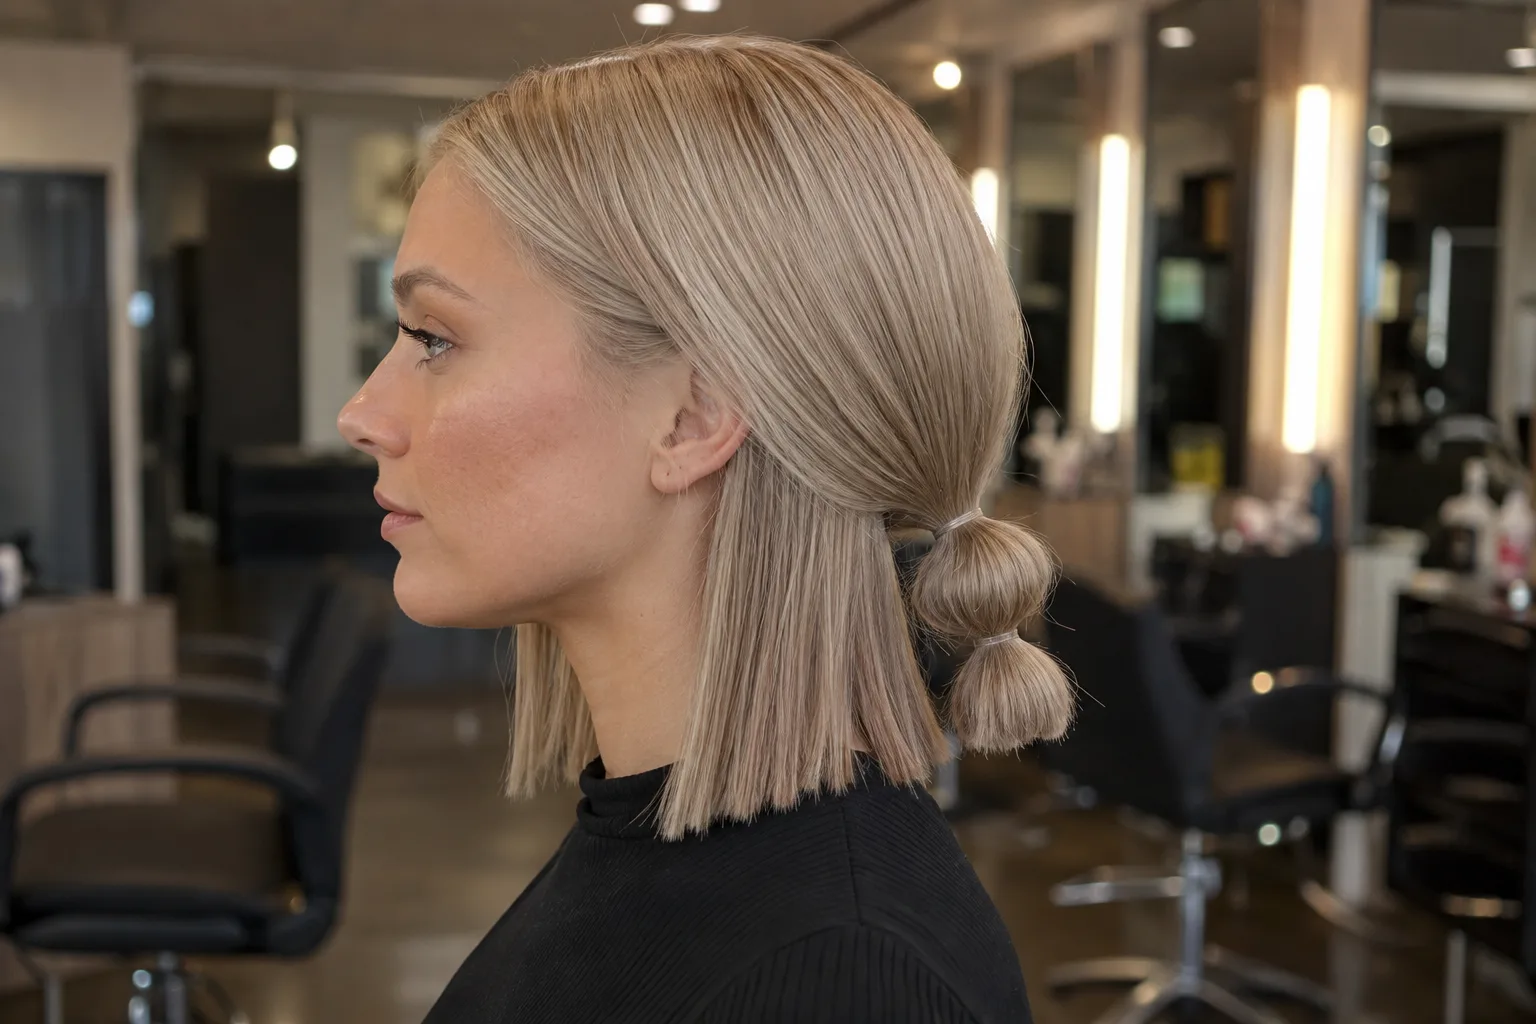 Try this on me
 Try this on me
If the curly and coily versions are the ones catching your eye, our curly and coily try on is the tool that renders those textures properly rather than smoothing them out.
The half up placement above is worth learning properly on its own, because the same crown section carries a half up, half down style with or without the bubbles.
The mistakes that flatten a bubble braid
Five things go wrong, and four of them are avoidable in the first thirty seconds.
Pulling too gently. The single most common failure. Bubbles relax within minutes of you finishing them, so a bubble that looks correct in the mirror will look tired by the time you leave the house. Overdo it deliberately.
Even gaps all the way down. Covered above, and worth repeating because it is the difference between a style that looks intentional and one that looks like it ran out of hair. Shorten the gaps as you descend.
Clean, slippery hair. Elastics slide down freshly washed hair and take the bubbles with them. Cost: the whole style, within two hours. Second day hair or a texture spray fixes it for free.
Elastics that are too tight. A bubble braid should feel like a firm ponytail, not like a headache. Tight elastics on the same spot repeatedly is exactly the mechanism behind traction alopecia, which the American Academy of Dermatology attributes directly to hairstyles that pull. If you can feel individual tugs at your hairline, it is too tight.
Ripping the elastics out at the end of the day. This is where the actual damage happens, not while you wear it. Snip each elastic with the tip of a small scissors or slide a rat tail comb under it. Never drag one down the length.
Are bubble braids damaging?
Worn occasionally and tied at sensible tension, no. Bubble braids put less strain on the scalp than a tight slick back bun, because the load is spread across five or six elastics down the length instead of concentrated at one point on the hairline.
Two things flip that. Wearing them daily on the same parting, and removing the elastics by force. Alternate your parting and your base height, keep them to a couple of times a week, and cut the elastics off rather than pulling. The AAD's general healthy hair guidance is the same advice for every pulled style: vary it and loosen it.
How long do they last?
Half a day on clean fine hair, a full day on textured or second day hair, and two days on coily hair if you wrap it at night. Sleeping in them works better than you would expect, because the elastics hold the shape. Put a satin scarf or bonnet over the whole tail, lie the tail up over your pillow rather than under your neck, and in the morning re-pull any bubble that has gone flat. That takes about a minute.
Can you see it on yourself before you commit?
You can do a bubble braid for free with three elastics and ten minutes, and if you have the length, that is the honest answer: just try it, there is nothing to undo. The wall you hit is a different one. Bubble braids need a certain amount of hair below the base, so the real question for most people is not "will this look good on me" but "should I grow it out, add length, or put this over braids first" - and no amount of elastic experimenting answers that, because you cannot test hair you do not have yet.
That is what the try on is for. Put your own photo in, see the length and the braided base on your actual face and head shape, then decide whether it is worth the growing out. The first look costs nothing and needs no card. If you want the full set of angles and colours after that, plans start at $9 a month, but you do not need one to answer the question above.
Not sure which direction suits your face at all? Start with what haircut suits me and come back to the bubbles after. If you already know you want length, the long hair filter shows you what you are aiming at.
Bubble braids are the highest return five minutes in hair. No braiding skill, no heat, no products beyond an elastic and something to add grip, and a result that reads as far more effort than it took. Get the two things right that actually matter, which are texture in the hair before you start and a genuinely hard pull on every section, and the rest is just deciding where to put the base.
If you take one thing from this page: shorten the gap between elastics as you go down. Everybody's bubbles are the wrong shape at the bottom, and that is the reason.
Frequently asked questions
Tie a ponytail, add a second elastic two to three inches below it, then pull the section of hair trapped between the two elastics outward on all sides until it puffs into a ball. Repeat down the length, shortening the gap slightly each time. There is no braiding involved at any point.
Yes, and they are unusually stable for a trend style because they are not really a trend so much as a technique. The segmented ponytail keeps returning because it takes minutes, needs no skill and works on hair that will not hold a plait. What changes between revivals is the styling around it: sleeker or messier bases, one tail or two, visible clear elastics or hidden ones.
Not inherently. The load is spread over several elastics rather than one, so tension on the scalp is lower than a tight bun. Damage comes from two habits: wearing them tight in the same spot every day, and pulling the elastics out instead of cutting them off. Vary the parting, keep them occasional, and snip the elastics at the end of the day.
Dry, without much doubt. Wet hair is at its weakest and stretches under tension, so elastics dig in and the bubbles collapse as it dries and contracts. Dry hair with a little grip in it, ideally second day hair or hair with a light texture spray through it, holds the shape far longer.
Any texture, but you need length below the base. Roughly collarbone length is the minimum for two convincing bubbles, and shoulder length or longer gives you four or more. Straight, wavy, curly and coily hair all work, and coily hair arguably works best because it fills each bubble instead of hanging inside it.
Five to ten minutes for a single tail once you have done it a couple of times, and around fifteen for two tails. The pulling is what takes the time, not the tying. Adding grip to your hair beforehand takes another minute and saves you redoing the whole thing at midday.
Tie the base as low as it will go, at the nape rather than the crown, which buys you a couple of extra inches of usable length. Then fit two full bubbles rather than trying to squeeze in three thin ones, and let the ends fan out loose below the last elastic. At chin length, a half up bubble section on the top layer works better than a full ponytail.
There is no single origin decade. Segmented ponytails held with beads and bands are far older than any of the modern revivals, and most people who ask this are thinking of the nineties and early two thousands, when the style was everywhere on schoolyards and pop stars. The current version is the same technique with sleeker bases and clear elastics.
Preview it on your own photo: Virtual Hair Color Try-On.
Share article
About the author
More articles
Women's Haircuts · 14 min
Bleached Hair: How Light Yours Can Go, 14 Shades, Aftercare
How light your bleached hair can go depends on where it starts. See 14 bleached shades on one cut, what each starting color can reach in one session, how toner finishes the job, and the aftercare that keeps it soft.
Women's Haircuts · 16 min
Waves Hair: How to Get Beach, Loose and Hollywood Waves That Last
Waves hair is about what you leave straight. How to get beach, loose, Hollywood and heatless waves, which wave suits your hair type, and why your waves keep falling out.
Women's Haircuts · 15 min
Fino Hair Mask: Who It Suits, How to Use It, and Its Limit
The Fino hair mask makes dry, bleached and frizzy hair smooth and shiny in one use, mostly by coating it. Here is what is in the jar, which hair types it suits, exactly how to use it, and what to do when the ends are past a mask.