Half Up Half Down Hairstyles: The One Rule That Holds
Oleh Onysko Updated 29 September 2026 18 min read
In this article
A half up half down style holds or slides out for one reason, and it is not the clip. It is where you stop the section you pull back. Stop it at the parietal ridge, the widest point of your skull, level with the tops of your ears, and the style sits still all day. Take it from the top of your head instead, which is what almost everyone does, and you get a small flat knot with a gap underneath that works itself loose by lunch.
That one line decides the rest of it: how much height sits at the crown, whether the loose half reads full or stringy, and whether it survives a walk in the wind. Get the section right and a claw clip is enough. Get it wrong and no amount of hairspray saves it. If you want the fastest options for busy mornings, our guide to simple hairstyles that take five minutes ranks them by time.
Where to stop the section
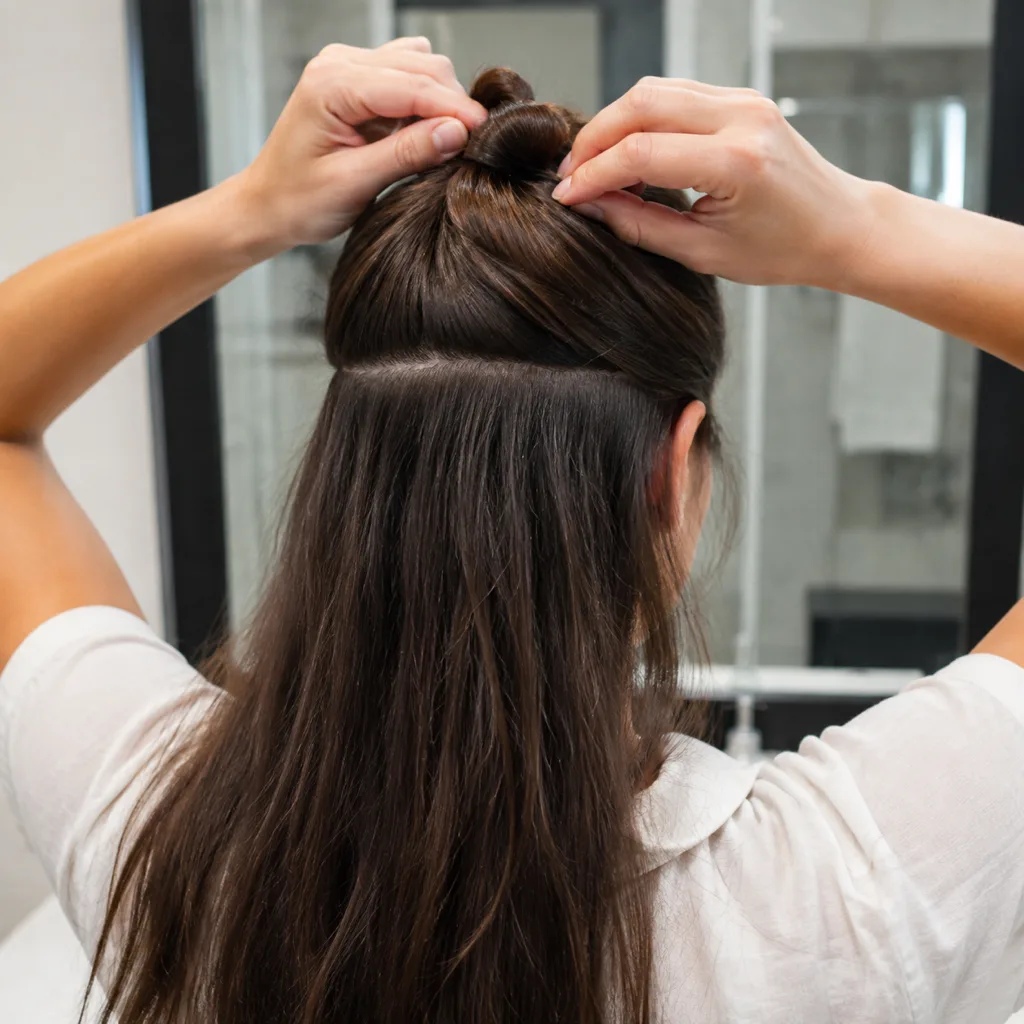
Put a finger on the outer corner of each eyebrow and run both straight back over your head. That is how wide the section is. Now feel for the widest point of your skull, level with the tops of your ears. That ridge is where the section stops. Everything above the line goes up. Everything below it stays down.
The reason is structural. The parietal ridge is where your head stops widening and starts curving in. Hair gathered above that point sits on a shelf and stays where you put it. Hair dragged up from below the ridge has to travel uphill against the curve, so it pulls on the roots at your temples, flattens the sides, and gradually slips back down to where it came from.
| How much you take | What it looks like | Does it hold |
|---|---|---|
| Crown only, above the ridge, eyebrow width | Balanced, half the volume still hanging loose | Yes, all day |
| Too narrow, a pinch off the top | Flat knot with a visible gap under it | No, slides within an hour |
| Too wide, taken below the ear line | Reads as a bad ponytail, sides pulled tight | Holds, but it is no longer half up half down |
| Front hairline only, no depth | Bump at the front, nothing behind it | No, works loose fast |
If you are unsure, take more from front to back rather than more from top to bottom. Depth is what gives the gathered section something to sit on.
How to do it in five minutes
How to do a half up half down
- Split at the ridge
Brush everything back. Slide the end of a comb along your head until you feel the widest point, level with the tops of your ears, and part horizontally there from one side to the other. Clip the lower half out of the way.
- Roughen the base
Take the upper section, lift it straight up and backcomb the underside two or three times at the roots, close to the scalp. This is the step people skip, and it is the one that stops the section collapsing flat.
- Gather at the crown
Bring the upper section back to the crown, which is the flat spot at the top and slightly behind, not the back of your head. Hold it with one hand and smooth the surface with the other so the backcombing stays hidden underneath.
- Secure it
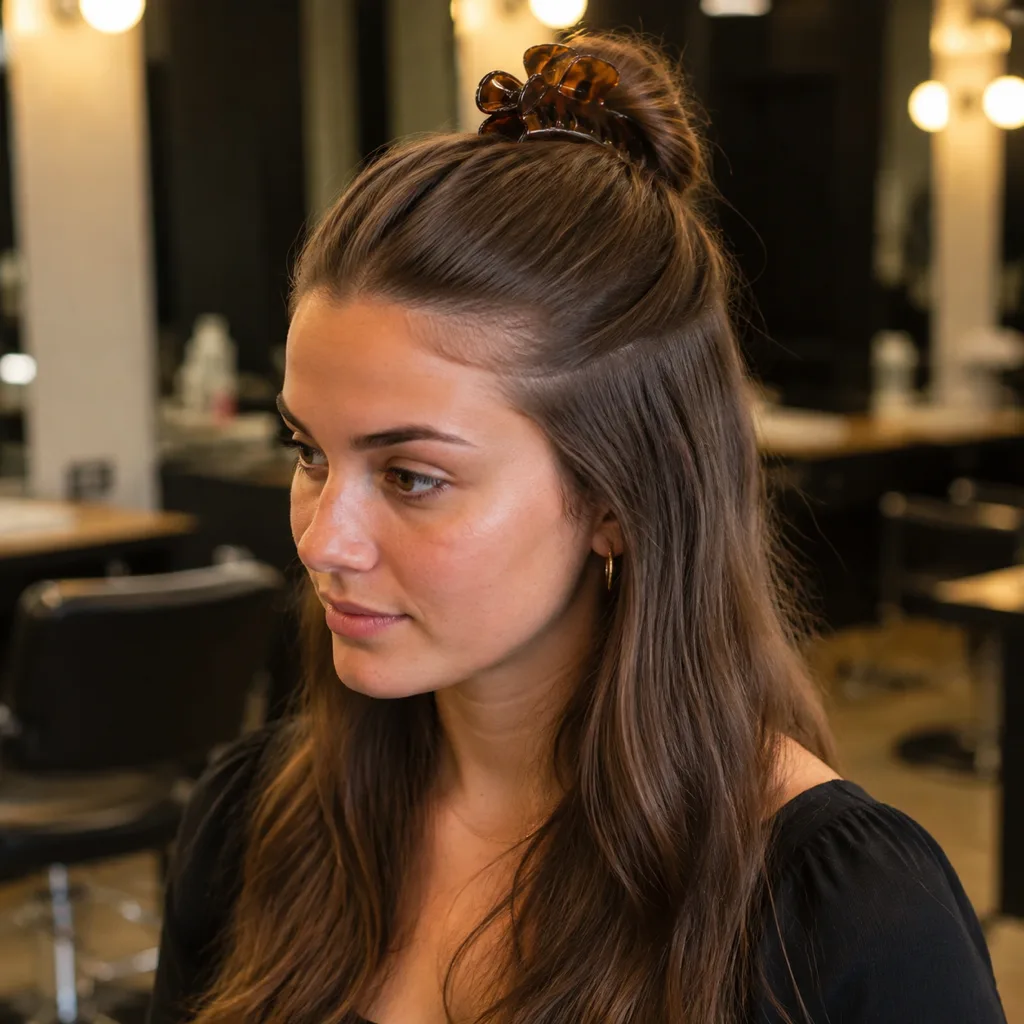
Tie with a thin elastic, twist into a small bun, or clamp with a claw clip. Whatever you use, it should sit against your head, not hang off it. If you can slide two fingers between the fastening and your scalp it is too loose. When you want all of it off your neck instead, these easy updos matched to your length are the next step up.
- Free the front
Pull out the pieces at your temples and in front of your ears with your fingertips, not a comb. Two on each side is enough. This is what turns it from a school hairstyle into a finished one.
Ask for it in the chair like this:
Say this to your barber
Take the section from my front hairline back to the parietal ridge, no wider than the outer corners of my eyebrows, and leave everything below that line down.
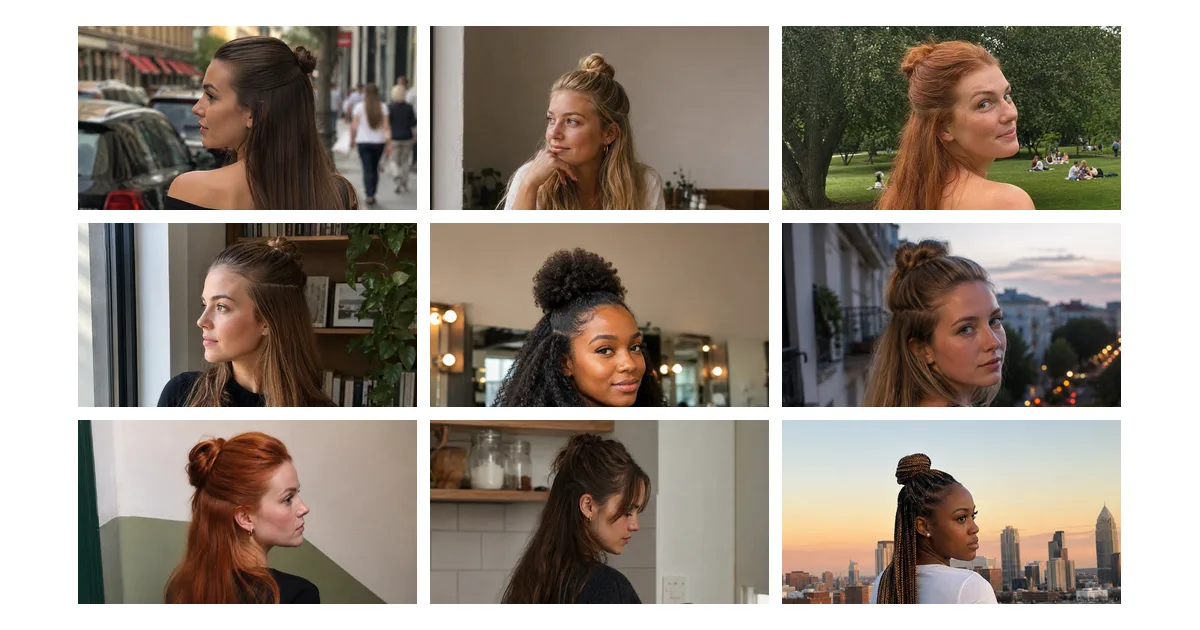
Ten half up half down looks to copy
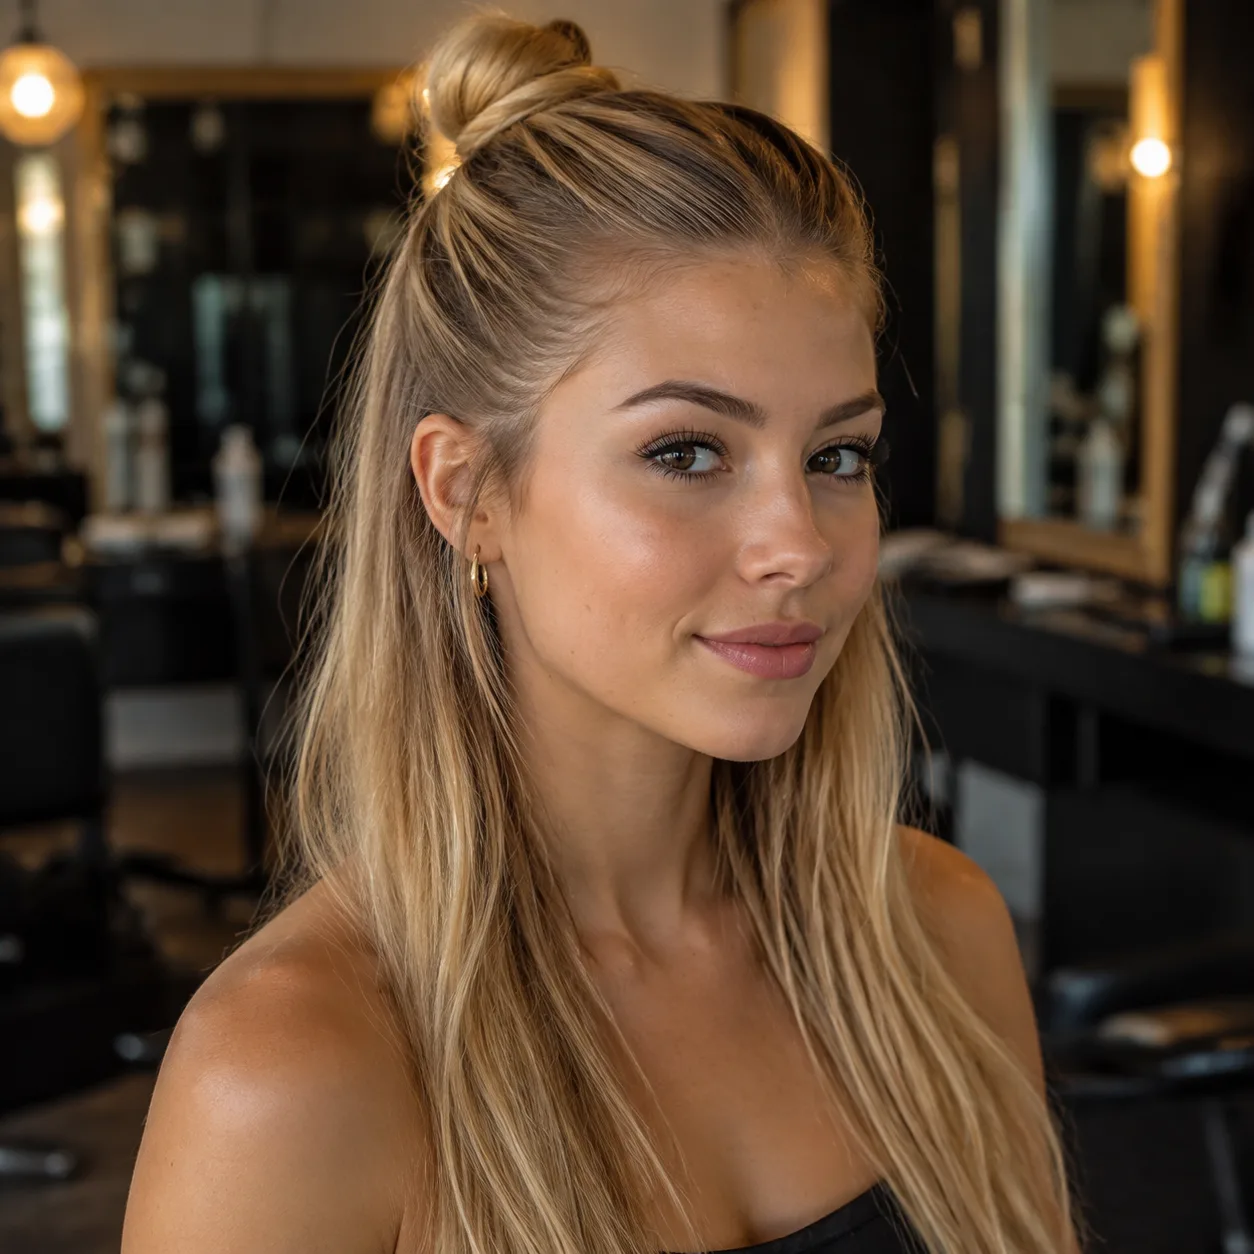
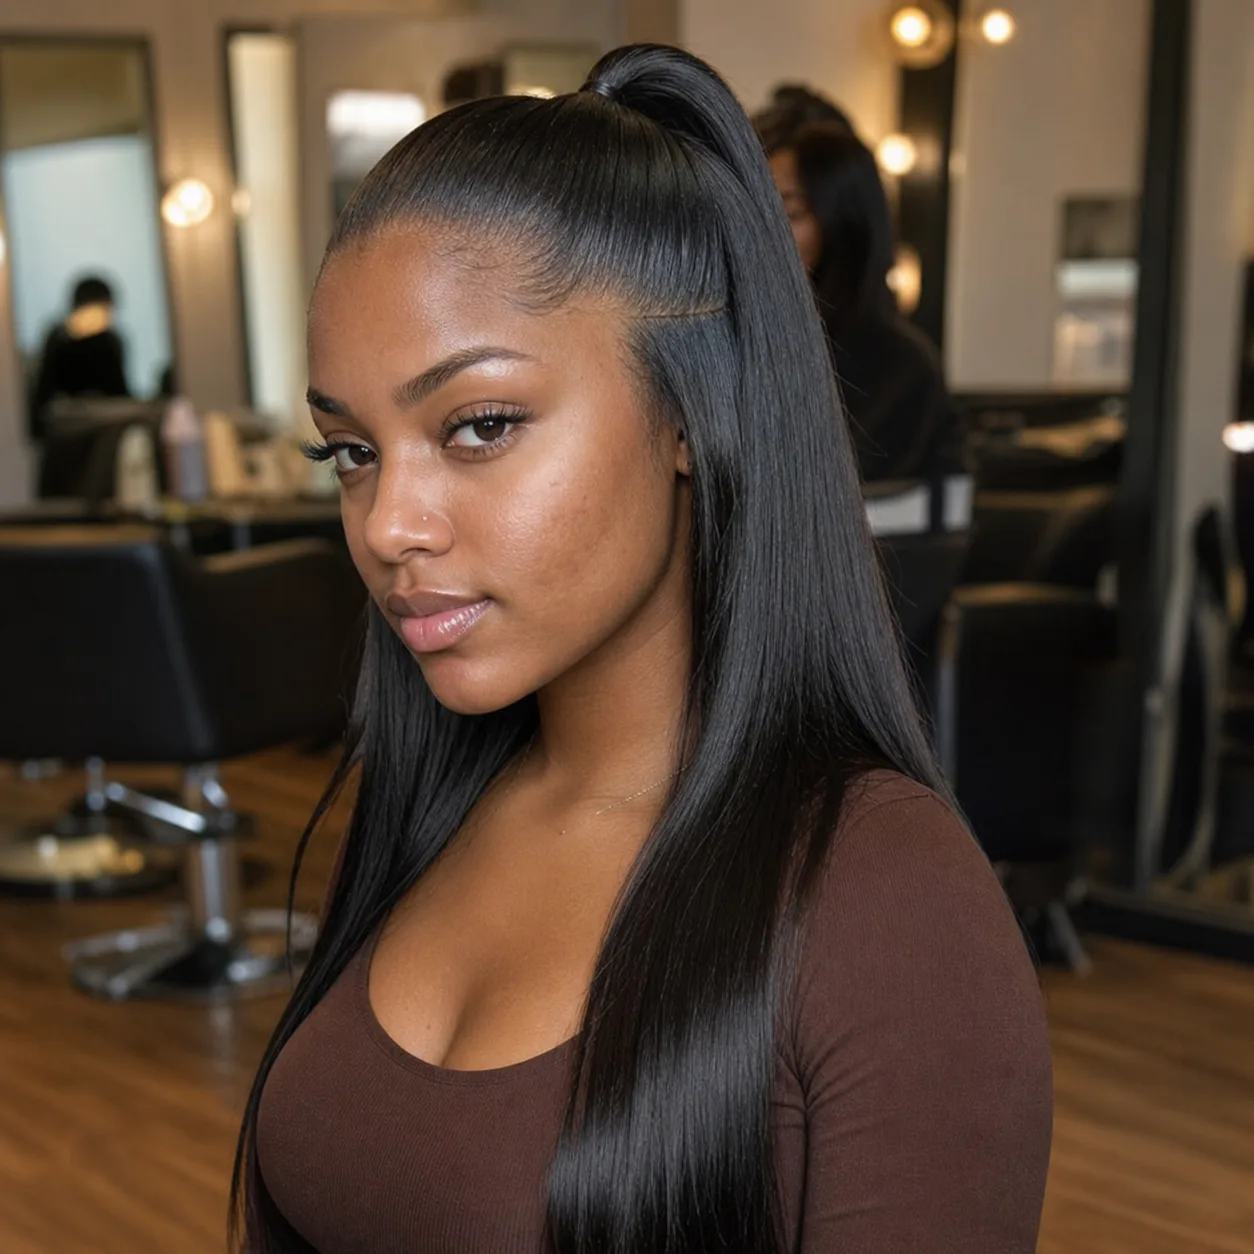
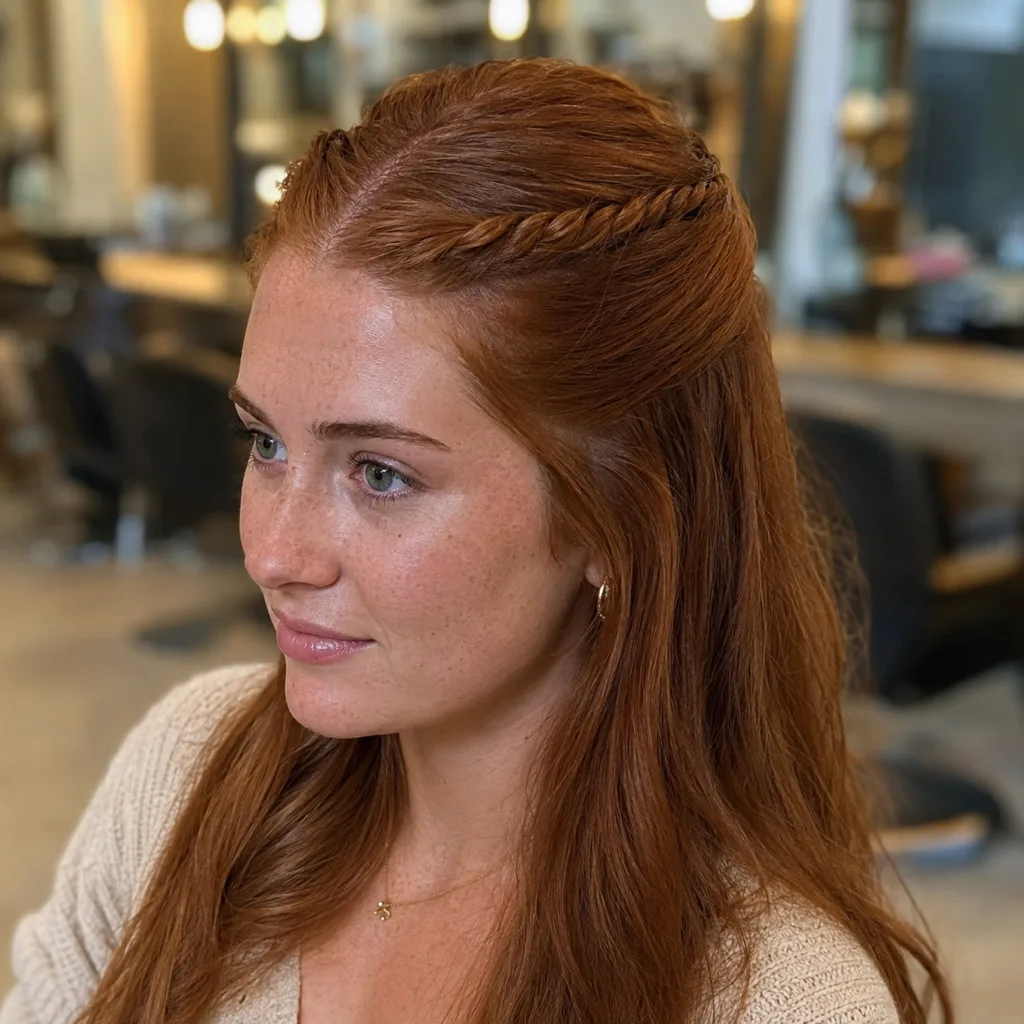
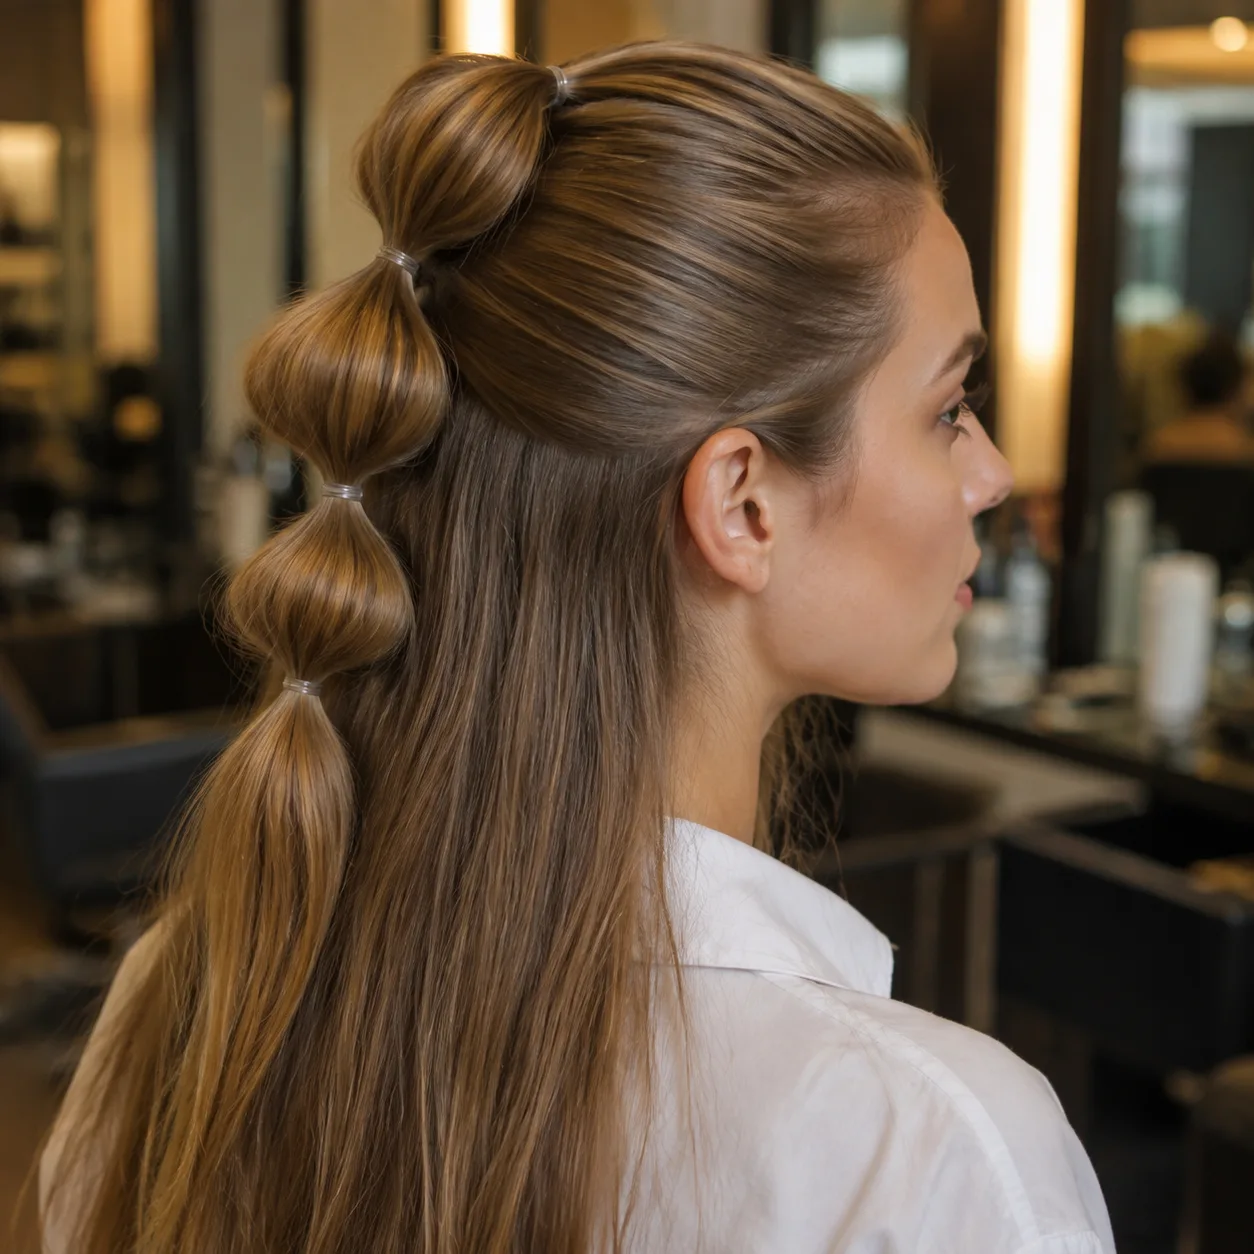
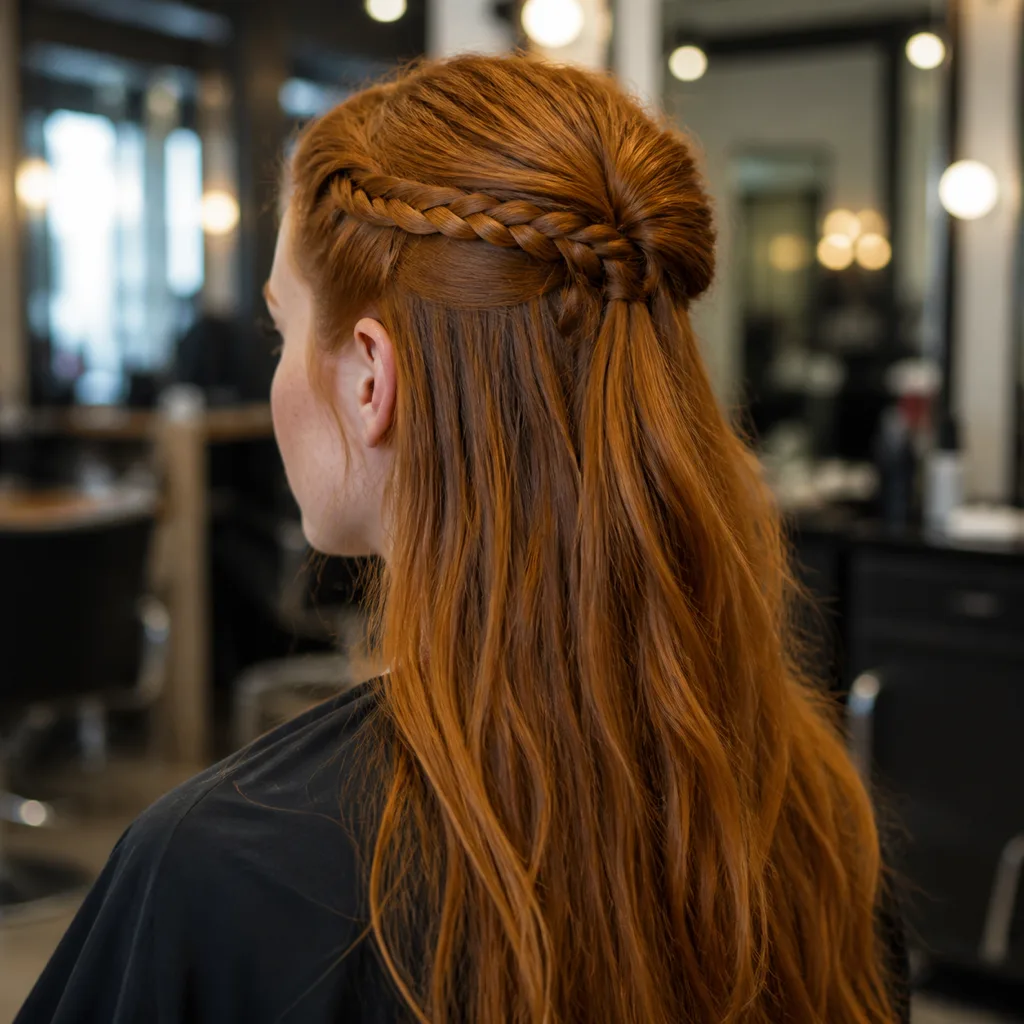
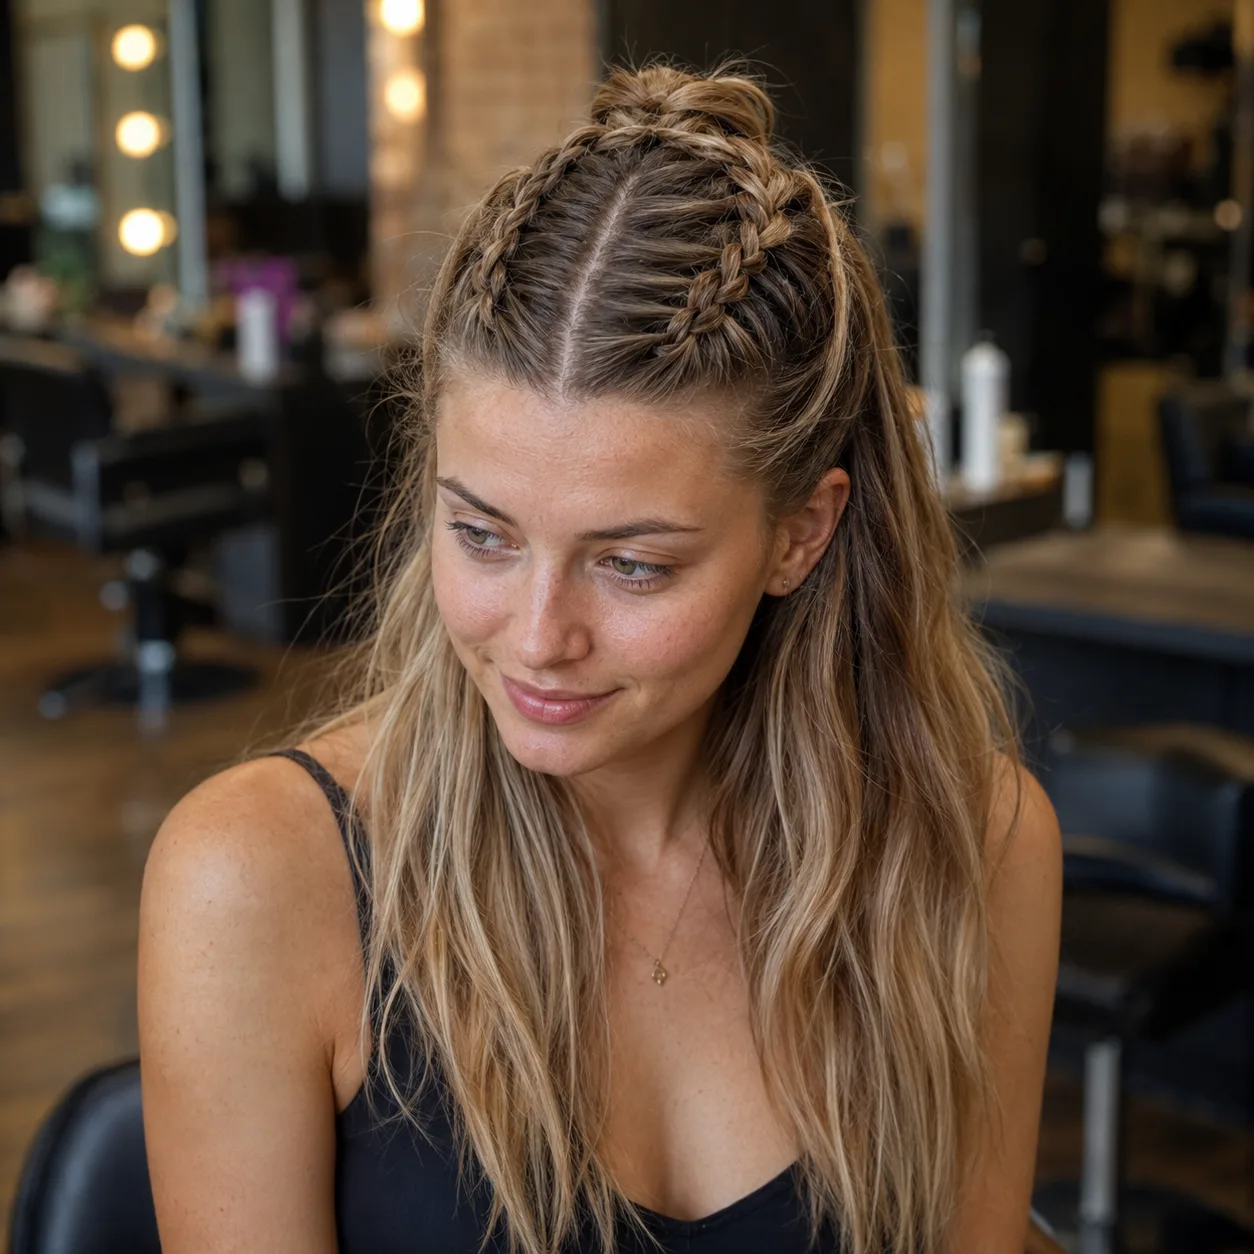
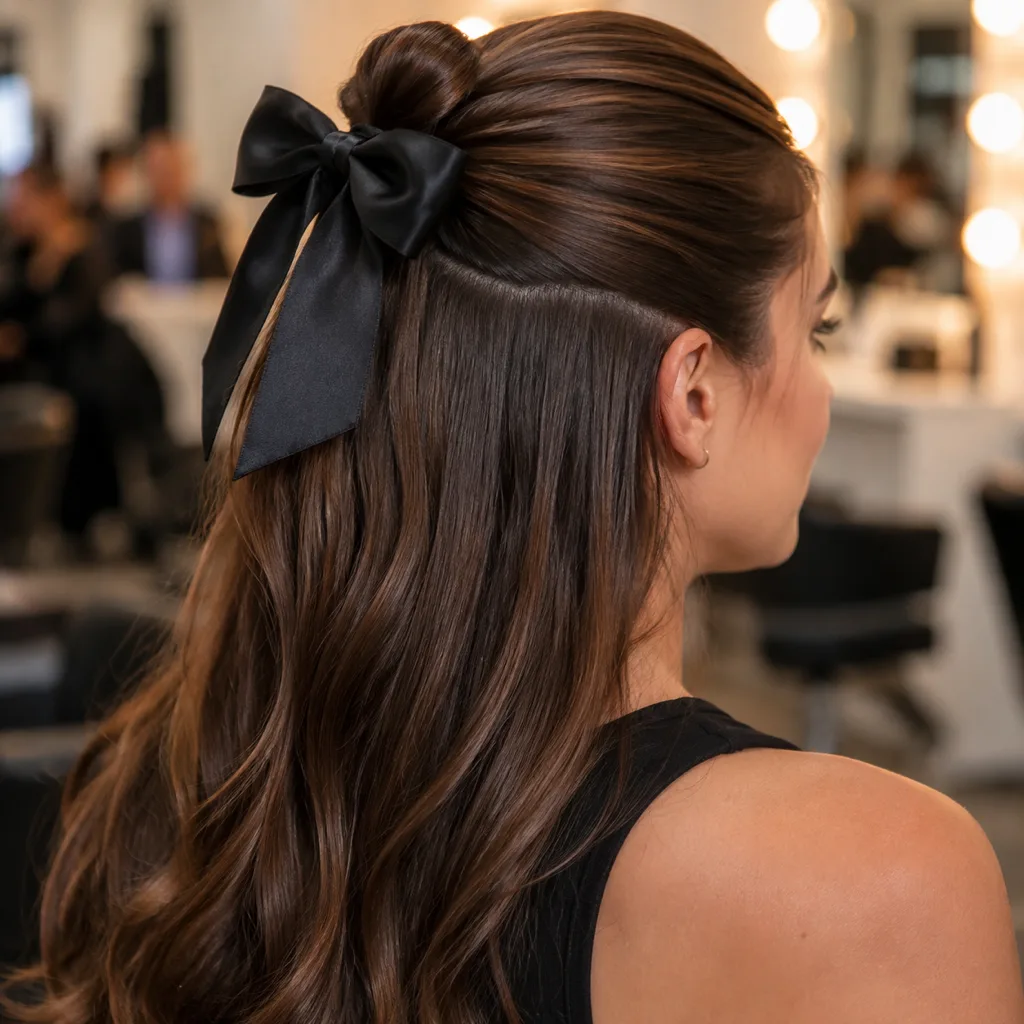
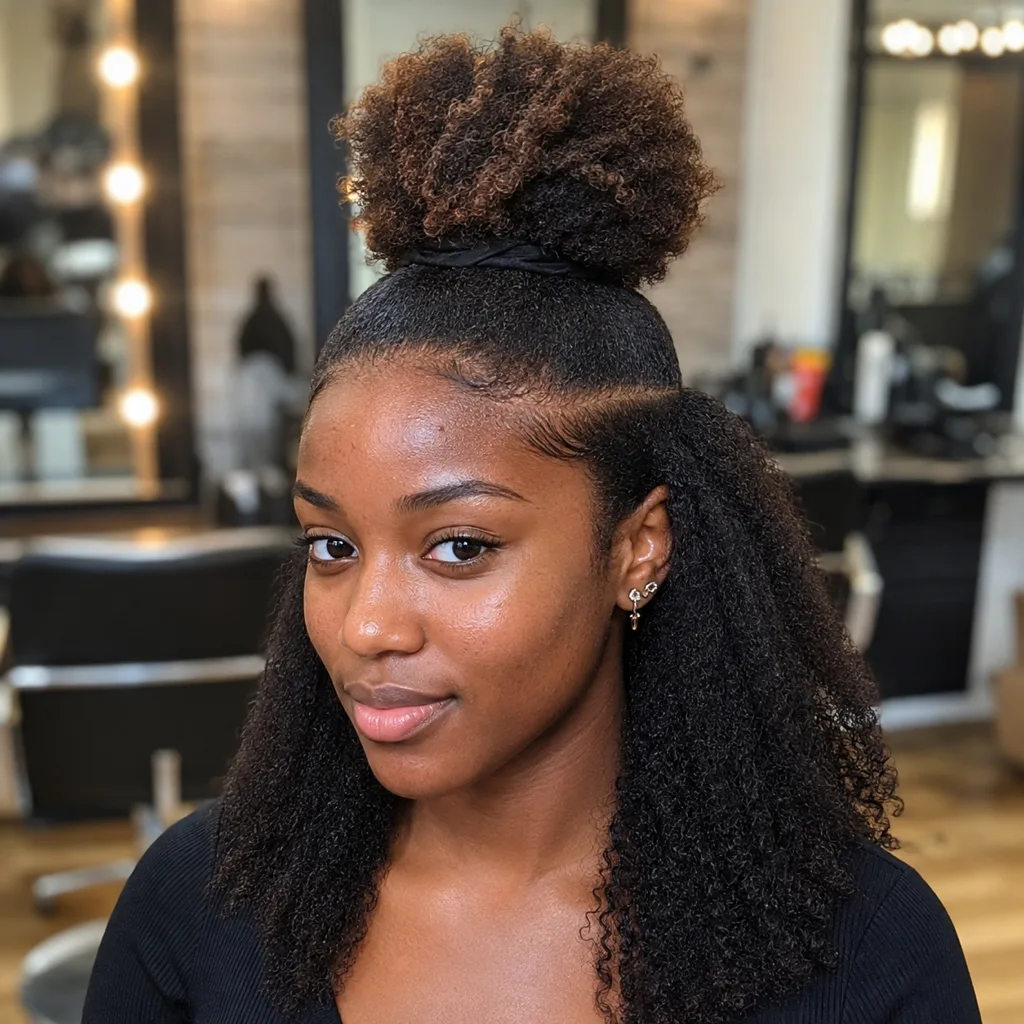
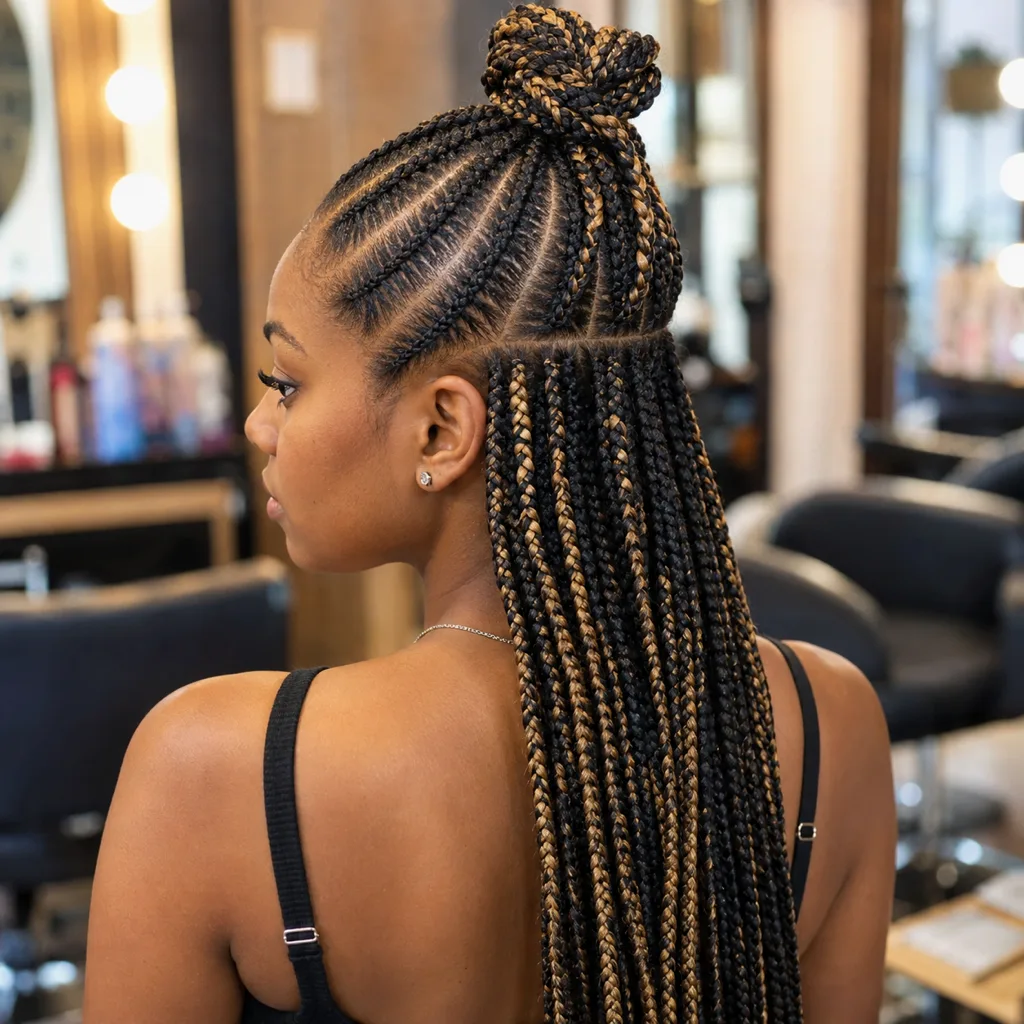
Same section rule in every one of these. The only thing that changes is how the gathered half is fastened and finished, which is where the entire personality of the style lives.
Gallery10 photos · tap to enlarge
 Try this on me
 Try this on me
 Try this on me
 Try this on me
 Try this on me
 Try this on me
 Try this on me
 Try this on me
 Try this on me
 Try this on me
Half up half down is also the easiest base to add something to, because the gathered section gives you a place to attach it. A peekaboo colour hidden under the loose half shows when you move. Test the shade in a hair colour simulator before you book it. Hair tinsel sits in the gathered part where it catches light. And bubble braids work on the gathered section alone, with the rest left down.
Pick your version by hair type
The section rule is the same for everyone. What changes is what you do with the top once it is gathered, and that depends entirely on how much hair you are working with and how it behaves.
| Hair type | Best version | What to avoid |
|---|---|---|
| Fine and straight | Small half bun on a backcombed base | A ponytail, it shows scalp |
| Thick and straight | Sleek half ponytail or claw clip | A tiny elastic, it will snap |
| Wavy | Twisted back and pinned, no elastic | Brushing before you gather |
Fine, loosely waved hair is the fussiest case in that table, and it is worth reading what a 2A wave needs before you reach for product, because most of what flattens a half up style is the same thing that flattens the wave. | Curly | Loose half pineapple, fabric band | Combing the loose half out | | Coily and 4C | Crown puff with a wide band | Anything with a metal join | | Short or bob length | Walnut sized half bun, pins | Trying for a ponytail at all | | Braids and locs | Cornrows or braids gathered at the crown | Gathering too tight at the hairline |
Fine and straight hair
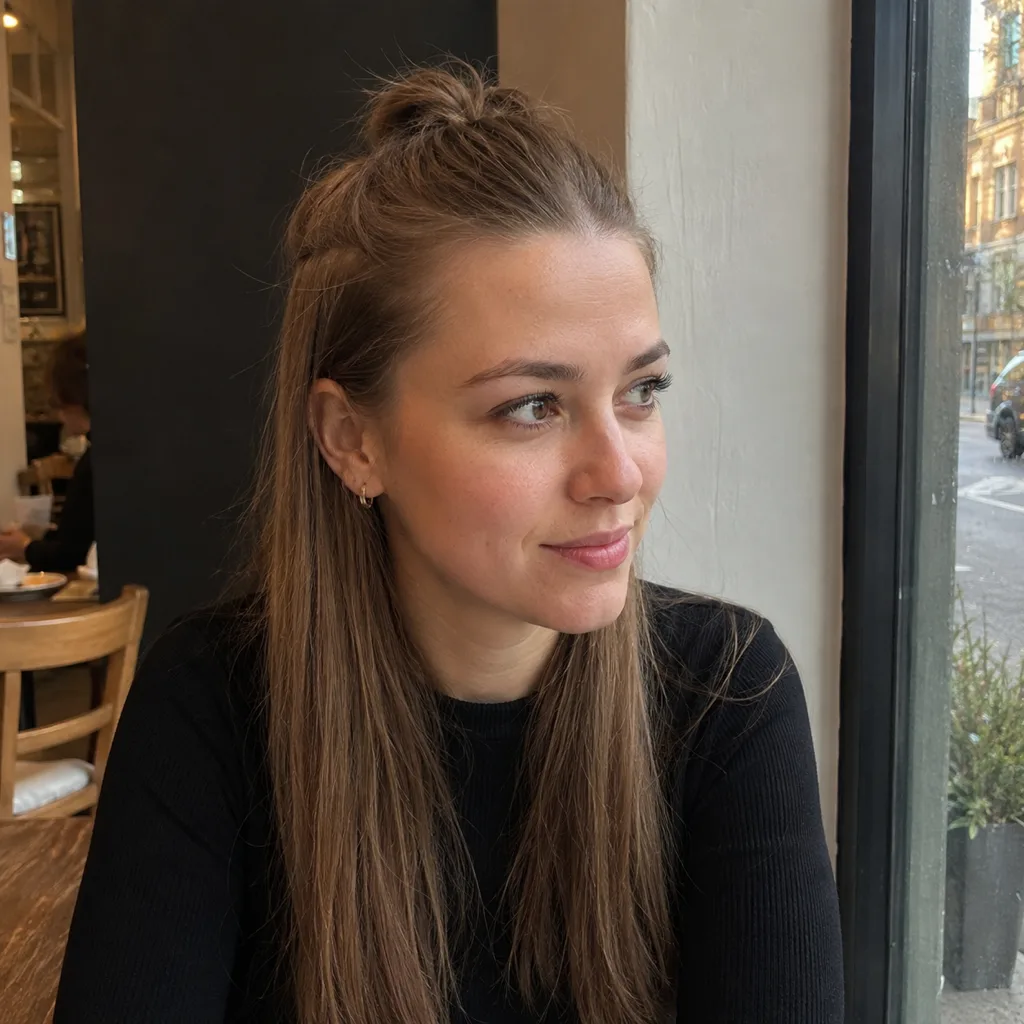
Fine hair is the case where the backcombing step is not optional. Gather a fine section without it and the elastic pulls the hair flat to your scalp, so the parting shows through and the loose half below looks thinner than it is. Backcomb the underside at the root, gather, then break the round shape slightly with your fingers. A half bun beats a half ponytail here, because a bun holds its own volume while a ponytail just hangs.
Thick and straight hair
Thick hair has the opposite problem. There is so much weight in the gathered section that a thin elastic digs a groove into it and then gives up. Use a claw clip sized to the section, or a spiral elastic, and take the section slightly narrower than eyebrow width so the sides do not get dragged up. Straight hair also shows every bump, so smooth the top surface with a bristle brush before you fasten.
Wavy and curly hair
Do not brush before you gather. Separate the upper section with your fingers, following the natural part your waves already fall into, and twist it back rather than tying it. A twist keeps the wave pattern intact where an elastic crushes it. If your curls are loose enough to lose shape by the afternoon, damp your fingers and scrunch the loose half rather than restyling the top. Our guide to a shag haircut covers how the layers underneath change how the loose half falls.
Coily and 4C natural hair
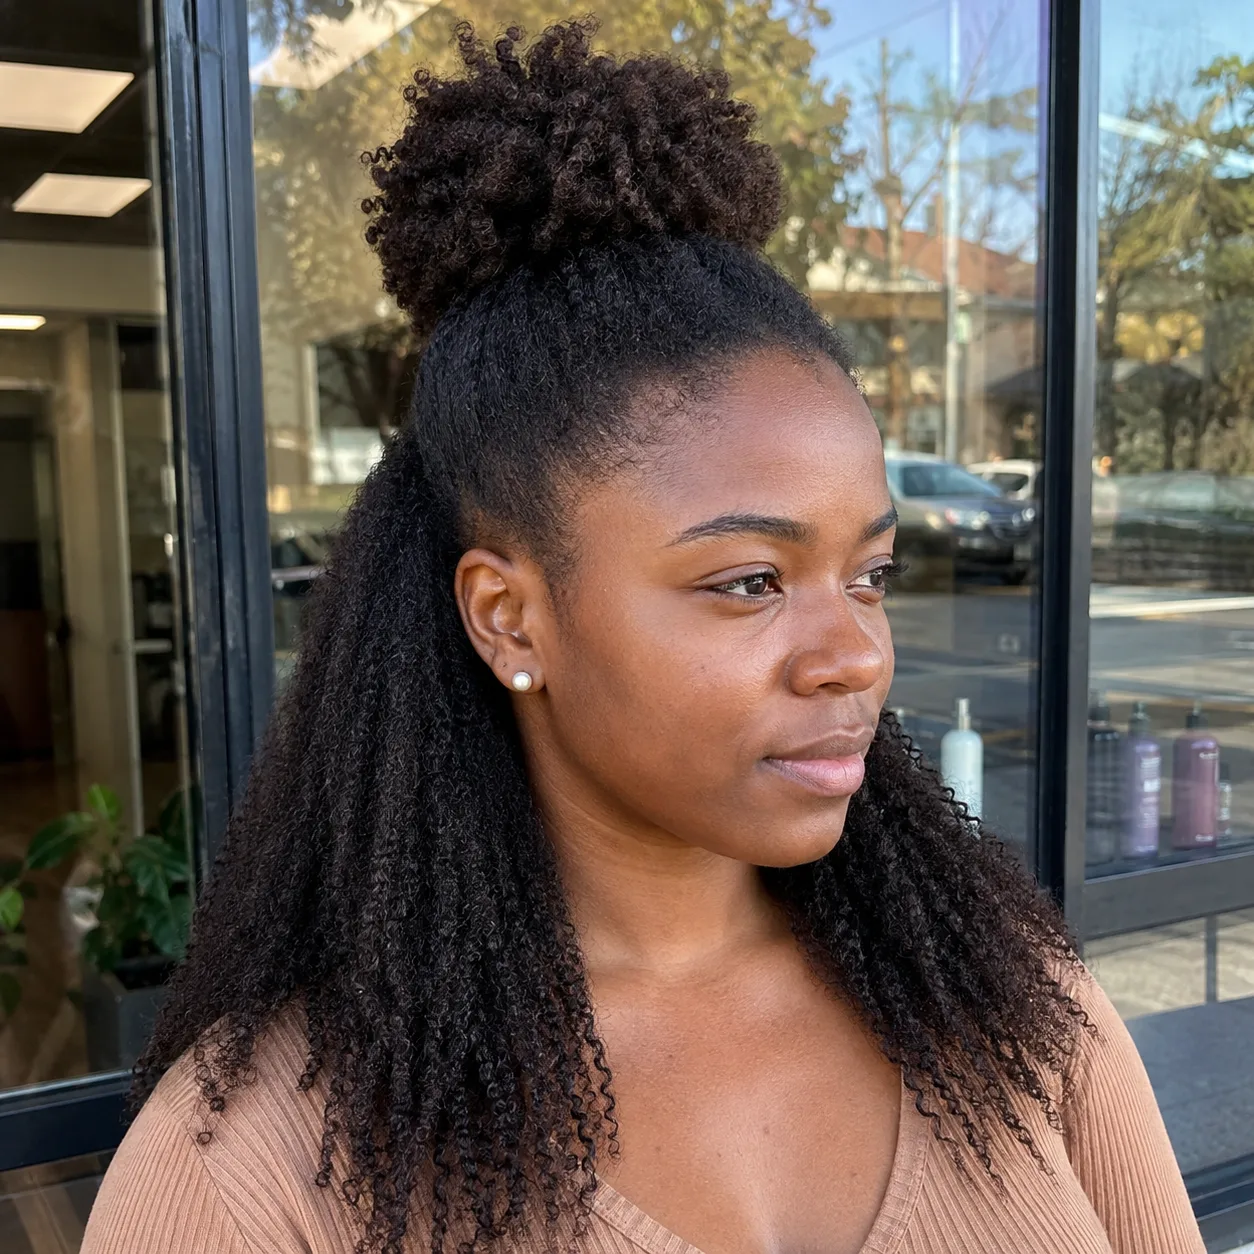
On 4C hair the gathered section wants to be a puff, not a bun, and it is much easier if you set the base first. Smooth the front with a soft brush and a light gel, use a wide fabric band rather than anything with a metal join, and take the puff up rather than back so the coils keep their height. The loose half below stays untouched. If you are working out what your pattern actually needs, our 4C hair guide goes through it properly, and there are more shapes to borrow in our roundup of Black hairstyles.
Short hair and bobs
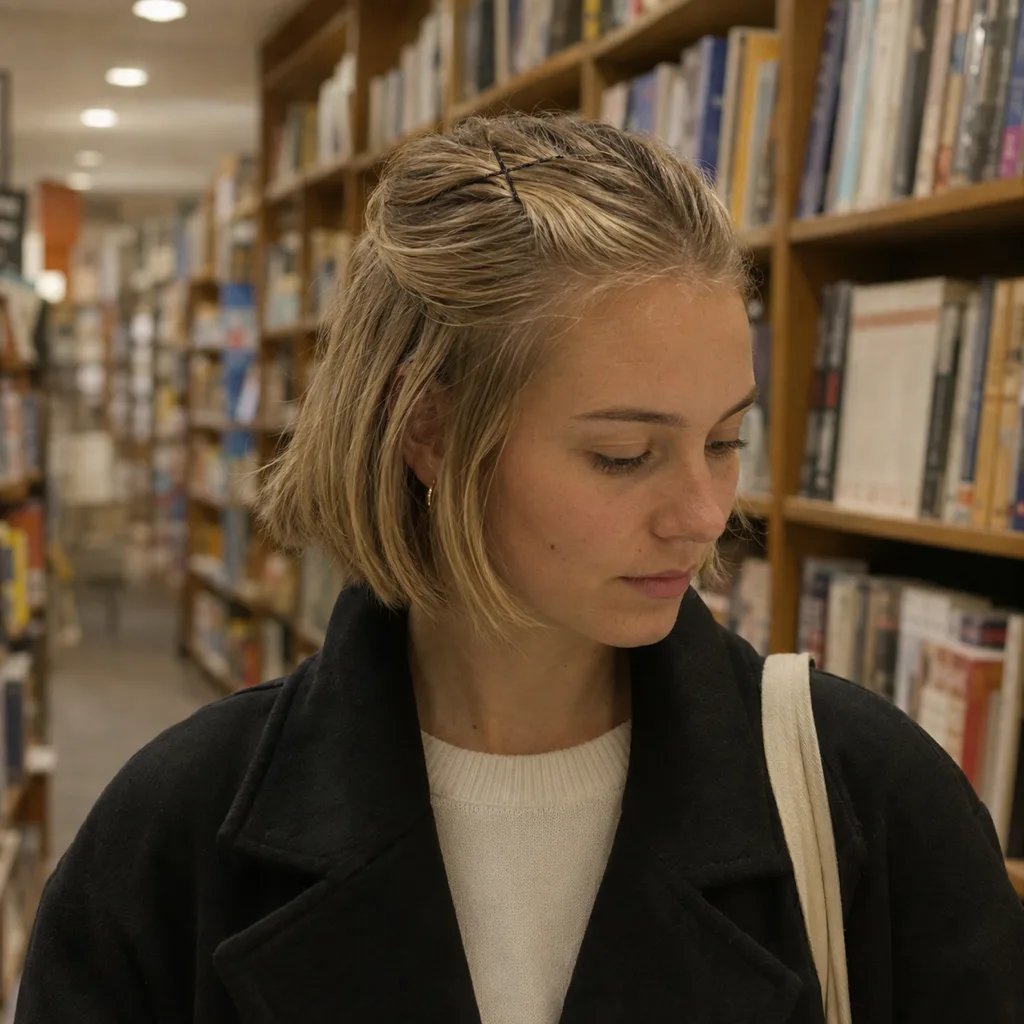
Half up half down works on a bob, but only if you stop trying to make a ponytail out of it. At chin length there is not enough hair to wrap an elastic three times, so the tail slips out. Take a narrower section, twist it, and cross two bobby pins over it in an X at the crown. The result is small, and small is correct at this length. It is one of the fastest ways to make a grown out bob look intentional. Still deciding on the length? A bob haircut try-on shows blunt, long and French bobs on your own photo. The same crossed-pin trick, done lower and flatter, is how you fake the two-tier jellyfish shape without cutting on longer hair.
Half up half down for a wedding
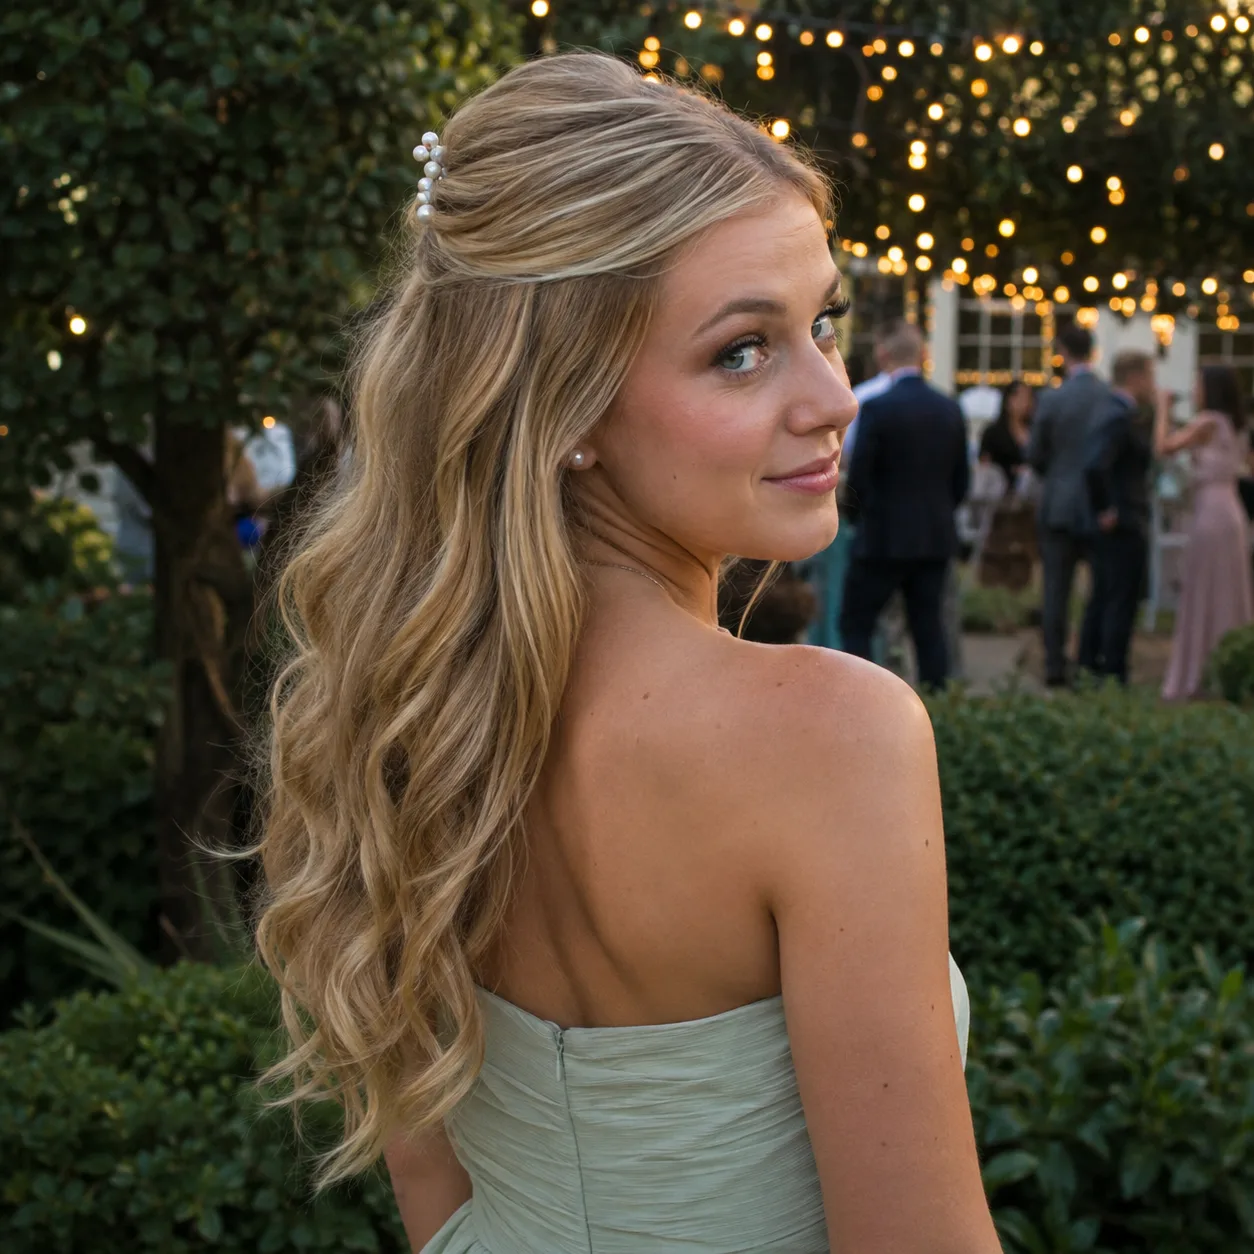
Bridal and wedding guest searches are half the traffic for this style, and the version that photographs well is not the version you wear to work. Three things change. Set the loose half in wide soft curls the night before, because flat lengths under a gathered crown read as unfinished in photos. Secure with pins rather than a visible elastic, so nothing metal catches the light. And take the section a little deeper than usual, since a veil comb needs somewhere solid to anchor and the ridge line is exactly where it goes.
If you are a guest rather than the bride, keep the front pieces looser. The bride gets the polished version. Everybody else looks better slightly undone. In the bridal party itself, the neckline of the dress usually decides whether half up is even the right call, which our guide to bridesmaid hair that lasts the whole day works through dress by dress.
The same pinned crown is the workhorse of the party season, and our guide to holiday hairstyles covers how to make it survive a warm room and four hours on your feet.
With curtain bangs and face-framing pieces
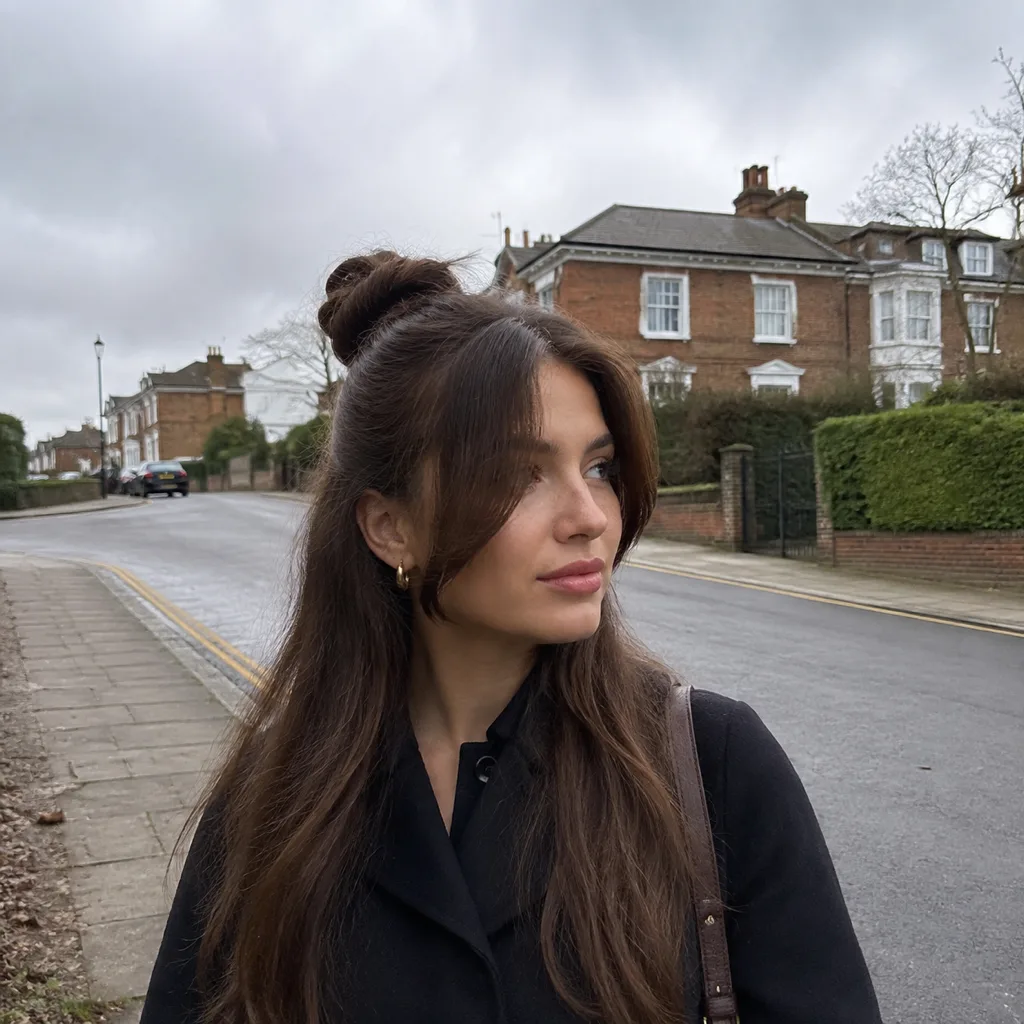
This is the difference between a half up half down that suits your face and one that just sits on your head. The gathered section pulls everything back and up, which exposes your forehead and lengthens your face. If your face is already long or narrow, that is the wrong direction, and the fix is what you leave out at the front rather than anything you do at the back.
Curtain bangs, or just two long face-framing pieces parted in the middle, restore the width the gathered section took away. Leave them out before you gather, not after, or they end up as flyaways instead of a deliberate shape. Round faces can go the other way and take everything back cleanly, since the height at the crown adds the length they want.
Yours could be here.
Start with one selfie.
One photo, twenty seconds, and you'll know. Free account, no card for your first render.
Braided half up half down
Braids give the gathered section a shape that holds without a fastening you can see. Two Dutch braids run back from the front hairline and join at the crown. A single braid across the back of the head reads as a crown band. On braided hair, four cornrows taken straight back and gathered at the crown do the same job while the rest of the braids hang loose, which is why the style is so common on knotless braids.
One caution. The American Academy of Dermatology names tight ponytails, braids and cornrows as direct causes of traction alopecia, and the hairline is where it shows first. A half up half down concentrates tension in a small area at the front and crown, so if it hurts, or if you can see your part widening at the temples, it is too tight. Loosen it and give the front a week off.
Five mistakes that ruin it
Taking the section from the top of your head. The most common one, and the reason your half up half down never holds. The section needs depth, front hairline to parietal ridge, not a pinch off the crown.
Gathering it too low. Fasten at the back of your head instead of the crown and the style reads as a half ponytail from the eighties. The gathering point should be visible from the front as a slight rise, not hidden behind your head.
Brushing the loose half after you gather. It pulls hair out of the top section and creates a fuzzy line where the two halves meet. Style the loose half first, gather second.
Pulling the front pieces out with a comb. You get thin wisps that look like they escaped. Use your fingertips and take a proper piece, about the width of a pencil, from in front of each ear.
Wearing it damp. Hair set in a gathered section while wet dries with a permanent kink at the fastening point, and you will be washing it out rather than restyling.
Is half up half down out of style?
No, and it is one of the few styles that has never really left. It went through a Y2K claw clip revival, a clean-girl slicked-back phase and a soft undone version in the space of about four years, which tells you it is a shape rather than a trend. Shapes do not date the way trends do.
What does date is the execution. A hard shiny knot with crimped edges reads as a specific year, though a full crimp worn on purpose is a different thing entirely and is back in rotation. A gathered crown with soft front pieces reads as now, and read as now five years ago too.
What it costs to see it on yourself
The honest free method first. Take a photo of yourself in daylight, pull the section back with your hand, hold it at the crown and take a second photo. Two pictures side by side tell you more than any amount of scrolling, and it costs nothing.
The wall you hit is that your hand cannot show you a version you have not already worn. It cannot show the half up half down with curtain bangs you do not have yet, or the crown puff on hair you have not grown out. That is the gap Hairstyle Atlas fills. The first look is free with no card, and it gives you one style with one colour on it. After that, Starter is $9 a month or $90 a year for 150 credits, which is 15 rendered looks, with no watermark on downloads.
The short version
Stop the section at the parietal ridge and everything else is a preference. Backcomb the underside if your hair is fine, twist instead of tie if it waves, take it up instead of back if it coils, and leave two pieces out at the front whatever you have. It takes five minutes, it holds all day, and it is the one style that works on hair you are growing out, hair you are bored of, and hair you have to make formal by six.
If your hair is long enough that the loose half is the part people actually see, our guide to hairstyles for long hair is the companion piece to this one.
Frequently asked questions
Part your hair horizontally at the widest point of your skull, level with the tops of your ears, and clip the lower half away. Backcomb the underside of the upper section at the roots, gather it at the crown, and fasten it with a claw clip or a thin elastic. Pull two pieces out at each temple. Five minutes start to finish.
Medium to thick hair at shoulder length or longer is the easiest, because there is enough weight in the loose half to balance the gathered part. That said it works on everything. Fine hair needs backcombing at the base, curly hair needs twisting instead of tying, and short hair needs pins instead of an elastic.
No. It has cycled through several versions in the last few years, from Y2K claw clips to sleek clean-girl finishes, which is what happens to a shape rather than a trend. The dated part is never the half up half down itself, it is a hard shiny finish or crimped edges around it.
All of them, with one adjustment. Gathering the top adds height and exposes the forehead, which lengthens the face, so round and square faces can take it back cleanly. Long, oval and heart shaped faces should leave curtain bangs or two face-framing pieces out at the front to put the width back.
Between the outer corners of your eyebrows for width, and from the front hairline back to the parietal ridge for depth. The parietal ridge is the widest point of your head, level with the tops of your ears. Anything below that line stays down.
A twisted half up, where a rope twist from each temple meets at the crown and is pinned, needs no elastic and holds through a long day. A claw clip half up on loose curls is faster still. Both photograph better than a tight half ponytail, which shows every bump under flash.
Set the front first with a soft brush and a light gel or edge control, take the upper section up rather than back so the coils keep their height, and use a wide fabric band without a metal join. On braids or locs, gather four cornrows or a handful of braids at the crown and leave the rest hanging. Keep the tension light at the hairline.
Half up half down is the answer most brides land on, because it keeps the length visible in photographs while holding a veil comb securely at the ridge line. Fully up suits a heavily detailed dress neckline. Fully down photographs beautifully and moves out of place fastest.
Preview it on your own photo: Virtual Hair Color Try-On.
Share article
About the author
More articles
Women's Haircuts · 14 min
Bleached Hair: How Light Yours Can Go, 14 Shades, Aftercare
How light your bleached hair can go depends on where it starts. See 14 bleached shades on one cut, what each starting color can reach in one session, how toner finishes the job, and the aftercare that keeps it soft.
Women's Haircuts · 16 min
Waves Hair: How to Get Beach, Loose and Hollywood Waves That Last
Waves hair is about what you leave straight. How to get beach, loose, Hollywood and heatless waves, which wave suits your hair type, and why your waves keep falling out.
Women's Haircuts · 15 min
Fino Hair Mask: Who It Suits, How to Use It, and Its Limit
The Fino hair mask makes dry, bleached and frizzy hair smooth and shiny in one use, mostly by coating it. Here is what is in the jar, which hair types it suits, exactly how to use it, and what to do when the ends are past a mask.