How to Cut Layers: The Ponytail Method, Face Framing and 14 Results
Oleh Onysko Updated 12 November 2026 15 min read
In this article
To cut layers, you lift the hair away from the head and cut it straight. The higher you lift it, the shorter and more visible the layers get. That angle, called elevation, decides the haircut. The scissors just follow it. So the one decision that matters is where the shortest layer lands, and the rule is simple: cut it lower than you think, because layers take months to grow back.
Below: what each lifting angle does, 14 layered results side by side, the method that fits your hair length and texture, the ponytail method step by step, face-framing layers, and the mistakes that cost a grow-out.
What are layers in a haircut?
Layers are shorter lengths cut inside the overall length, so the hair falls in tiers and moves instead of hanging as one block. The bottom line of the hair, the perimeter, can stay exactly where it is. Layering removes weight from above it.
That is why "how short" is the wrong first question. The right one is "how high do I lift it". Hold a section straight down and cut, and you get one length. Lift the same section up toward the ceiling and cut at the same spot, and the hair near your crown comes out shortest while the ends stay long.
| Elevation | How you hold the hair | What you get | Use it for |
|---|---|---|---|
| 0 degrees | Combed straight down, flat against the head | One length, a blunt line, no layers | Trimming the perimeter only |
| 45 degrees | Lifted halfway up | Weight built up at the bottom, stacked shape | Bobs and lobs with a fuller hemline |
| 90 degrees | Straight out from the head | Even layers all over, round shape | Medium hair, thick hair, curly hair |
| 180 degrees | Pulled straight up to the crown | Short on top, long underneath, length kept | Long hair, the ponytail method |
The ponytail tricks you see on video are just ways to hold hair at a high elevation without a second person. Once you know that, they stop being magic and you can predict the result.
Want to see it first? Preview a wolf cut on your own photo.
Which method fits your hair?
Hair length and texture decide which way of cutting layers will work, and whether you should do it yourself at all. Face shape only changes where the front pieces start.
| Your hair | Best method | DIY verdict | Shortest layer |
|---|---|---|---|
| Long, straight or wavy (below the shoulder blades) | Forehead ponytail | Yes, the easiest DIY layer cut | Chin or collarbone |
| Medium (collarbone to shoulder blades) | Face-framing twist, then a light ponytail trim | Front pieces yes, crown layers no | Chin |
| Short (chin to shoulder) | Vertical sections at 45 or 90 degrees | Book a stylist, mistakes show at once | Set by the stylist |
| Curly (3a to 3c) | Dry, curl by curl | Possible with patience, never wet | Below the cheekbone, dry length |
| Fine or thin | Long layers at the ends only | Yes, but take very little | Collarbone or lower |
| Thick | Crown ponytail plus point cutting | Yes, layers help most here | Chin |
Layer cuts compared: 14 results from one technique
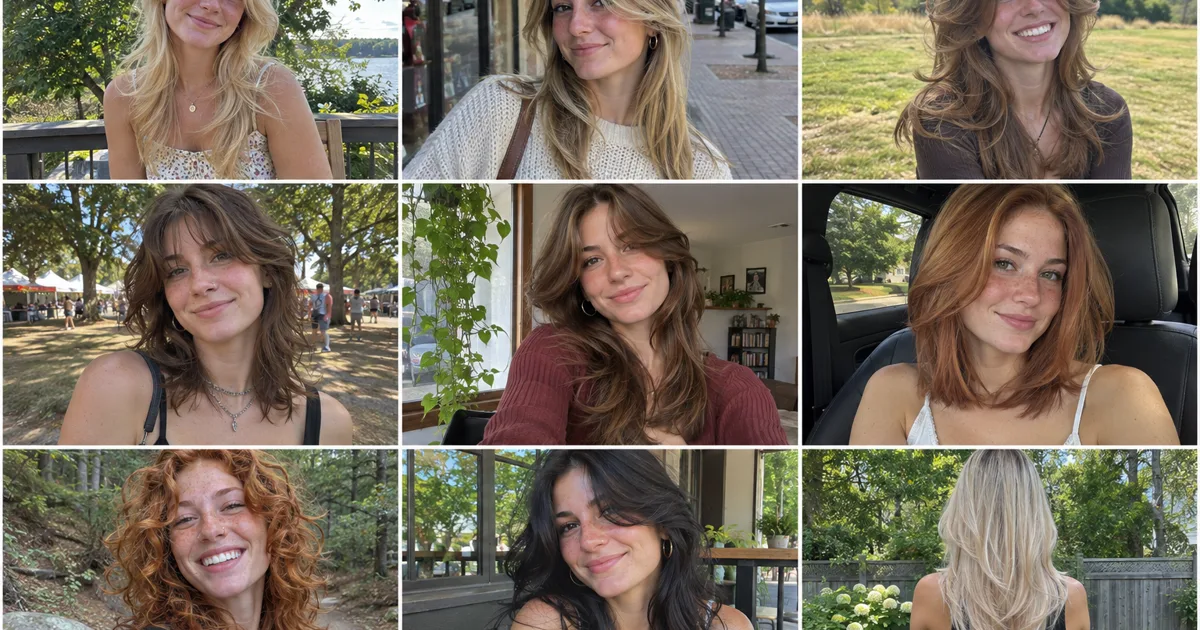
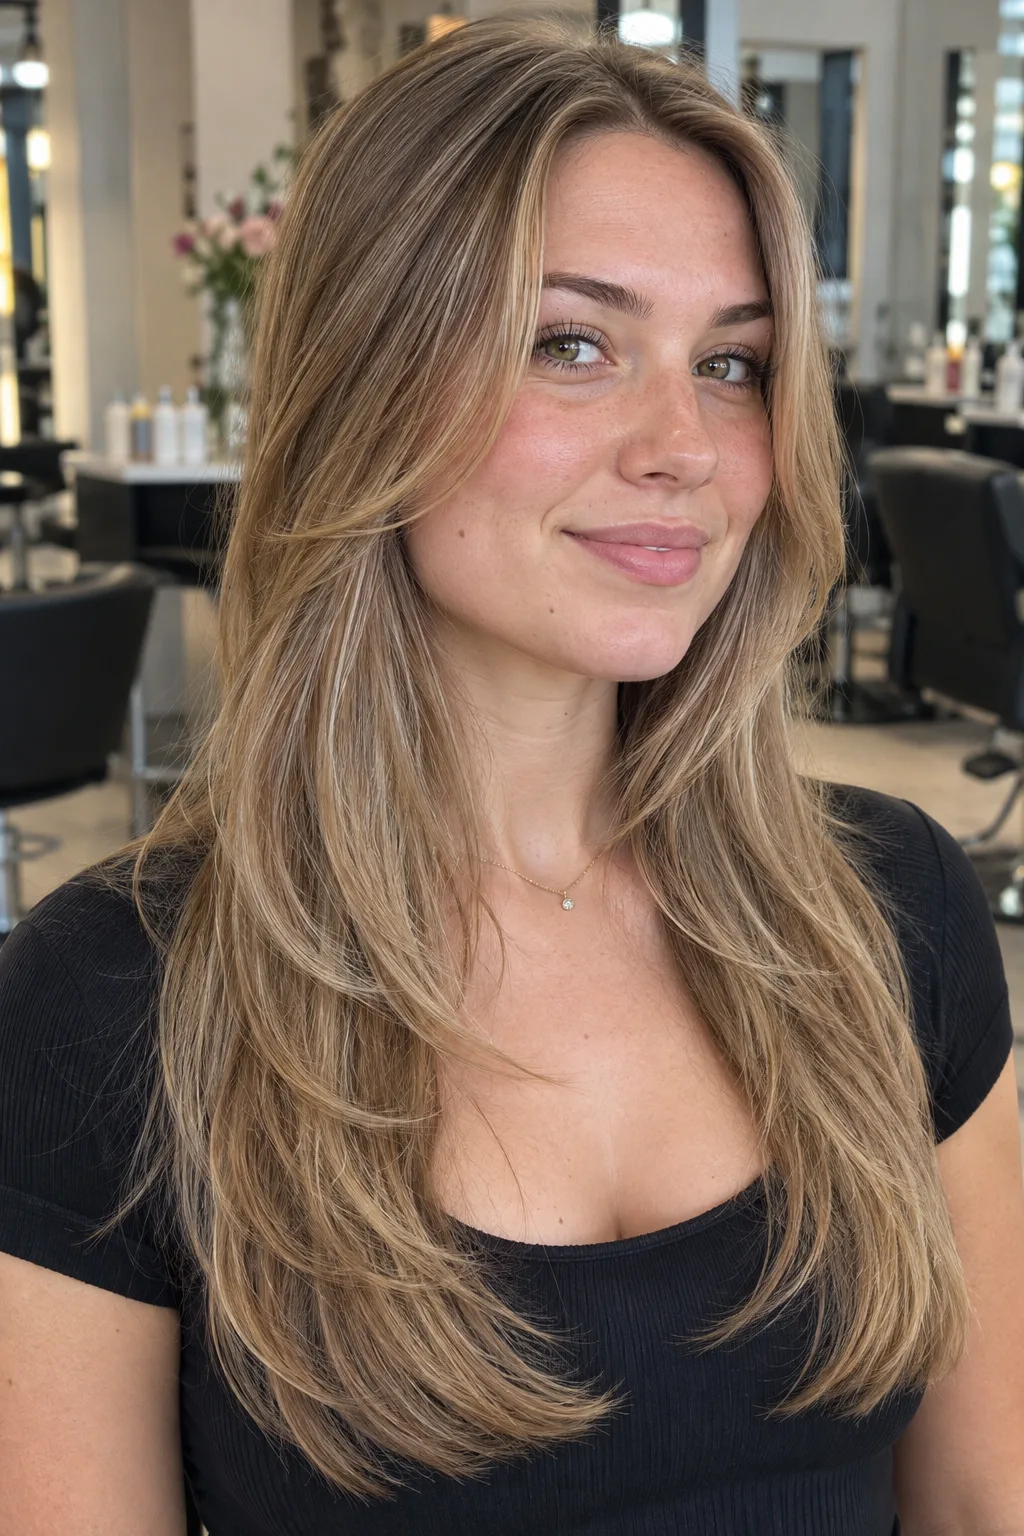
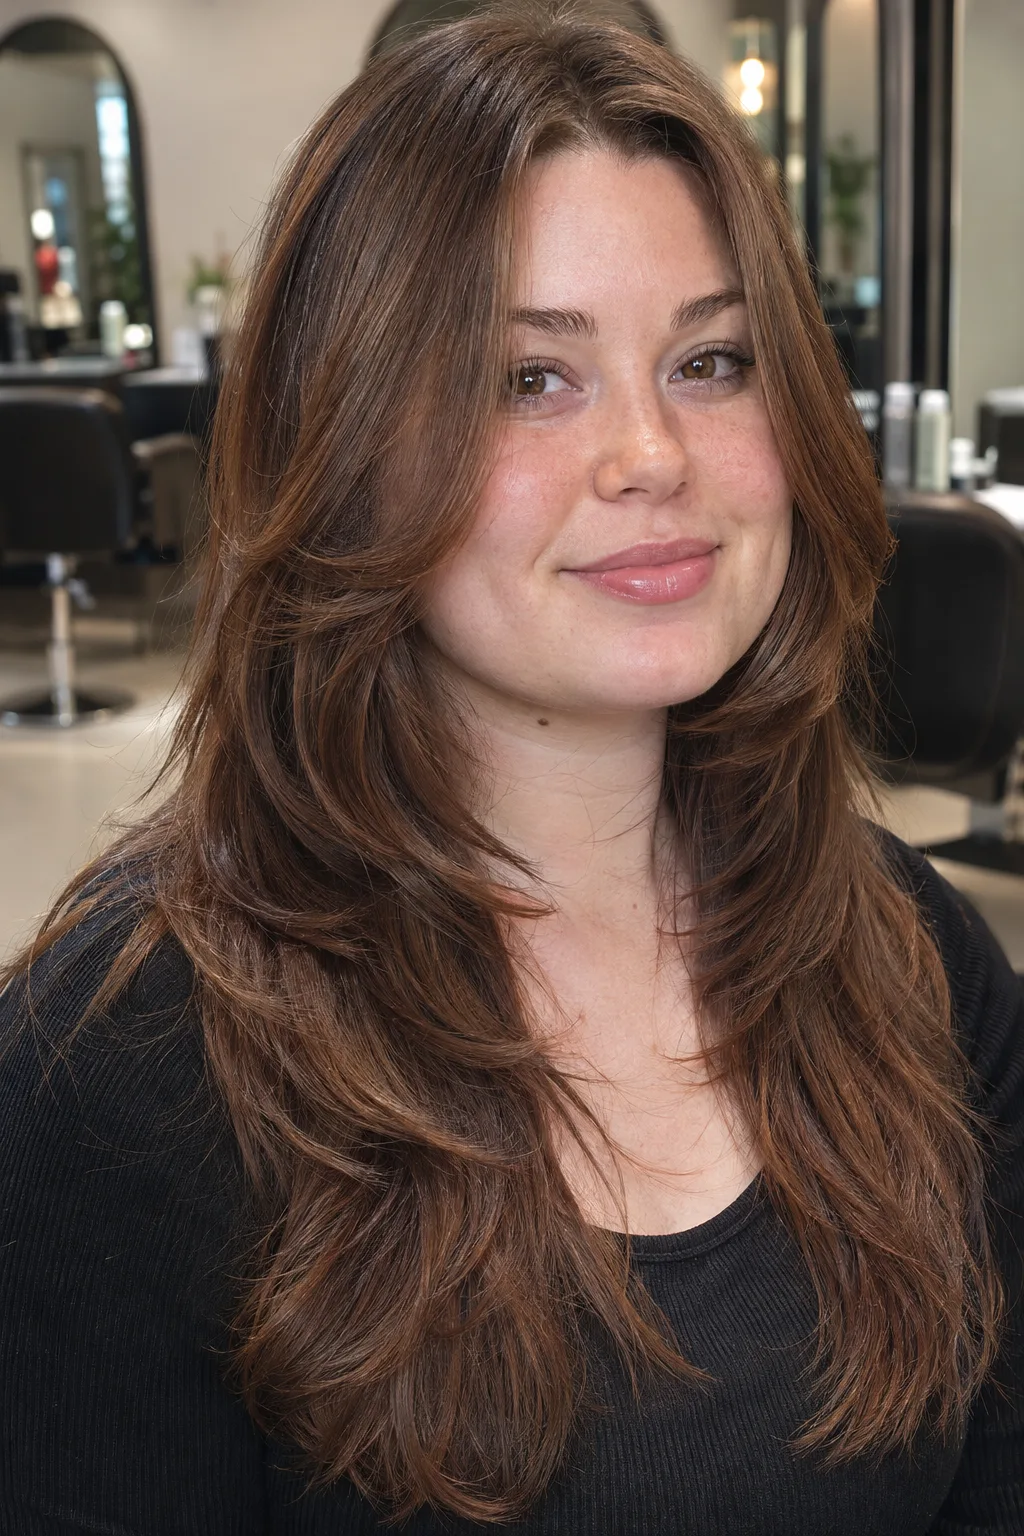
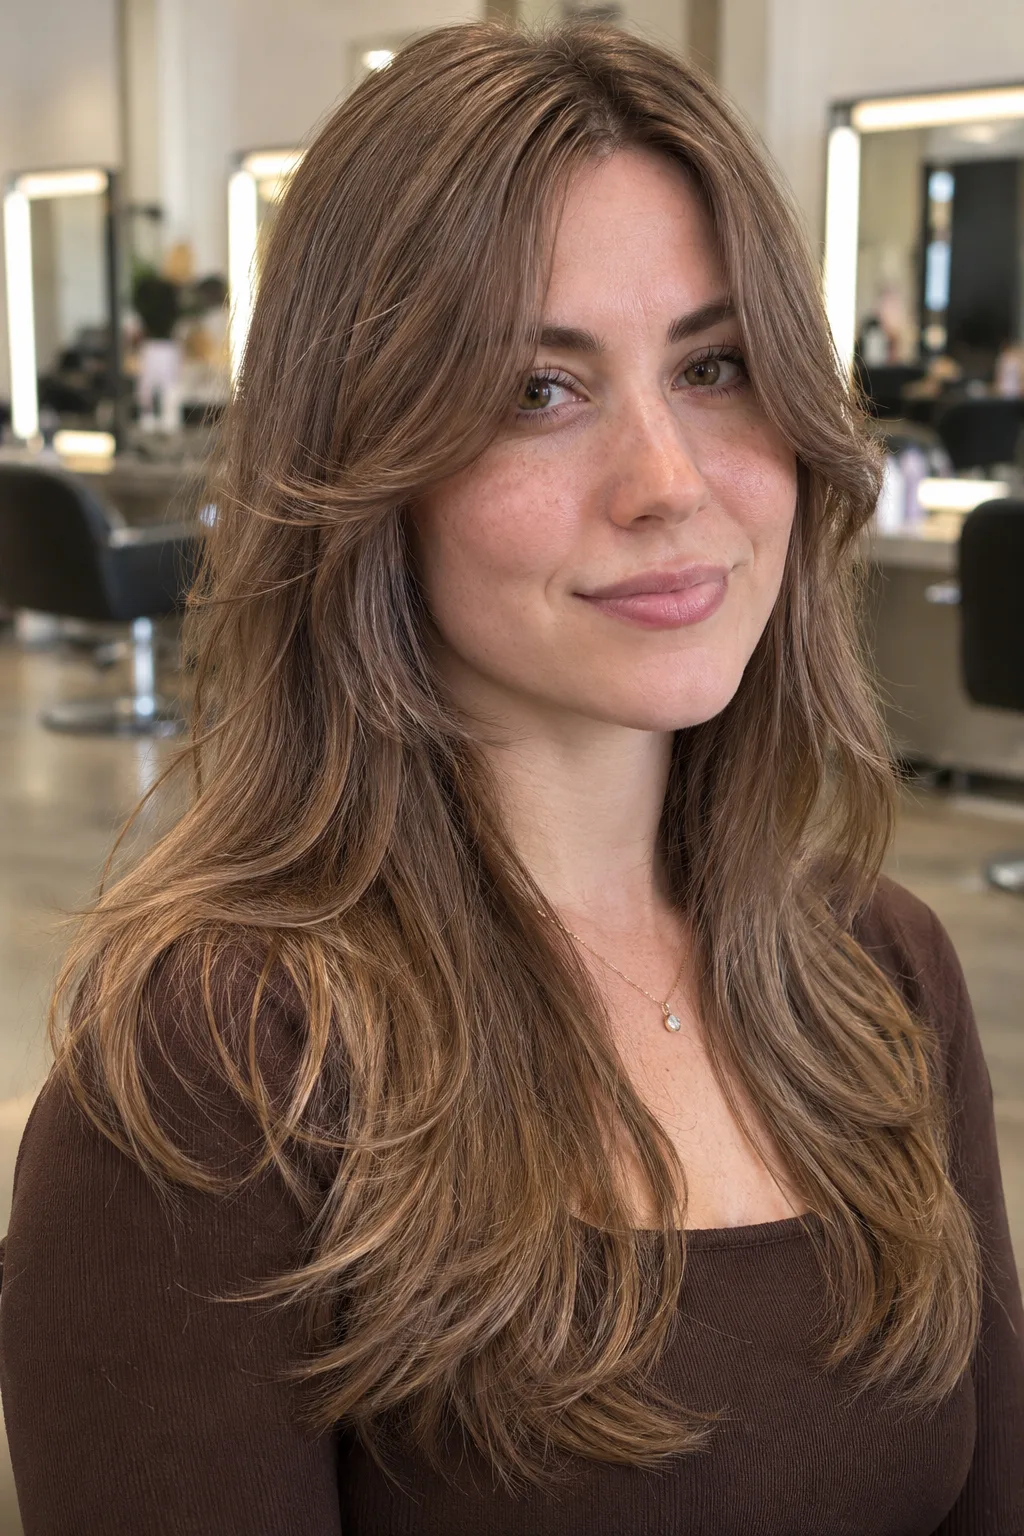
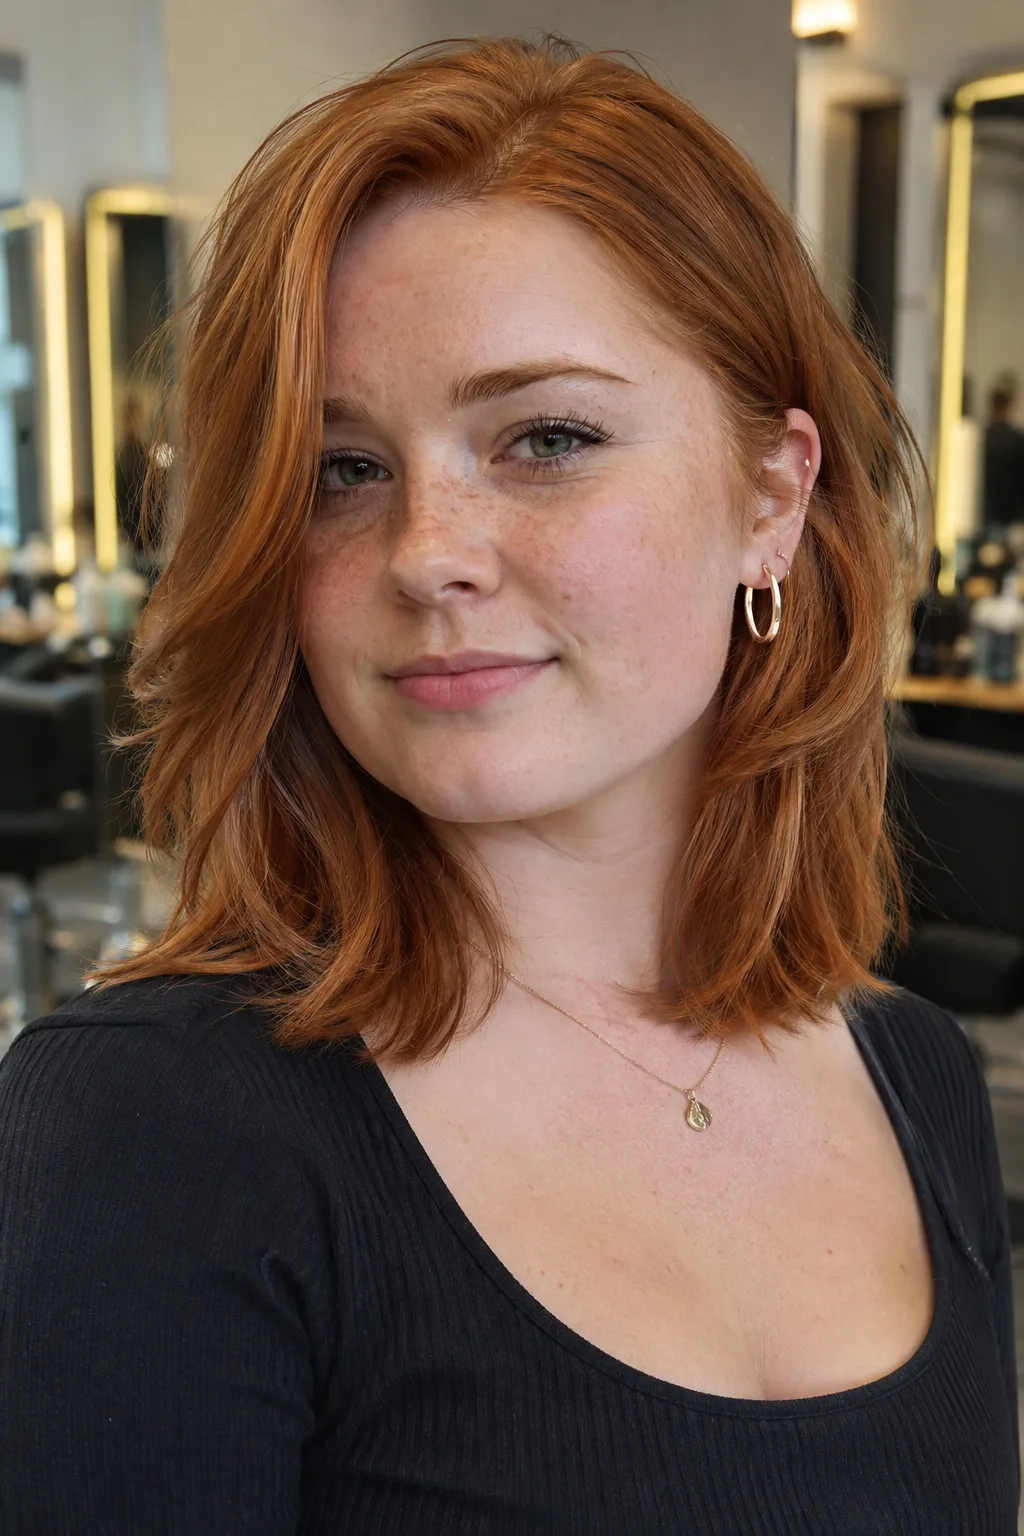
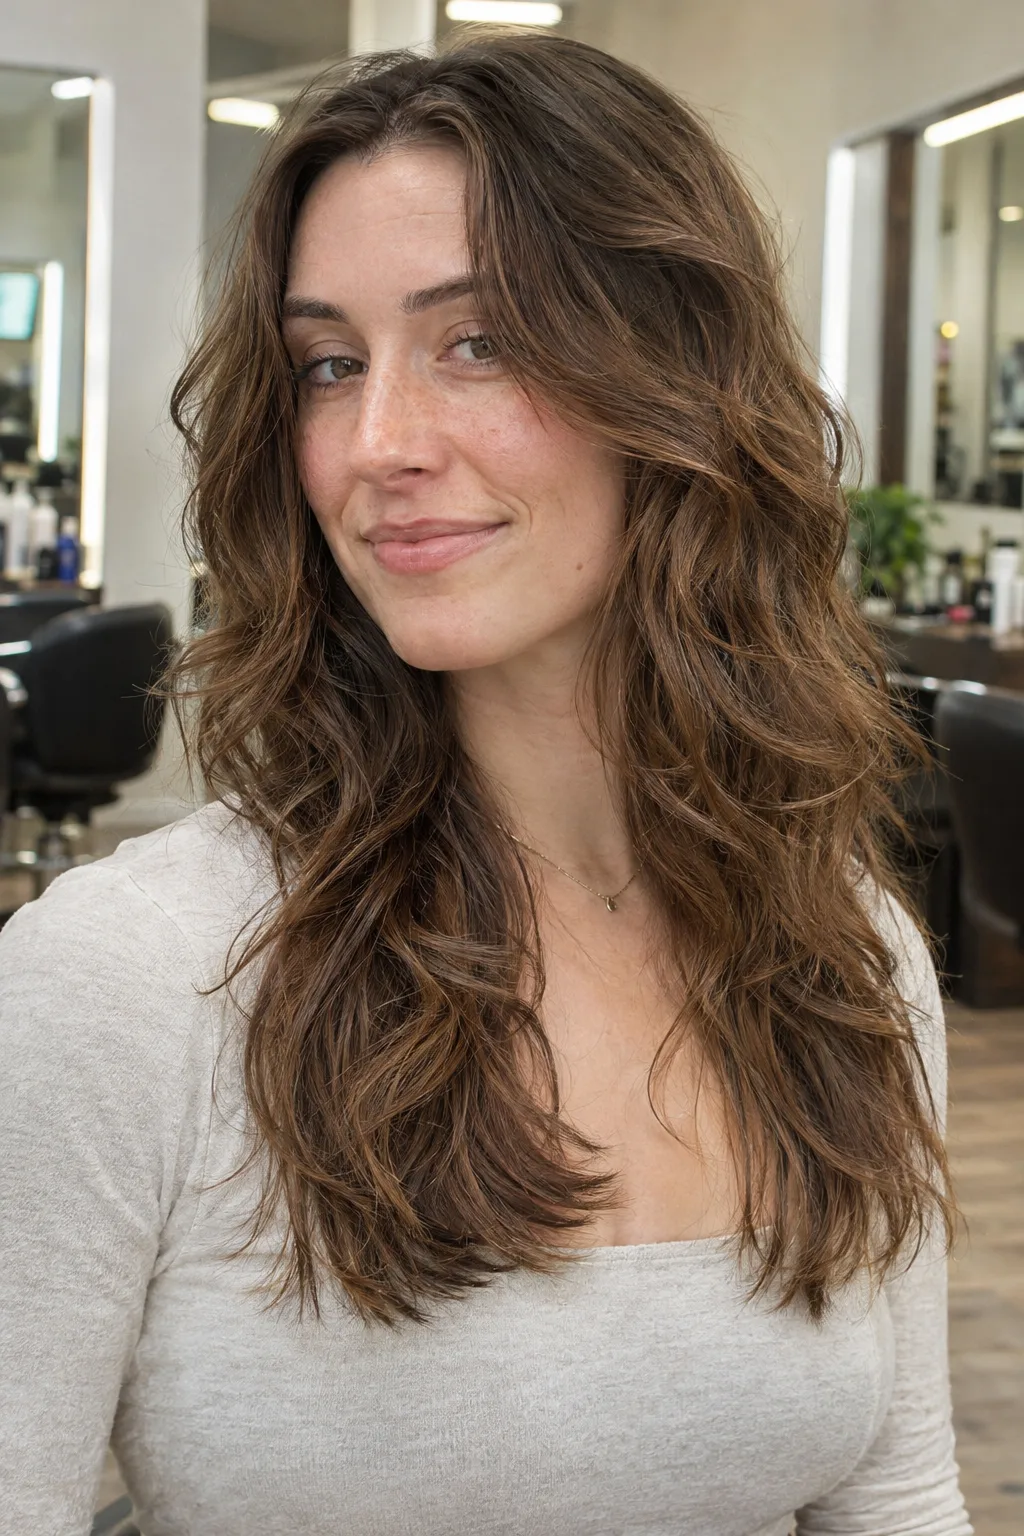
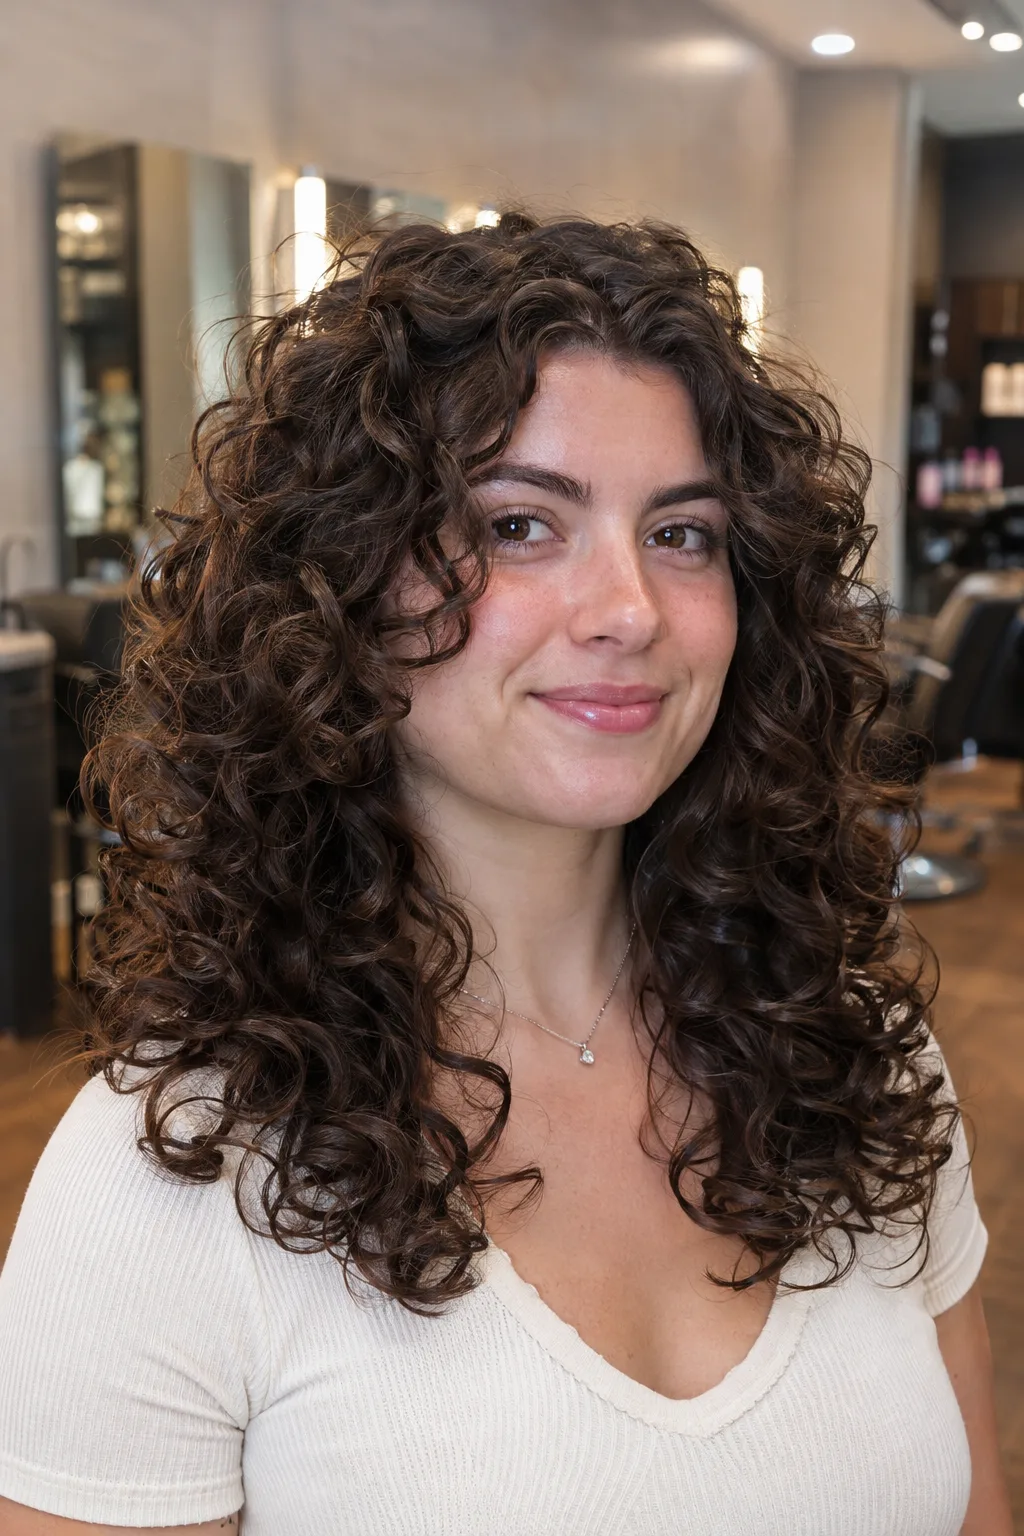
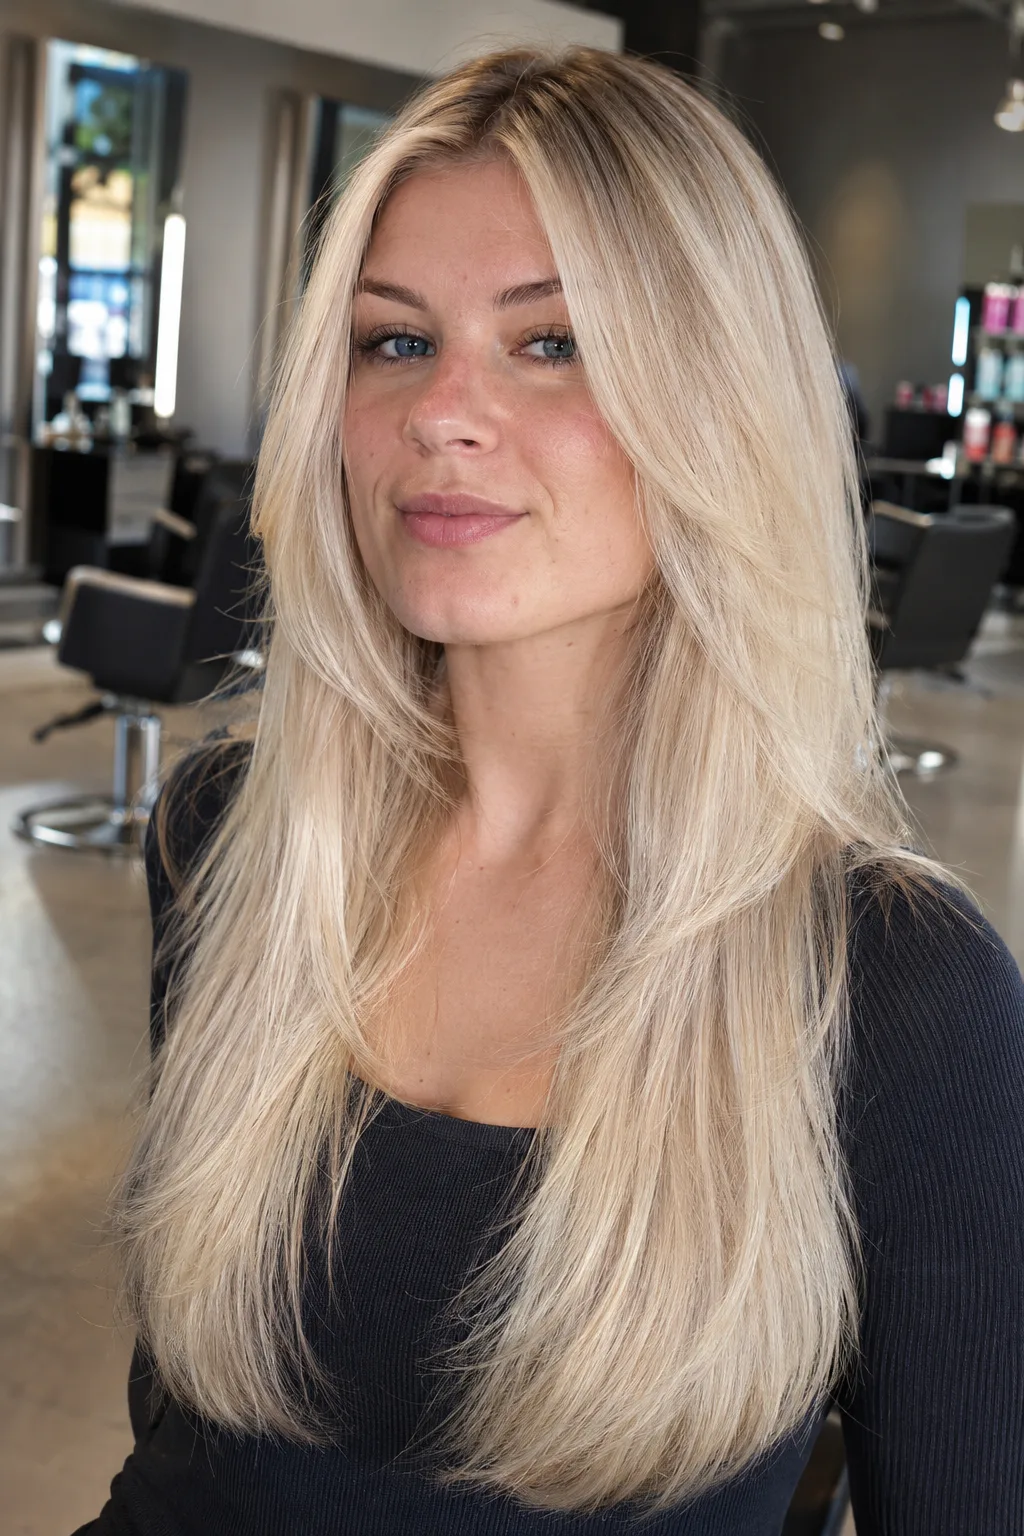
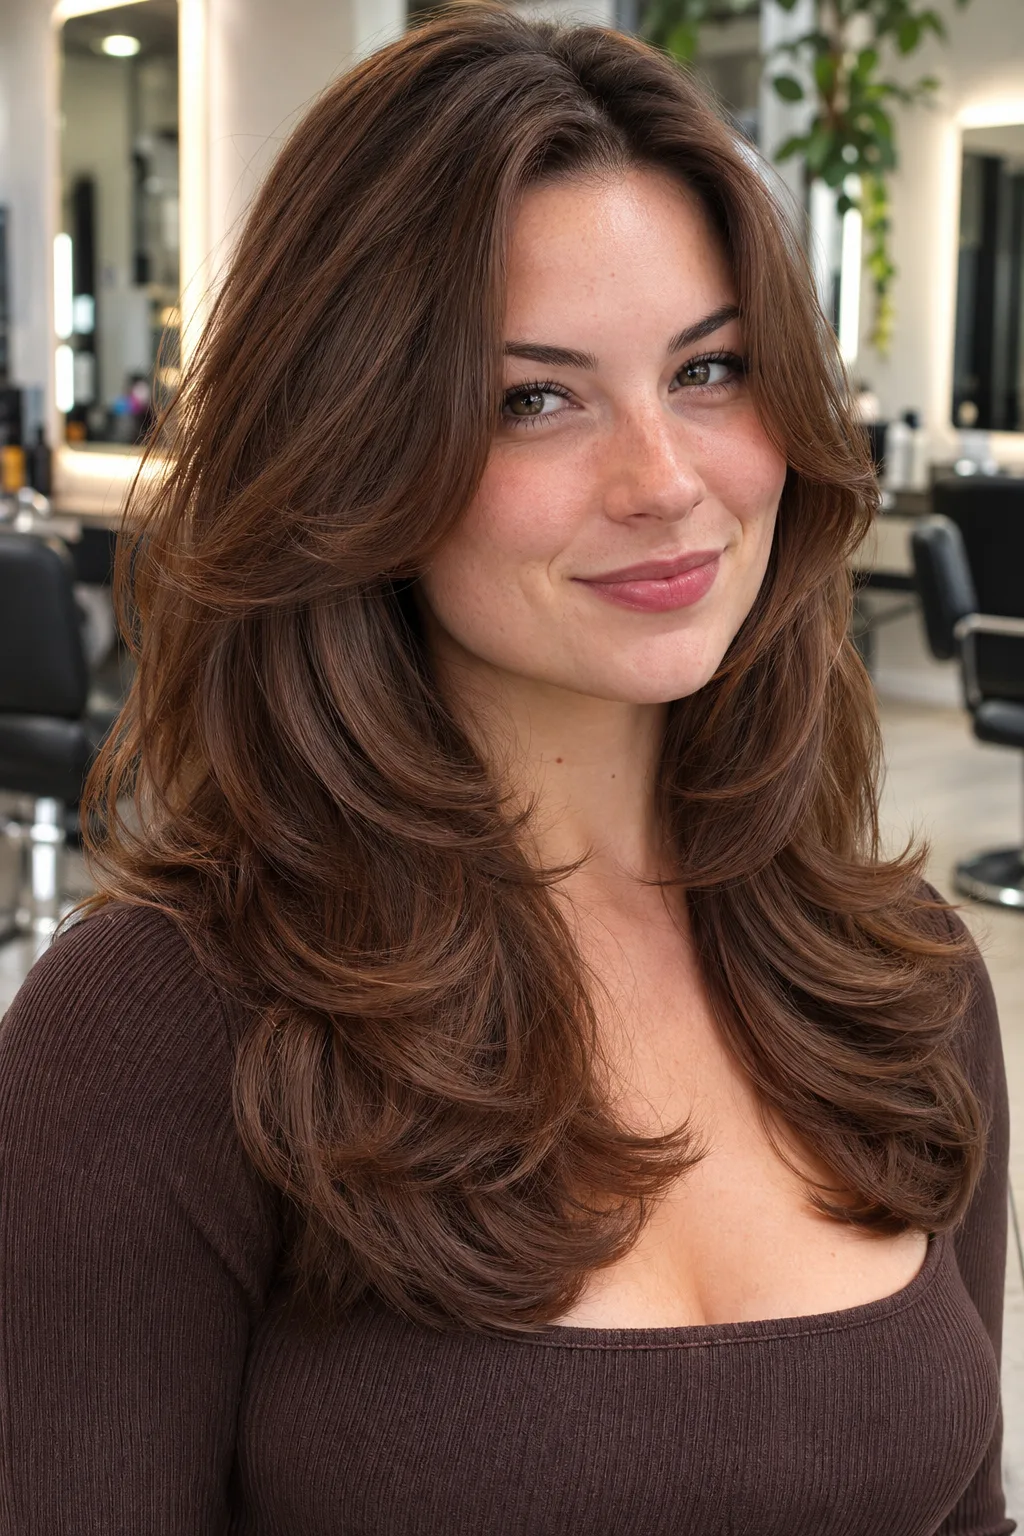
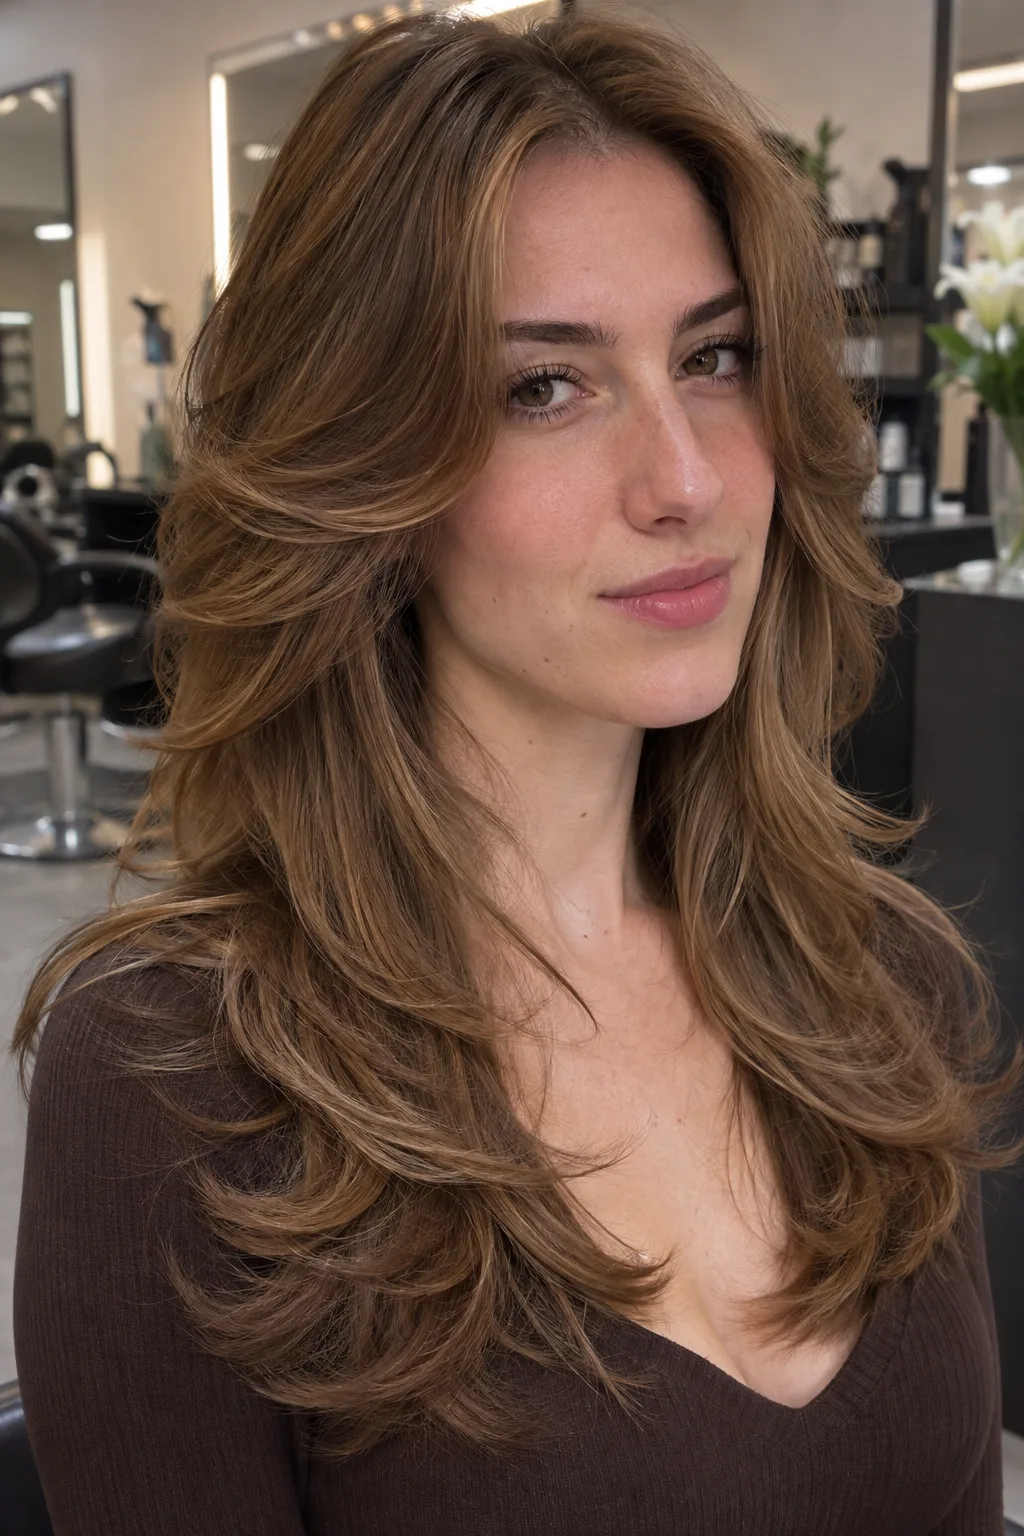
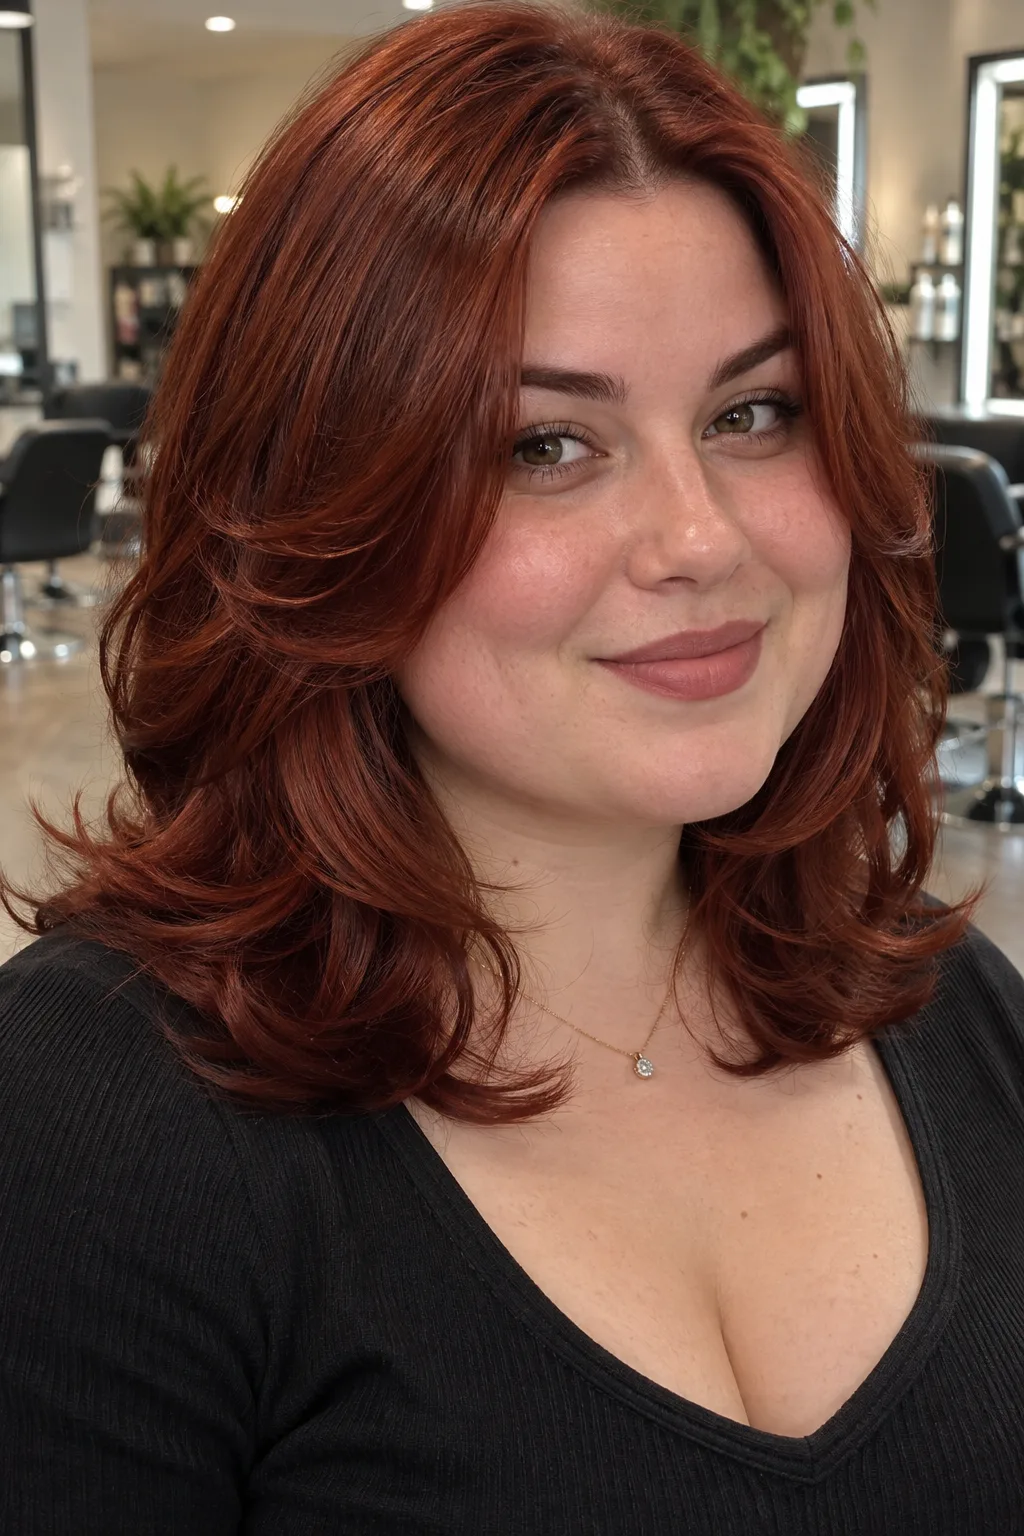
Every look below is layers cut into hair at collarbone length or longer. What changes is where the shortest layer sits and how far the hair is lifted. Use the gallery to name the result you want before you pick up the scissors, because each one points to a different method further down. If you are still choosing the look rather than the technique, browse 14 layered hair styles sorted by the gap between the shortest and longest piece first.
Gallery14 photos · tap to enlarge
 Would this suit me?
 Would this suit me?
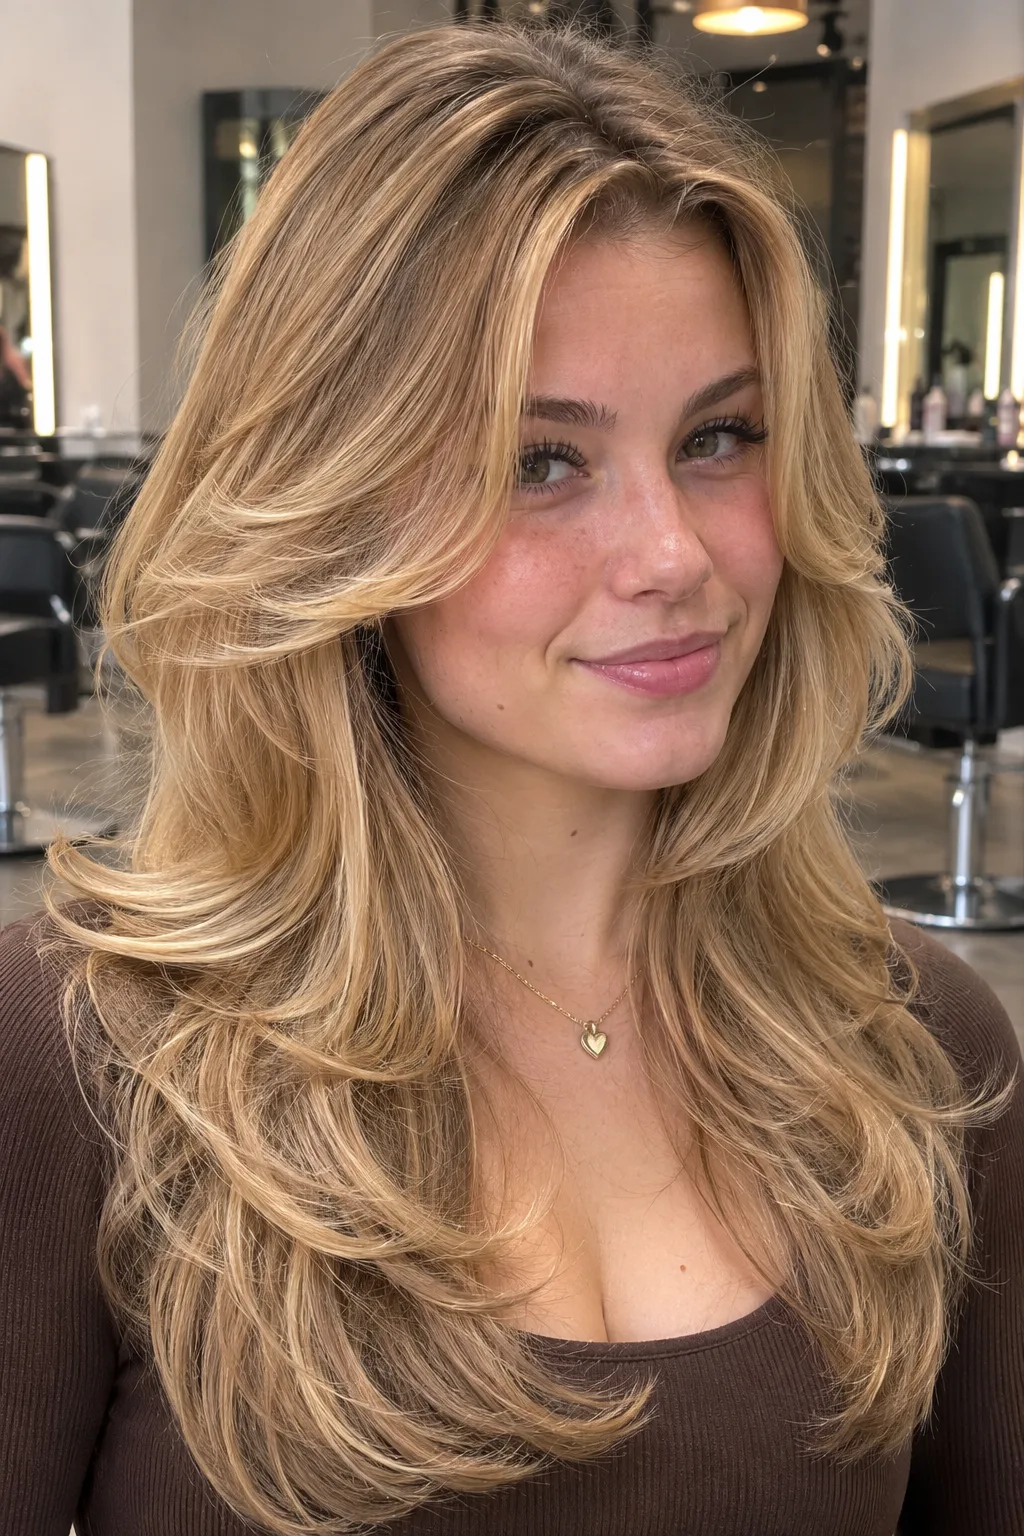 Would this suit me?
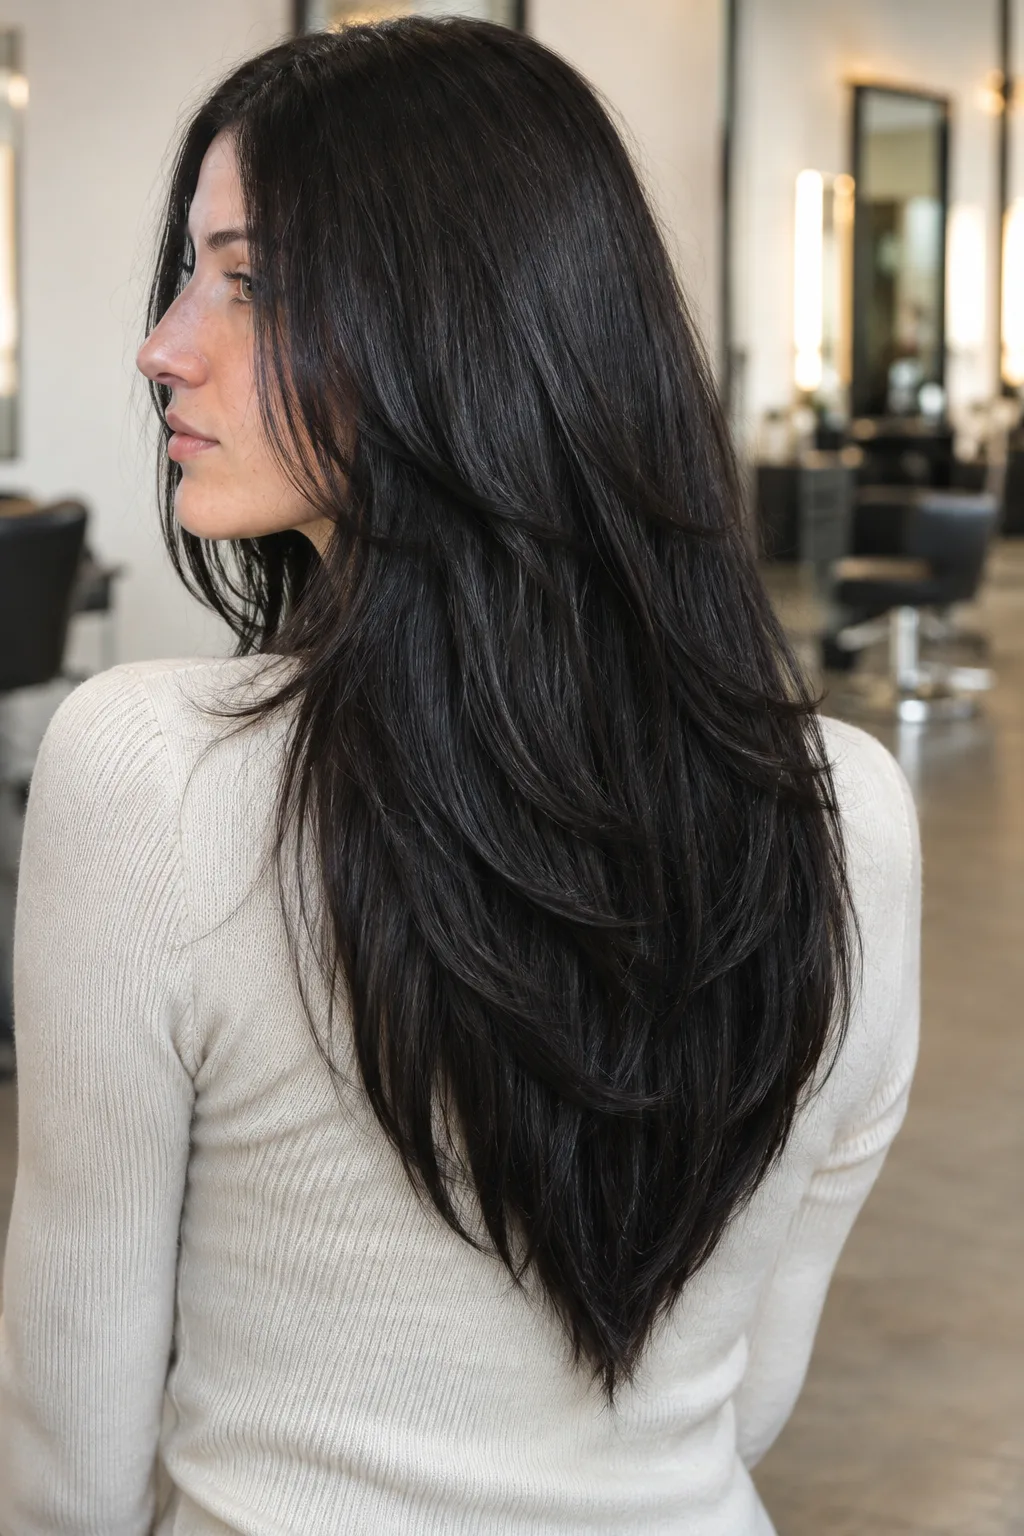 Would this suit me?
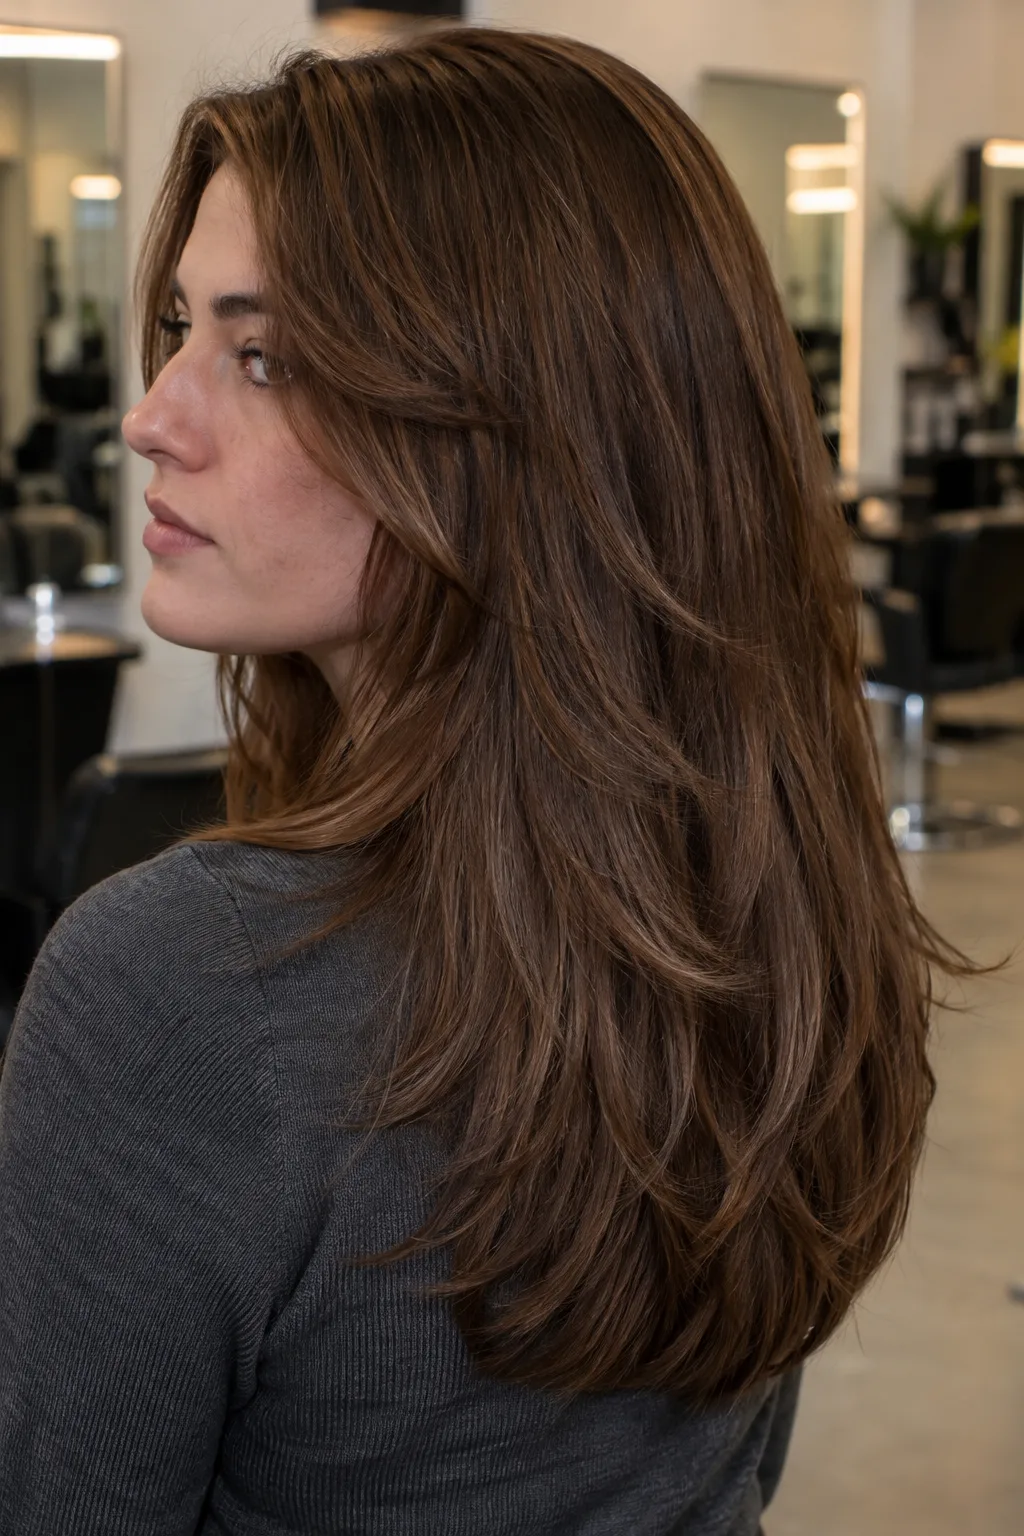 Would this suit me?
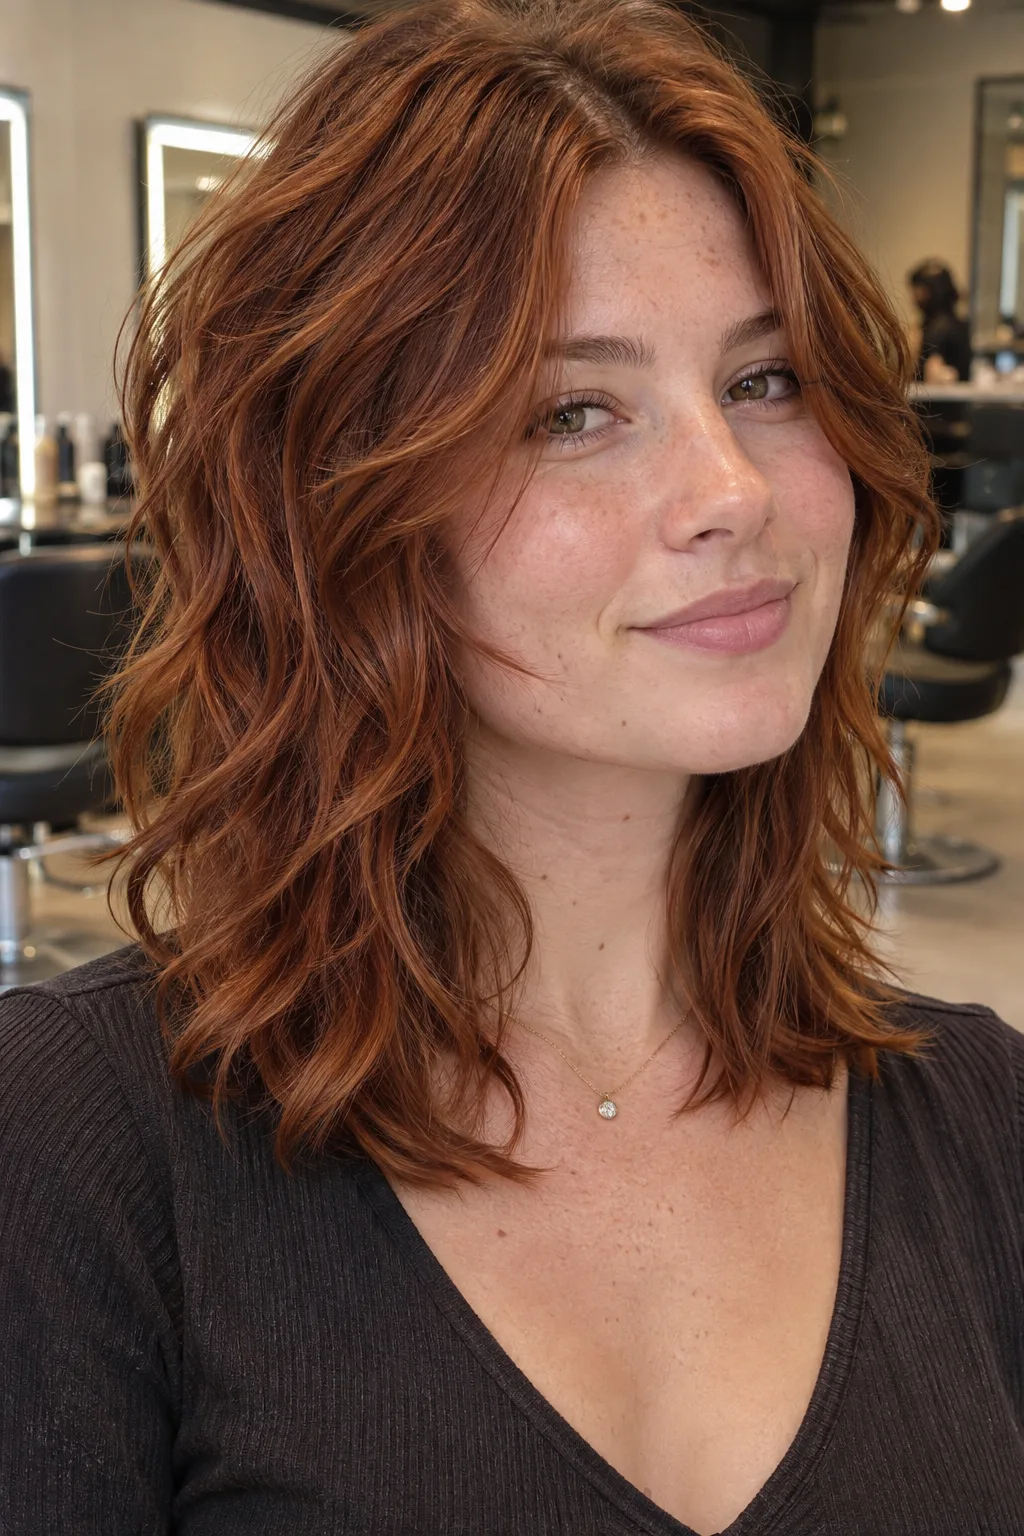 Would this suit me?
 Would this suit me?
 Would this suit me?
 Would this suit me?
 Would this suit me?
 Would this suit me?
 Would this suit me?
 Would this suit me?
 Would this suit me?
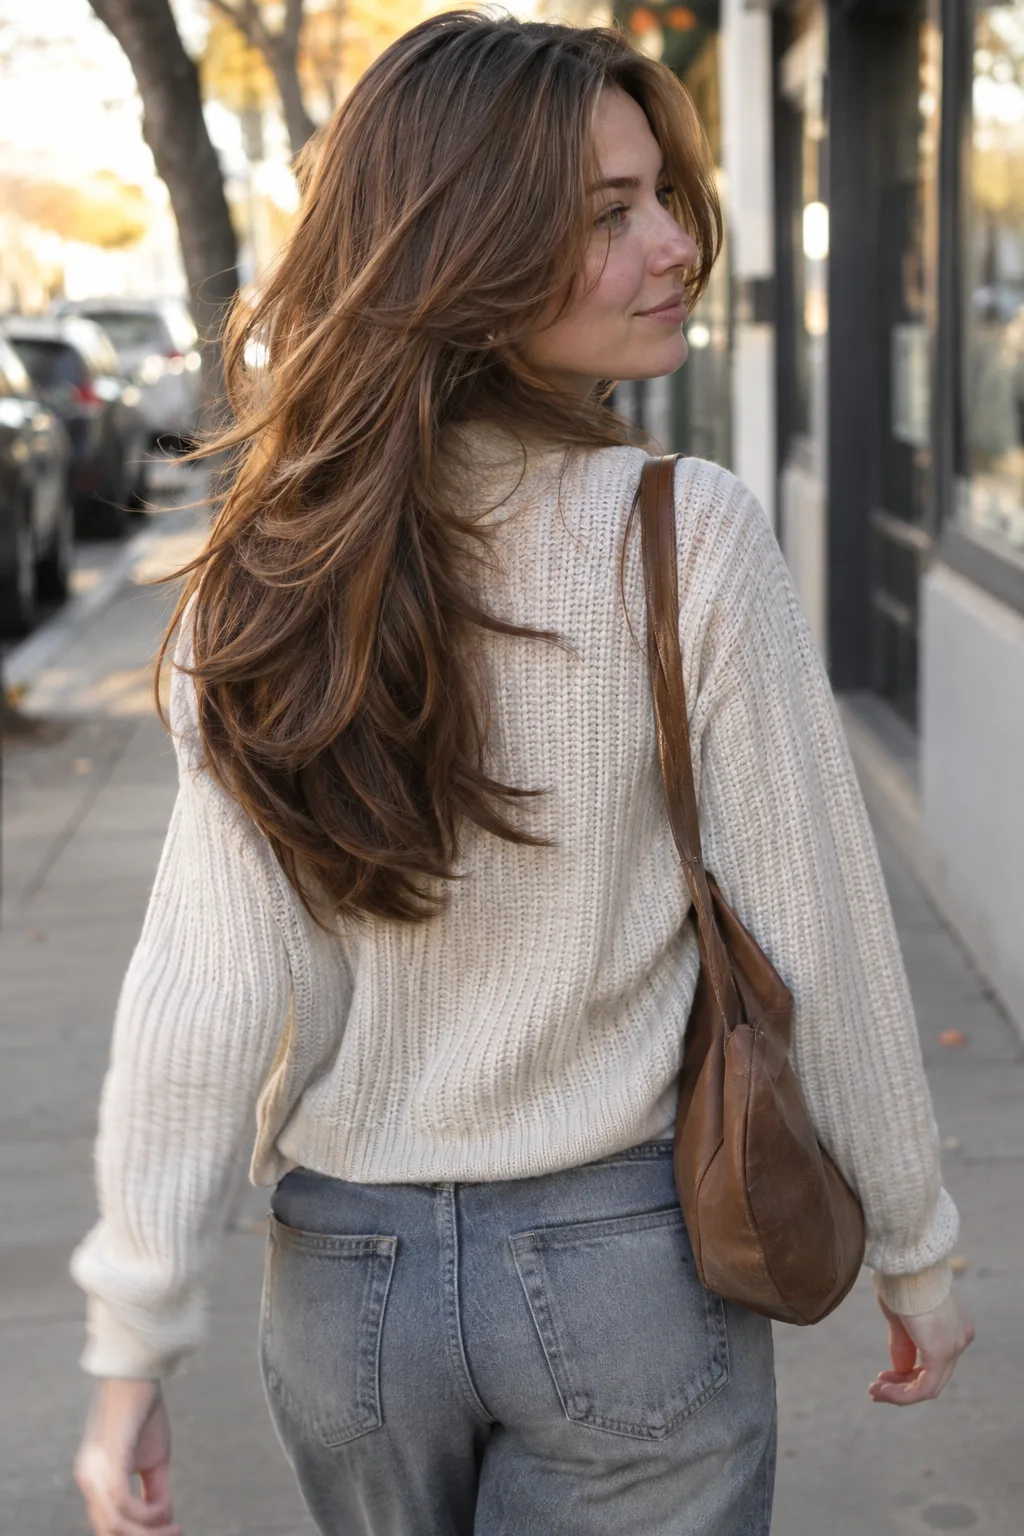
The shape that suits most people is long layers with face-framing pieces starting at the chin. It keeps the length, shows movement, and grows out without an awkward stage.
Cutting layers by hair length and texture
Long hair: the ponytail method
Long hair is the best case for cutting your own layers. You have a foot or more of hair to blend into, so a layer that lands an inch off still disappears. The forehead ponytail, sometimes called the unicorn cut, gives long layers plus face-framing pieces in one snip. The full steps are below. For styling ideas once it is cut, see our long hair guide.
Medium hair: start with the front
At collarbone length the distance between your shortest and longest hair is only a few inches, so every layer shows. Cut the face-framing pieces first and live with them for a week before you touch the crown. If you want a full layered shape at this length, our medium layered haircuts guide shows where each style puts its layers, and layered shoulder length hairstyles covers the shorter end.

Short hair: let a stylist do it
Short layers are cut in vertical sections with a guide, and you cannot see the back of your own head well enough to match it. A half-inch slip at chin length is a visible step. If you want a short layered look, bring a photo of a layered bob and let someone else hold the comb.
Curly hair: cut it dry
Wet curls stretch, then spring up when they dry, sometimes by several inches. Cut curly hair dry, in its natural shape, one curl at a time. Snip each curl where you want it to sit, a little at a time, and step back from the mirror often. Round layers at roughly 90 degrees keep curls from going into a triangle with all the volume at the bottom.
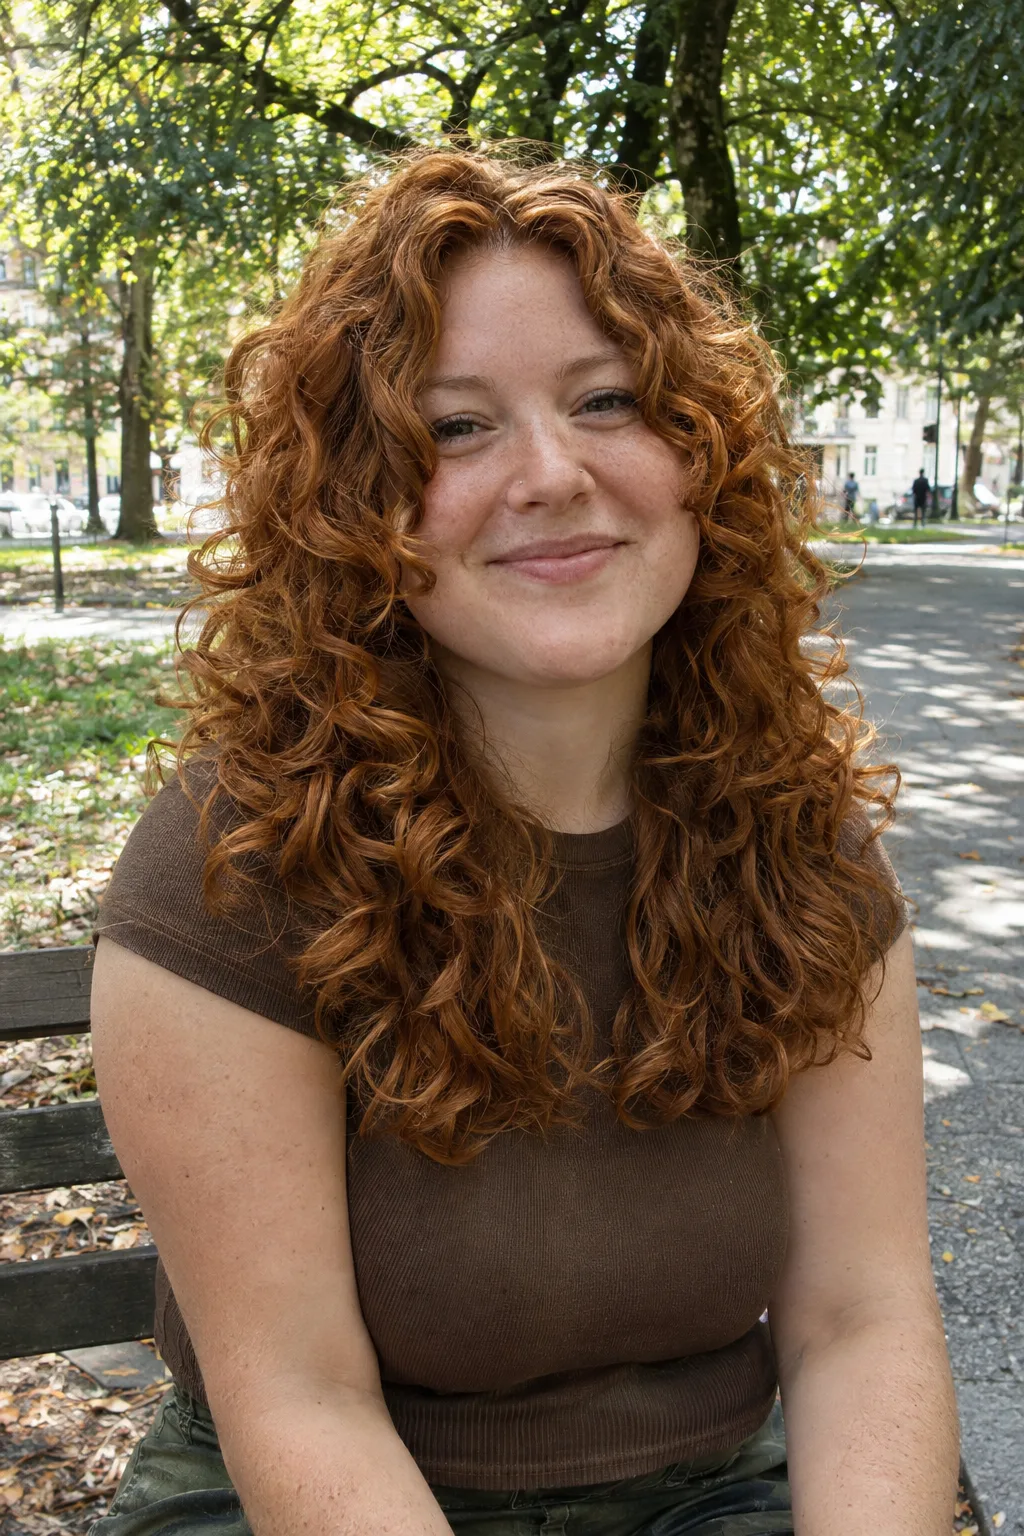
Fine and thick hair
Fine hair needs its weight at the ends to look full, so layers there should be long and few. Cut only the last two or three inches and skip the crown. Thick hair is the opposite: layers are what stop it from turning into a heavy block. Our thick hair guide covers which layered cuts take out the most bulk.
Before you cut: tools and wet or dry
Get the tools right first, because bad scissors cause most DIY disasters.
- Hair-cutting shears. Kitchen or craft scissors fold the hair as they cut and leave a blunt, frayed edge. A basic pair of hair shears is cheap and makes point cutting possible.
- A fine-tooth comb and a few clips. You need clean sections and the rest of the hair out of the way.
- Hair elastics. Two, for the ponytail method.
- A hand mirror. To check the back and the sides against the wall mirror.
Wet or dry depends on texture. Cut straight and wavy hair damp, not dripping, for control, then check it again once dry. Cut curly and coily hair dry, always. Whatever your texture, take off half of what you think you want. Hair grows about half an inch a month, so a two-inch mistake costs you roughly four months.
How to cut layers in your own hair with the ponytail method
This is the method most people search for. It works on long straight or wavy hair and needs about 15 minutes.
How to cut layers in your own hair
- Brush and part
Brush your hair smooth and dry it straight, or keep it damp if it is straight. Remove every tangle, because a knot pulls the ponytail off center.
- Flip it forward
Bend forward, brush all your hair toward your forehead, and gather it into a tight ponytail right at the front of your hairline. Check in the mirror that the ponytail sits in the middle of your forehead, not off to one side.
- Slide the second elastic down
Put a second elastic on the ponytail and slide it down to about an inch above where you want to cut. It holds the ends together so they do not splay.
- Cut straight across
Hold the ends flat between two fingers and cut straight across below them. Take half an inch to an inch on the first pass. The pieces at your forehead come out shortest, the back stays longest.
- Point cut the ends
Turn the shears vertical and snip into the ends, about a quarter of an inch deep, all along the cut line. This softens the straight line so the layers blend.
- Let it down and check
Release the hair, shake it out and part it as you normally do. Look at the front pieces: they should land at your chin or below. If you want them shorter, repeat with another half inch, never more.
Put the ponytail at the top of your head, at the crown, instead of the forehead and you get rounder, more even layers all over, which suits thick hair better. Put it low at the nape and you only trim the length into a U shape, with no real layers.
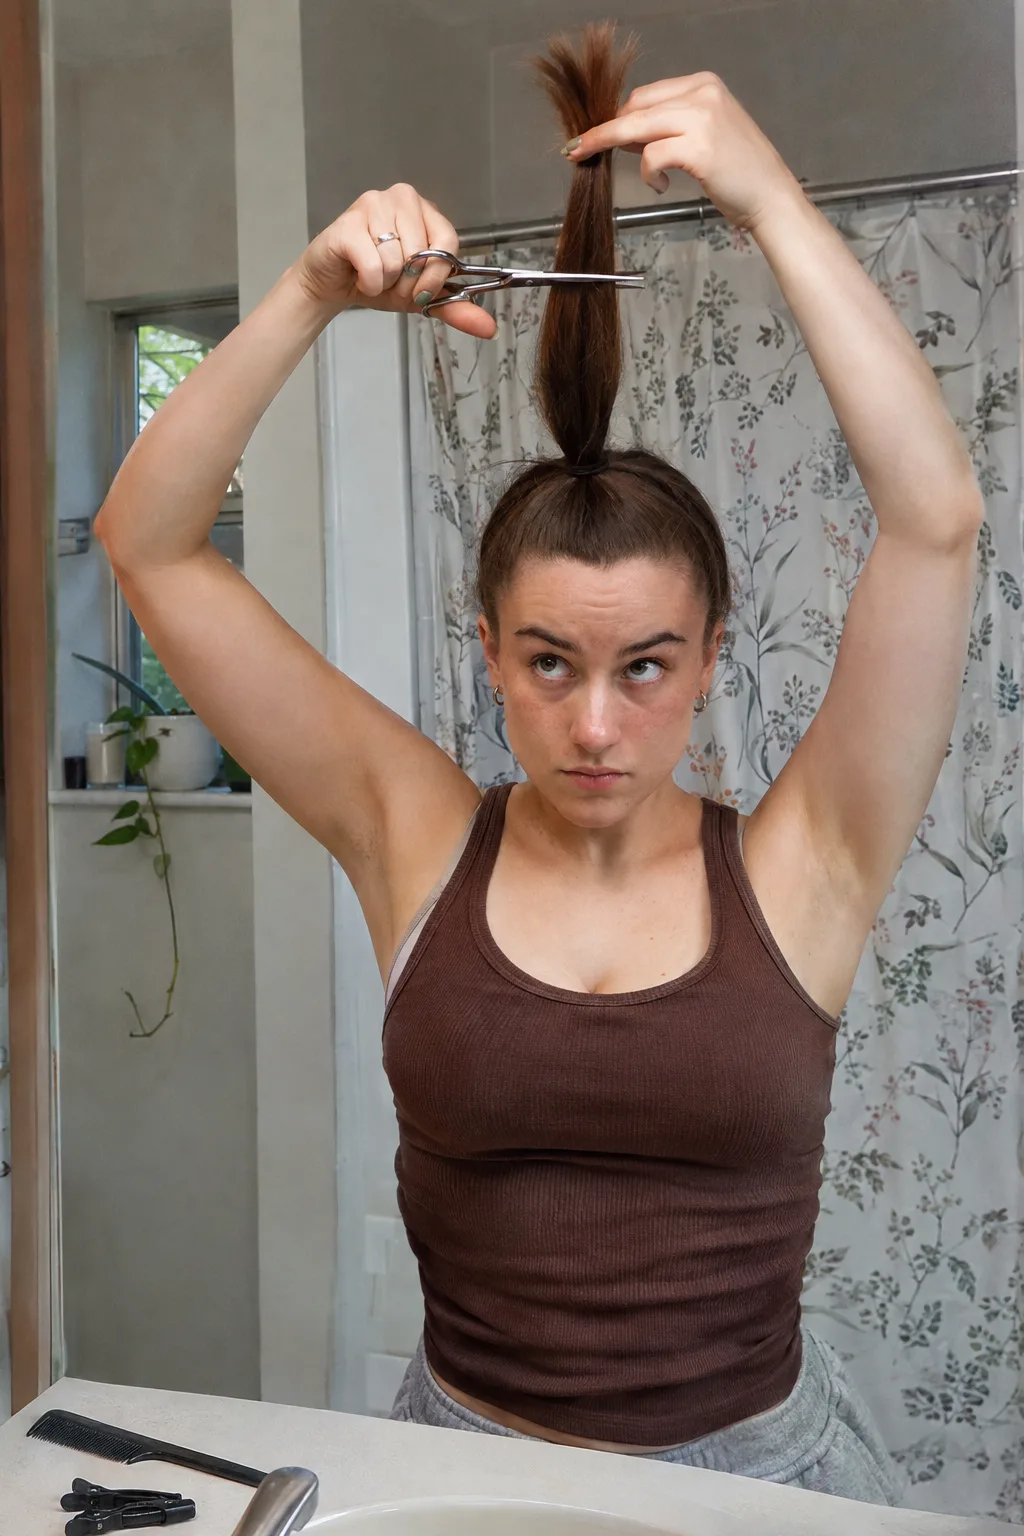
How to cut face-framing layers
Face-framing layers are the safest first cut, because they only touch the front.
- Part your hair where you wear it. Section a triangle from the part back to just behind each temple and clip the rest away.
- Comb the triangle forward and down over your nose. Hold it between two fingers at a slant, lower toward the ends.
- Make the first cut at your chin, at that slant. Cut at the chin even if you want the pieces higher, because they spring up once they fall back to the sides.
- Point cut the edge, let it fall to each side and check that both sides match.
Want the pieces to start higher, at the cheekbone? That is curtain bang territory: cut those pieces from a smaller triangle at the front of the part and blend them into the layers below.

Not sure where the front layer should start for your face? Measure it first.
Measure it instead of guessing
Both numbers in the same unit — the answer is a ratio, so it does not matter which.
Under 1.15 reads round, 1.15 to 1.5 reads oval, over 1.5 reads long. Oval and long split on the jaw rather than the ratio: an oval tapers toward the chin, a long face runs straight down.
Then read the face shapes guide for what your result means for face-framing pieces.
How to cut layers on someone else
With a second person you can use the method stylists use, which is more precise than a ponytail.
- Section. Part the hair into a top section running from the front hairline to the crown, two sides and the back.
- Set a guide. Take a small section at the crown, lift it straight up, and cut it to the length of the shortest layer. Every other section follows this piece.
- Lift and match. Take vertical slices, lift each one to 90 degrees from the head, and cut to the guide. For long layers that keep the length, pull each slice up to the crown guide instead, so the hair underneath stays long.
- Cross check. Take horizontal slices, lift them, and look for a step. Trim only the pieces that stick out.
This is also the method behind cuts with heavy crown layers like the shag and the long wolf cut, which are hard to do on your own head.
Mistakes that cost you a grow-out
- Cutting the shortest layer too short. On long hair a layer above the chin turns long layers into a shag. Layers are permanent until they grow out.
- Using kitchen scissors. They chew the ends and leave a frizzy line that splits.
- An off-center ponytail. One side ends up an inch shorter. Check the mirror before every cut.
- Cutting curly hair wet. It springs up shorter and uneven once dry.
- Skipping the point cut. A straight snip leaves a visible shelf where the layers stop.
- Thinning fine hair. Thinning shears and razors take out the bulk that makes thin ends look full.
See where your layers land before you cut
The manual method has one wall you cannot get past: you cannot see the result on your own face before the cut. A mirror shows you the hair you have now. It does not show whether chin-length front pieces open up your face or drag it down, and once they are cut you are four to six months from changing your mind.
That is the gap our try-on fills. Upload a selfie and see long layers, face-framing pieces or curtain bangs on your own photo, then cut, or book, the one you liked. The first look is free and needs no card.
Which cut makes you look best?
Find out in 60 seconds.
A few quick taps and one selfie, and you'll know. Free account, no card for your first render.
If you take the photo to a stylist instead, say this:
Say this to your barber
Keep my length, add long layers with the shortest piece at my chin around my face, and point cut the ends so there is no line.
Cutting layers comes down to elevation: lift the hair, cut straight, and the angle does the shaping. For most people the best layered cut is long layers with face-framing pieces starting at the chin, cut with the forehead ponytail on long hair, the twist method on medium hair, dry on curls, and by a stylist on short hair. Take half of what you want, point cut every edge, and check your face before the first snip.
Frequently asked questions
Yes, if your hair is long or medium. The forehead ponytail method gives long layers and face-framing pieces in about 15 minutes. Short hair and heavy crown layers are much harder, because you cannot see the back of your head well enough to keep it even.
Cut straight and wavy hair damp for control, then check it dry. Cut curly and coily hair dry, because wet curls stretch and spring up shorter once they dry. If in doubt, cut dry and take less.
Brush the hair smooth, gather it into a tight ponytail at the front of the hairline, slide a second elastic toward the ends, and cut straight across. Point cut the ends to soften the line, let the hair down, and check the front pieces land at the chin or lower.
Layers are shorter lengths cut throughout the hair to give it movement. Face framing is layering only at the front, so the pieces around the face are shortest and the back stays one length. Many cuts combine both.
Almost every hair type suits some kind of layer. Fine hair suits long layers at the ends, thick and curly hair suits more layers higher up. The real question is where the front pieces land on your face, which you can check on your own photo with a try-on before cutting.
Soft face-framing layers usually read younger, because they add movement around the face and lift at the cheekbones. Heavy, blunt length or very thin ends can look flatter and older. The difference is where the layers sit, not whether you have them.
Long layers with face-framing pieces are the most requested, because they keep the length and suit most face shapes. Butterfly layers, curtain bangs with layers and the shag are the other common asks.
Rough dry to about 80 percent, then use a round brush on the front pieces, rolling them away from your face. On waves and curls, scrunch in a light cream and air dry or diffuse. A light texture spray on the ends keeps the layers separated.
Preview it on your own photo: Virtual Hair Color Try-On.
Share article
About the author

Related posts

Women's Haircuts · 15 min
Lob Haircut: 14 Long Bob Ideas and the One Call That Decides If It Suits You
A lob is a long bob that ends between the jaw and the collarbone. Fourteen versions at the same length, which one suits your face and hair type, and the exact words to say in the chair.
Women's Haircuts · 11 min
Layered Hair: 14 Looks and the One Number That Decides Each
Layered hair comes down to one number: the gap between your shortest piece and your longest. See 14 layered looks sorted by that gap, which suits your face and hair type, and what to say in the chair.
Women's Haircuts · 13 min
Copper Hair Color: 14 Shades and Which One Suits Your Skin
Copper is a bright orange-red, like a new penny. See 14 copper shades side by side, which one suits your skin tone, what to say at the salon, and why maintenance matters more than your complexion.
Women's Haircuts · 12 min
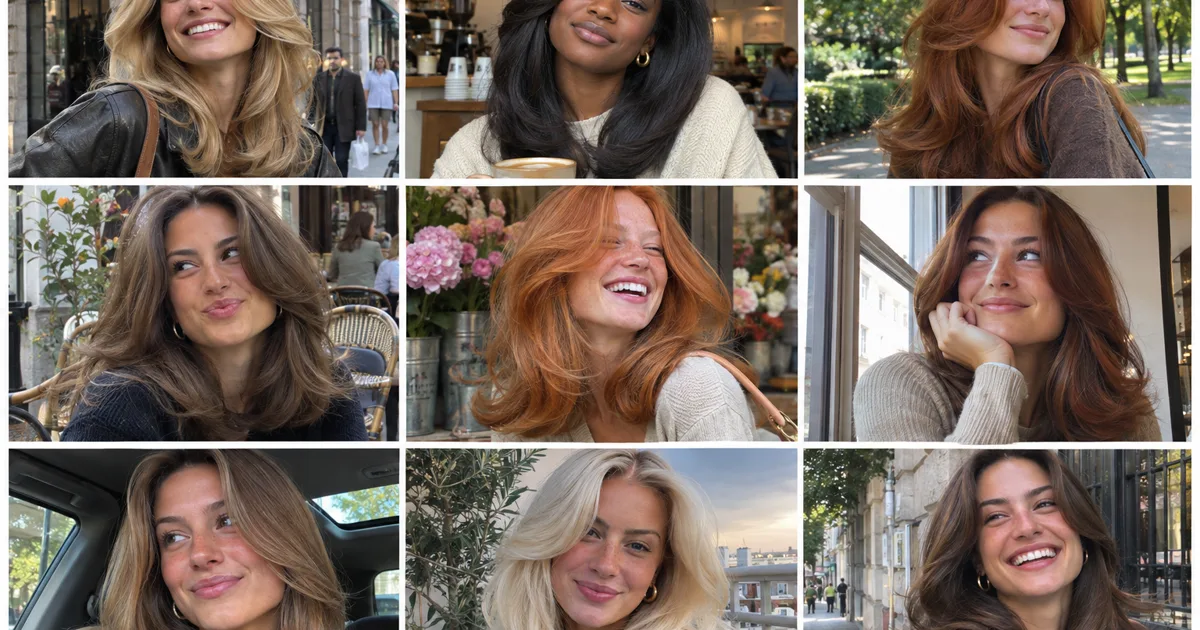
Blowout Hair: 14 Looks and How to Do a Salon Blowout at Home
Blowout hair is set by the cool shot, not the heat. See 14 blowout finishes from sleek to 90s bounce, the at-home routine step by step, and which version suits your hair type.
Women's Haircuts · 14 min
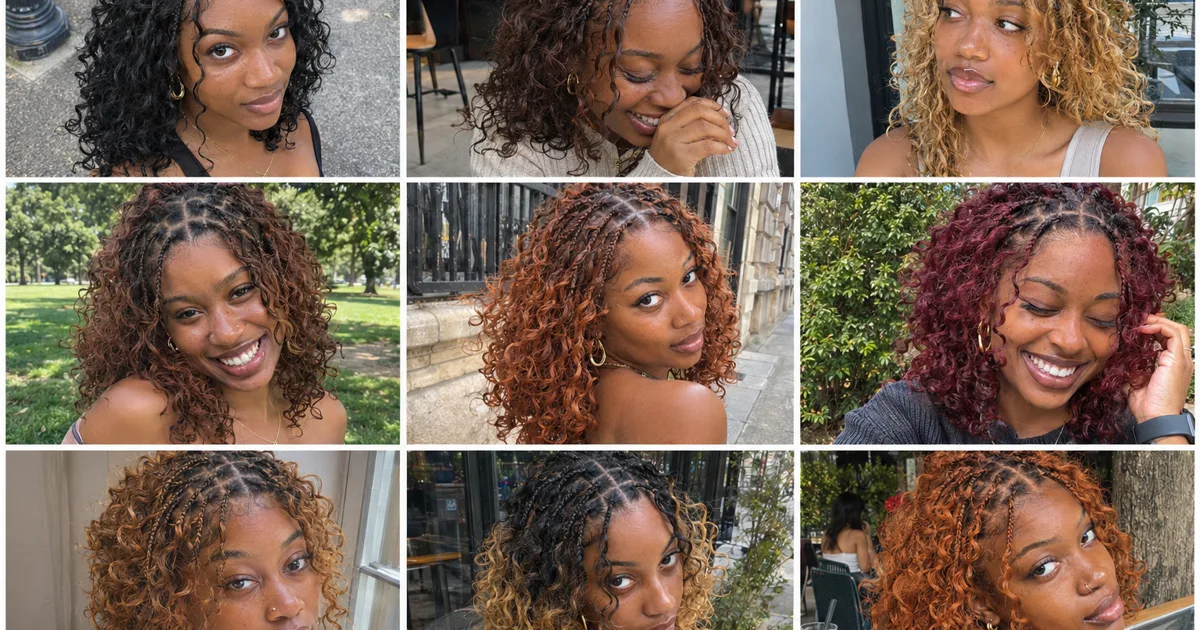
Miracle Knots Hair: 12 Looks, How It Works and How Long It Lasts
Miracle knots loop curly human hair into small plaits of your own hair: boho braids in 2 to 3.5 hours, with less weight. How it works, how many bundles, which hair it suits and how long it lasts.
Women's Haircuts · 14 min
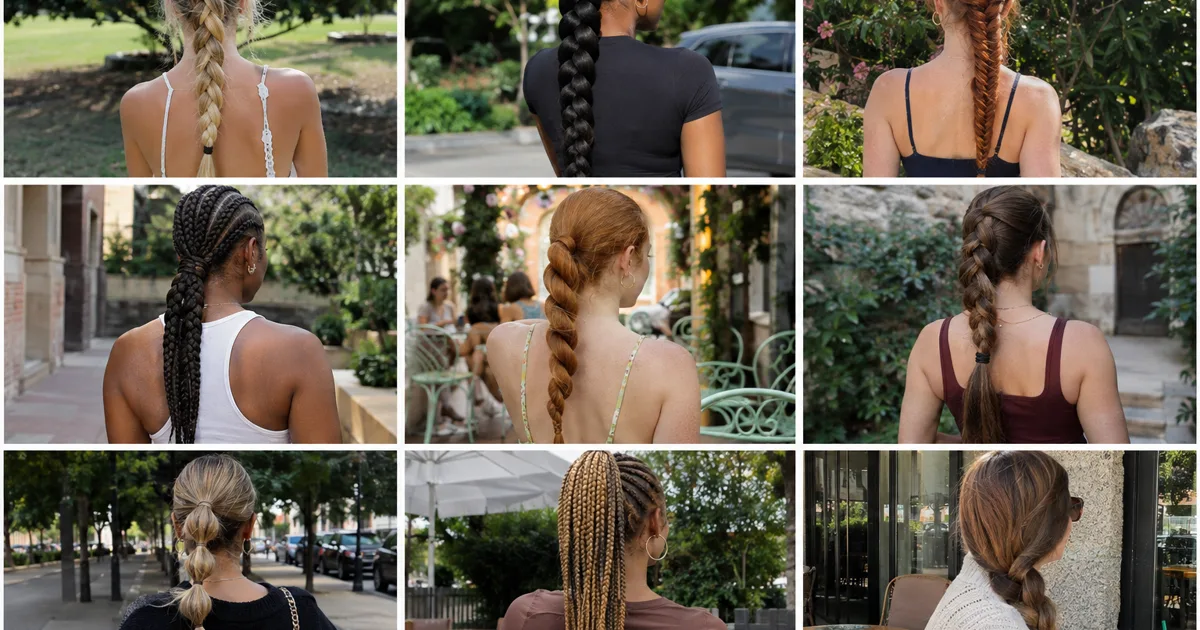
Braided Ponytail: 14 Styles and How to Do One That Lasts
The braid is the easy part. 14 braided ponytail styles side by side, which one suits your hair type, how many packs of braiding hair to buy, and how to keep the base from pulling out your edges.